I love the way glitter sparkles, but I could do without the mess it makes. For this quick DIY garland, I used my thermal laminator to keep all that glitter dust under control.
Things Small and Simple is a participant in the Amazon Services LLC Associates Program, an affiliate advertising program designed to provide a means for sites to earn advertising fees by advertising and linking to Amazon.com.
This post contains some affiliate links. This simply means that if you purchase anything, or take other actions after clicking one of my links, I will receive a small commission. This comes at no extra cost to you. Thanks so much for your support!
Fall is in full swing around here, and I can tell winter is coming. As the days get shorter and darker, a little glitter makes me smile. Here’s a quick project to bring a little of that sparkle into your home without making a mess.
DIY Glitter Garland
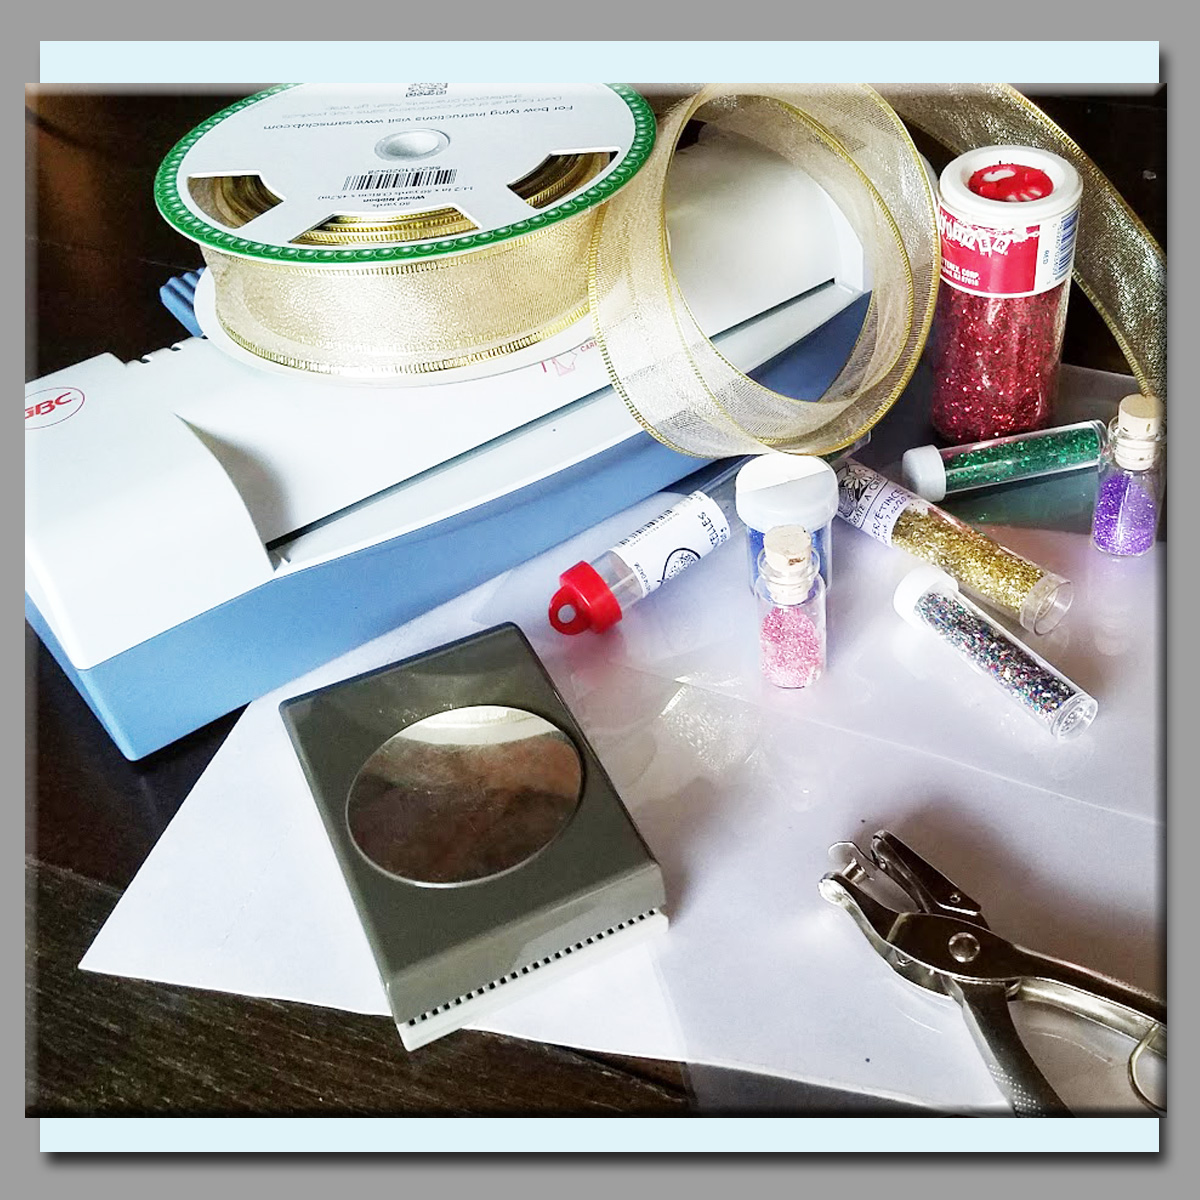
Suggested Supplies:
- Thermal Laminator – This is seriously one of my favorite little gadgets. I use it for SO MANY things!
- Laminating Pouches – I recommend purchasing these online. For some reason, they cost a lot more in the brick and mortar stores.
- Glitter! – These guys have lots of different colors.
- Circle Punch – The one I used had a diameter of 2-1/2 inches
- Decorative Ribbon – I love the way this Gold Glitter ribbon sparkles!
It’s Time to Make a Garland!
Step 1:
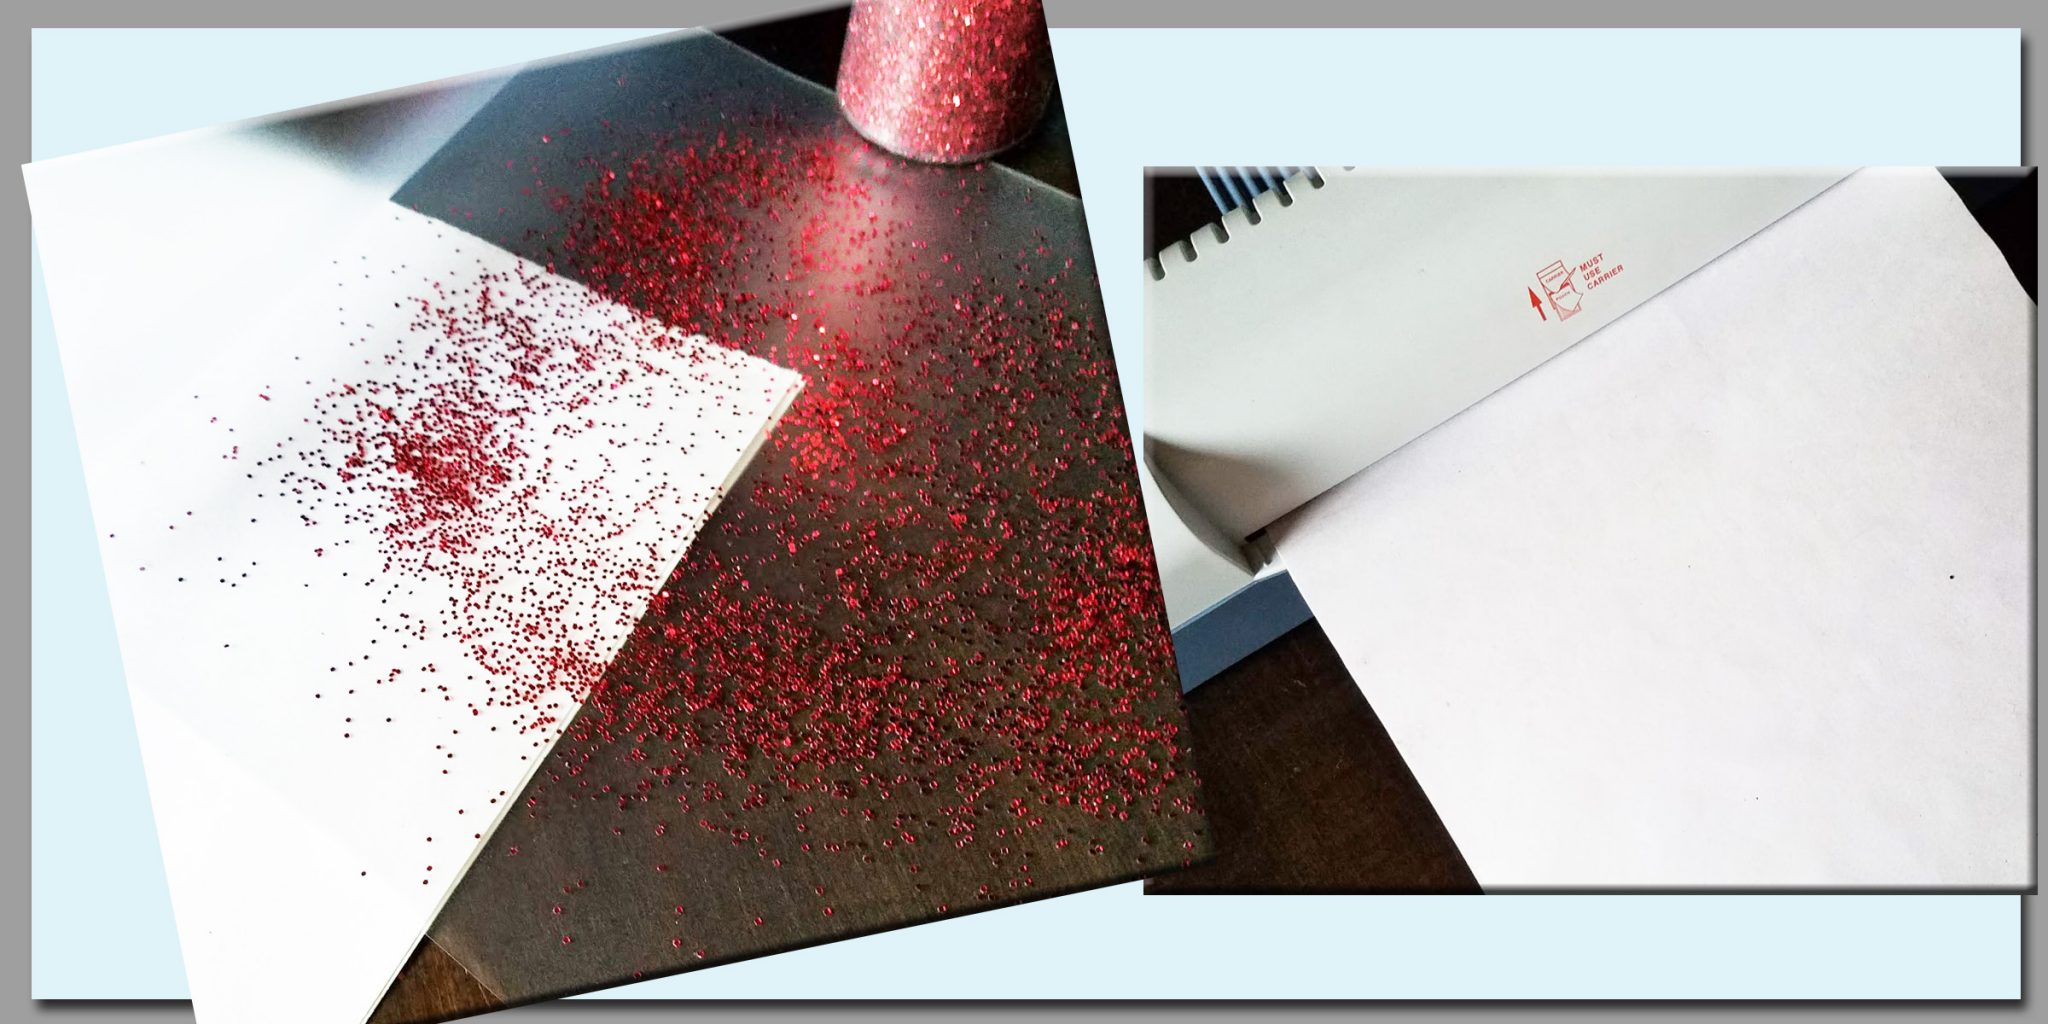
To begin, choose some glitter and turn your laminator on so it can start warming up. While you’re waiting, sprinkle your glitter generously inside one of your laminating pouches. I used red glitter, but feel free to mix it up!
Once your laminator is heated up, all you need to do is send your glittered pouch through. If you haven’t used your laminator before, make sure you follow the manufacturer’s instructions on how to use it, otherwise, you may end up with a melted, sticky mess.
Step 2:
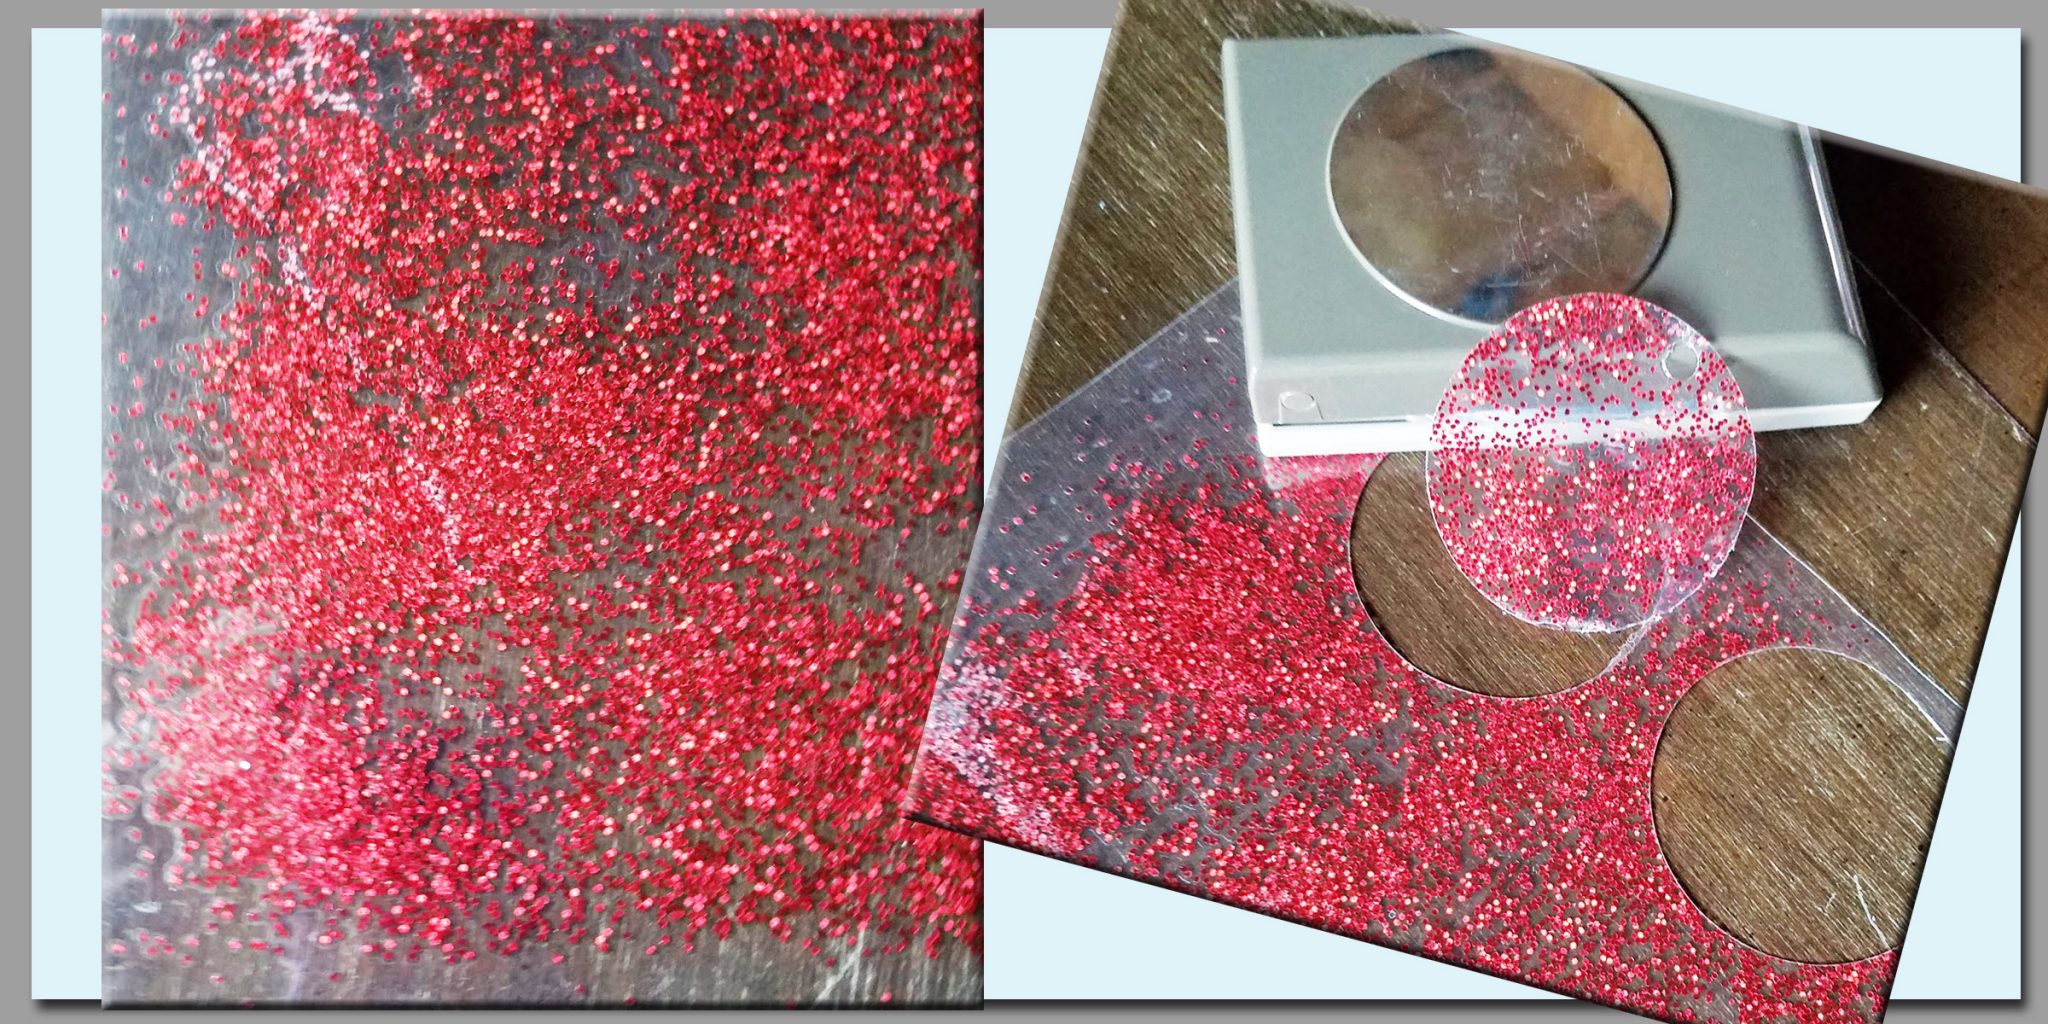
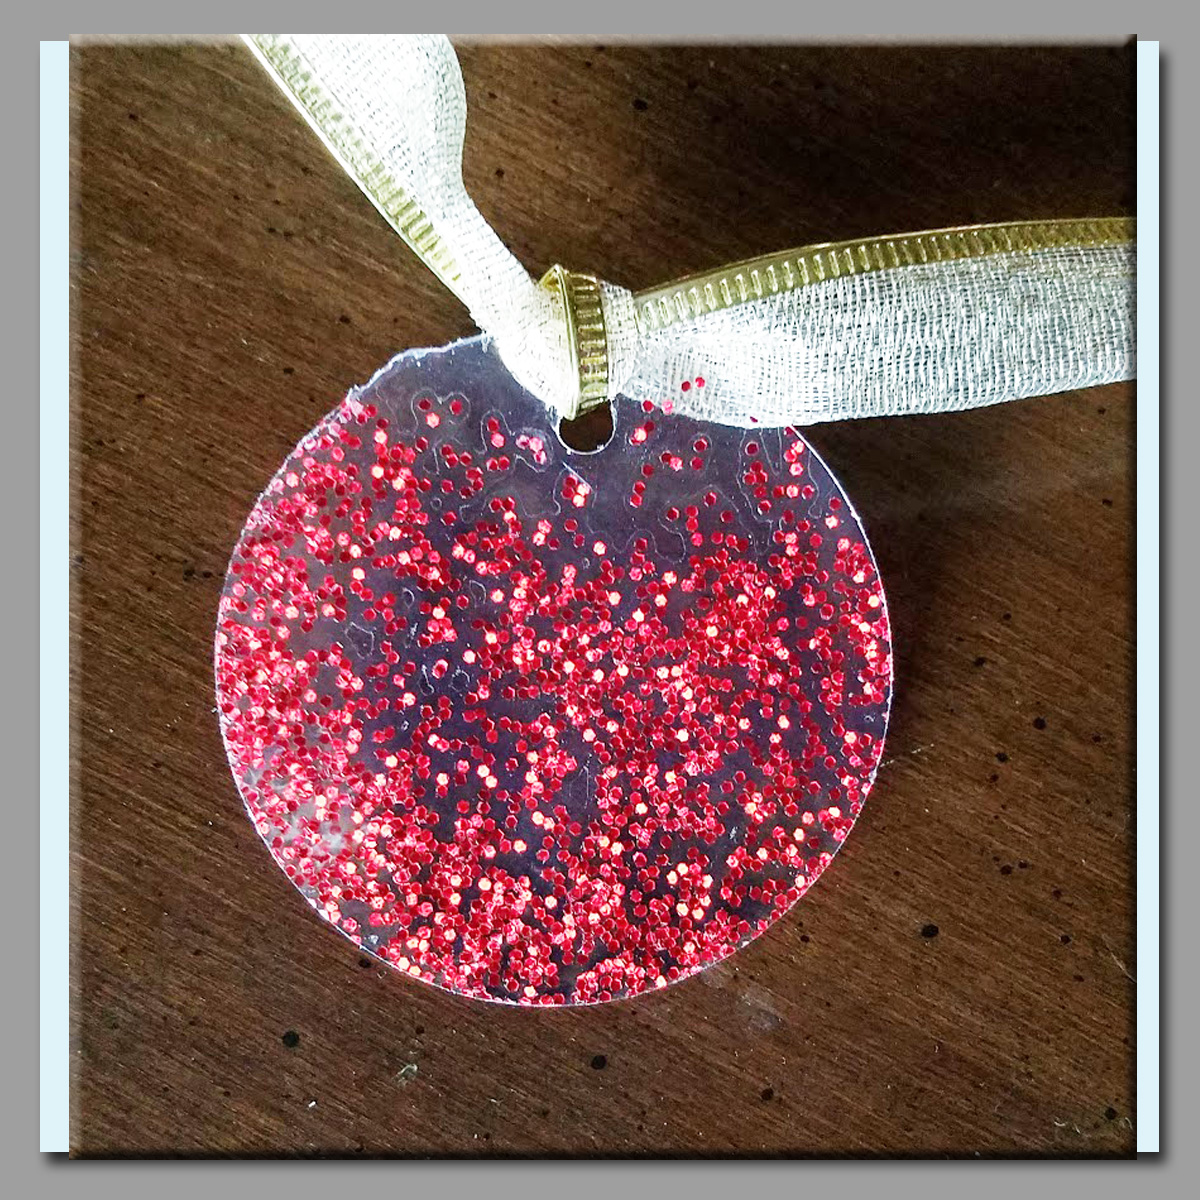
Seriously, you guys, this garland is so quick and easy to make! Once your laminator has worked its magic, simply grab your punch and cut out a few circles. In addition to cutting out the big circles, I used a standard paper punch to cut a hole in the top of each of my circles so I could thread them onto the ribbon.
Step 3:
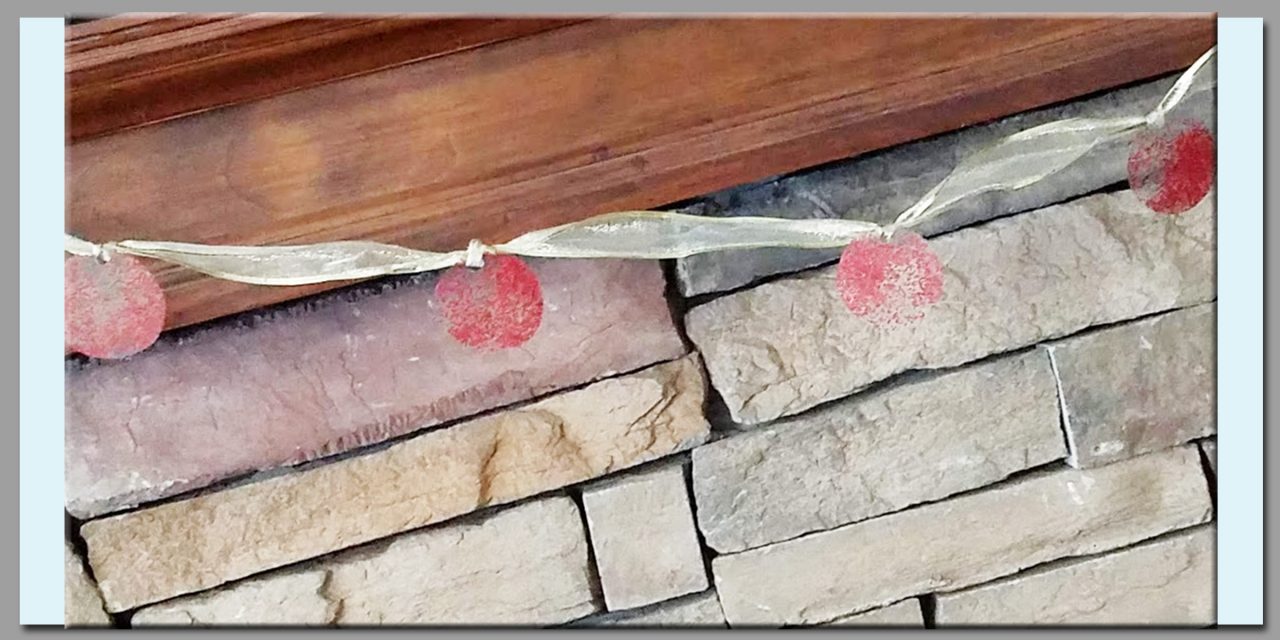
Now that you have all your circles cut and prepped, it’s time to put your garland together. Simply thread your circles onto your ribbon! I tied a knot in the ribbon to keep all of my glitter circles in place, but that is totally optional. It might also be fun to use some smaller ribbon to make these glitter circles into little ornaments, or even gift tags. The possibilities are endless!
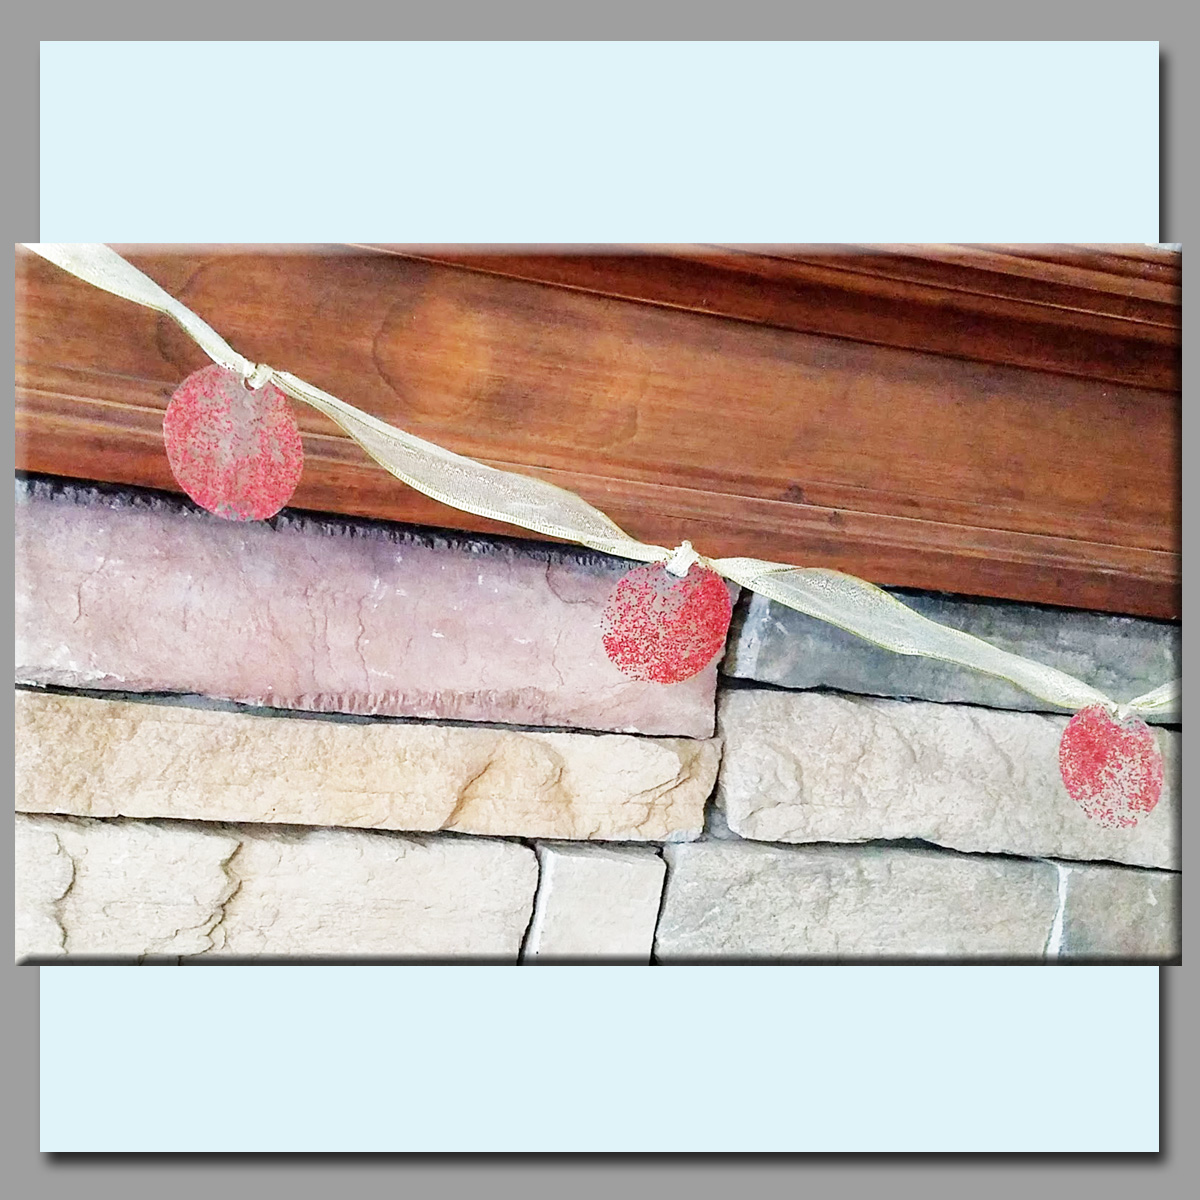
Now that your garland is made, all you have left to do is figure out where to hang it! There are so many options! Ready?
Let’s Create!

Awesome post 🙂