This post contains affiliate links. This simply means that if you purchase anything after clicking one of my links, I will receive a small commission. This comes at no extra cost to you. Thanks so much for your support!
In just over two weeks, we get to celebrate one of my favorite holidays: Easter! As a kid, I loved Easter, because it meant lots of candy and gifts for me. As I’ve grown older, though, I’ve learned to value this holiday for what it truly represents. It is a commemoration of the resurrection of Jesus Christ. A miracle that gives us all hope for a better world, and a chance to improve ourselves.
One of the most recognizable symbols of Easter is the Easter Egg. Some may argue that this is just a pagan thing carried over from ancient fertility festivals, but I think there is more to it than that. I don’t think it is any accident that we celebrate Christ’s resurrection in the Spring, the time when the earth seems to come back to life after a long, cold winter. An egg is a symbol of the possibility of life and growth, and that’s one of the things I really like to focus on this time of year.
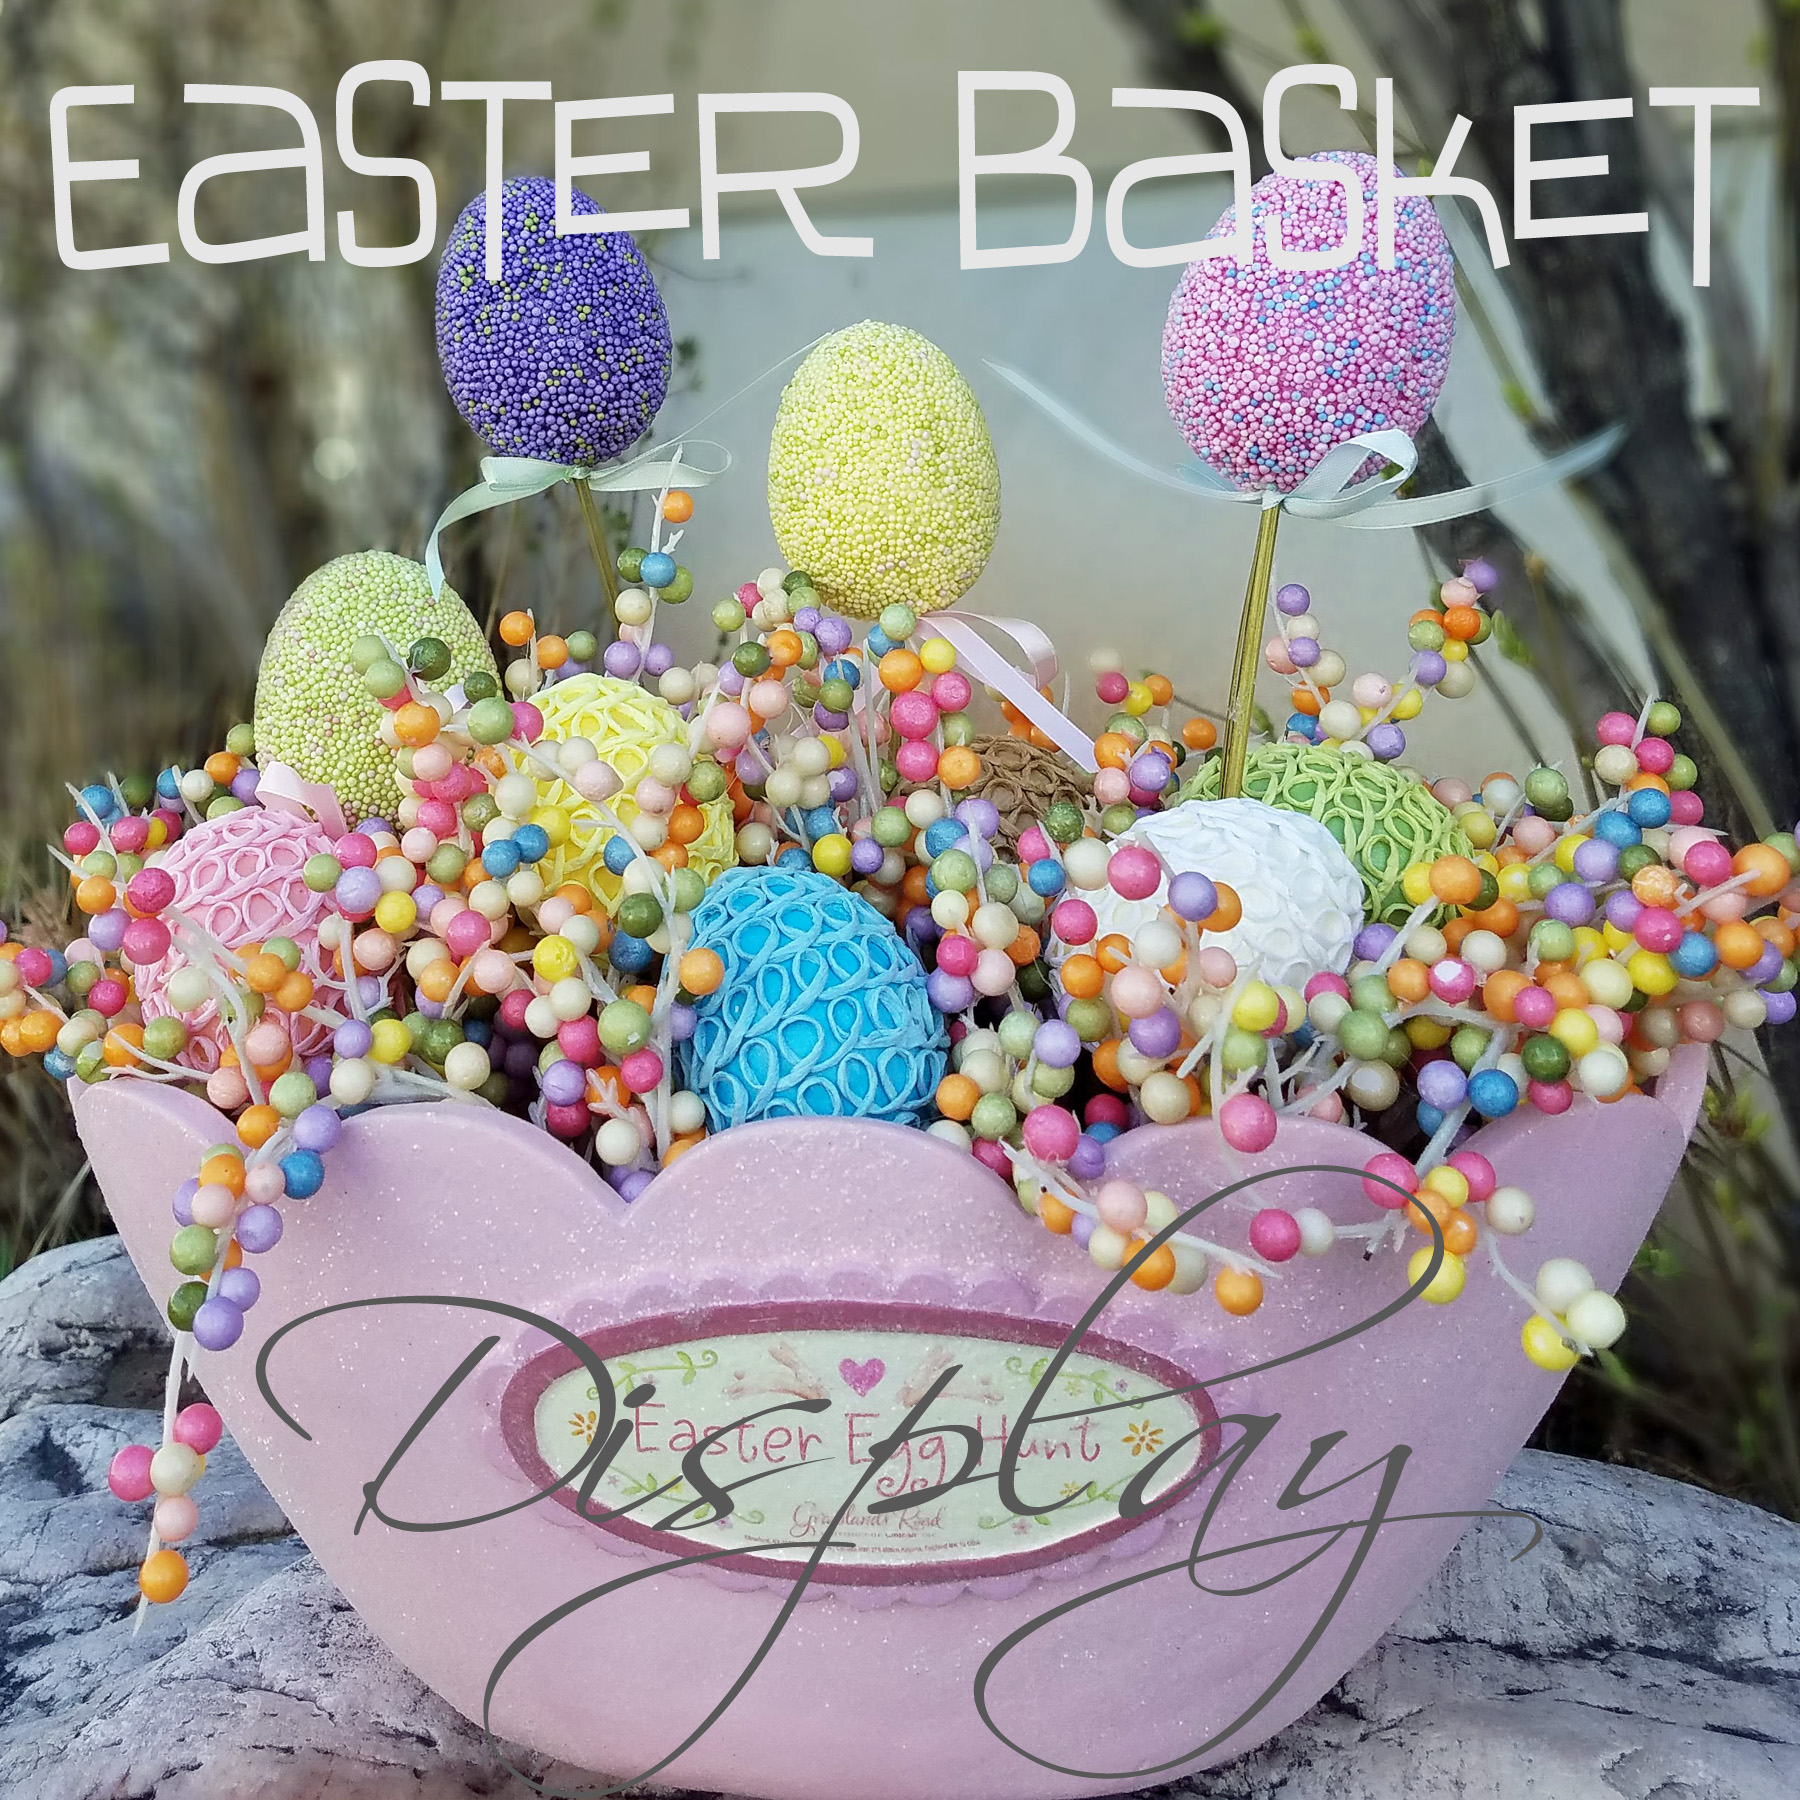
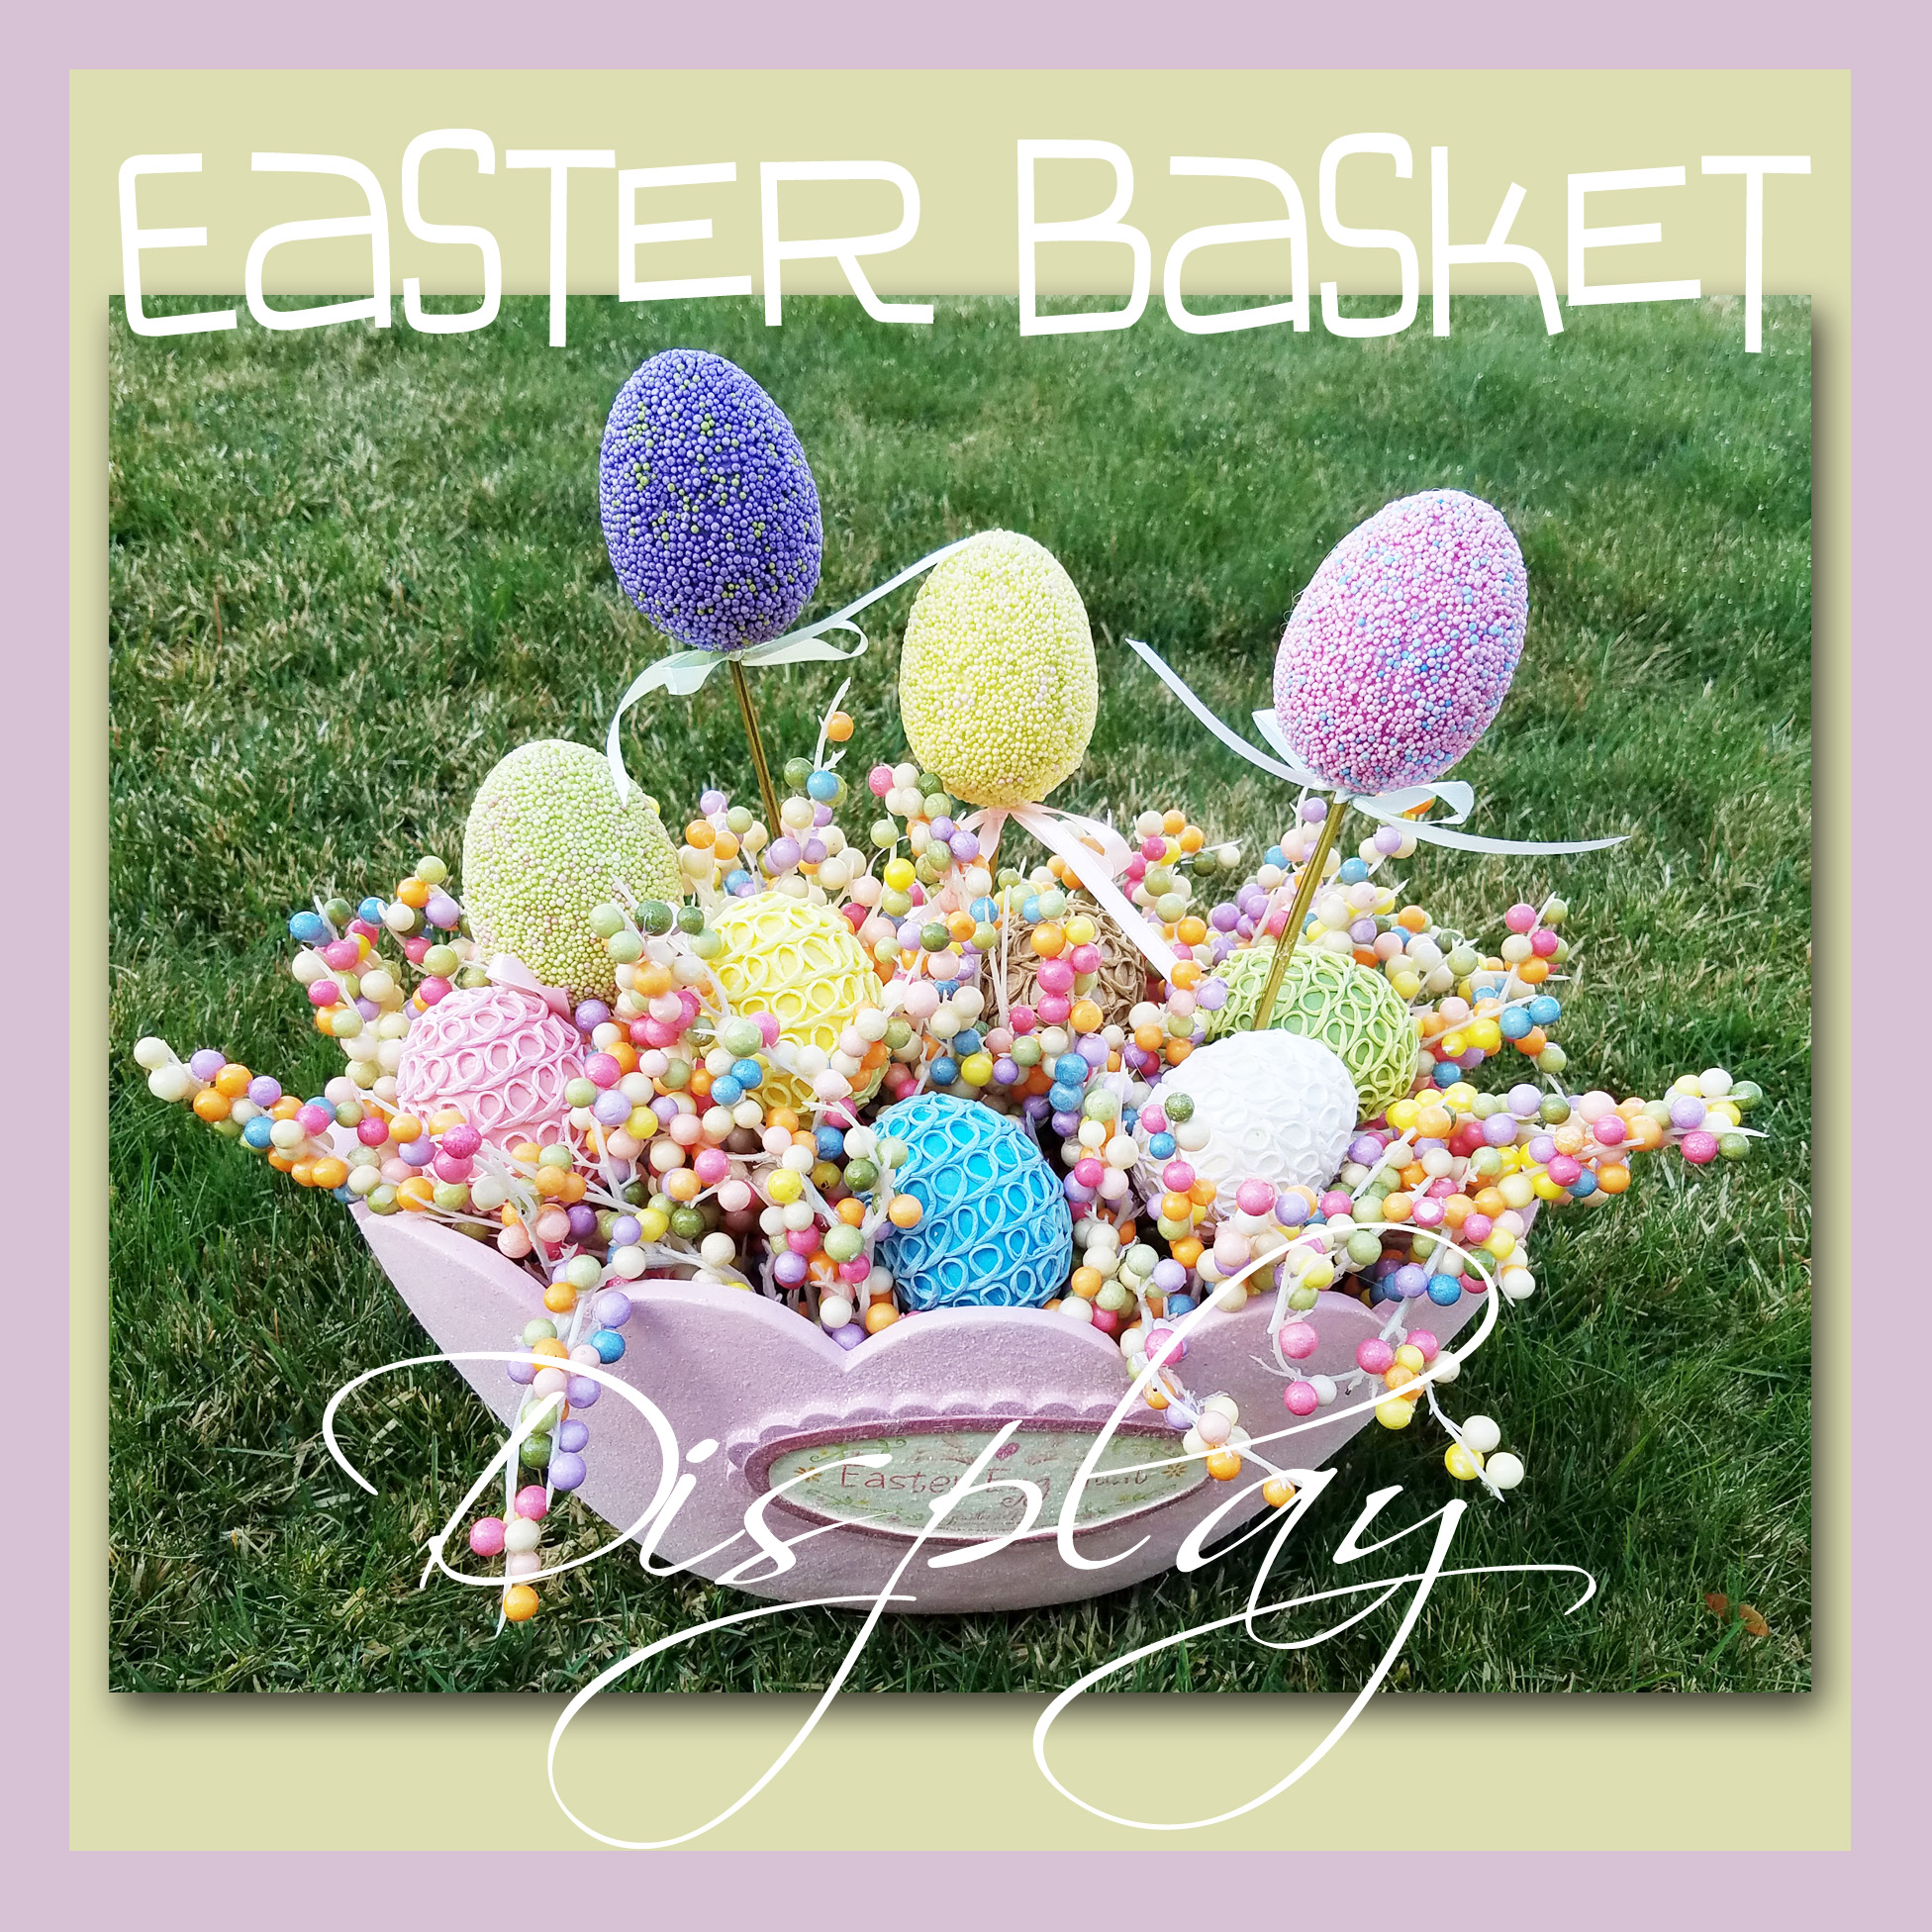
With this focus in mind, I took some time to create this fun Easter Basket Display to help decorate my home this year. This is one of those projects that came together because I had a bunch of craft supplies lying around waiting to be used. I actually inherited most of the supplies for this project from my Sister-in-law, a few years ago! I’m not sure if this is what she had in mind, when she bought everything, but I love the way it turned out.
Want to make one of your own? This is a project that can be done in an afternoon. Here’s what you’ll need:
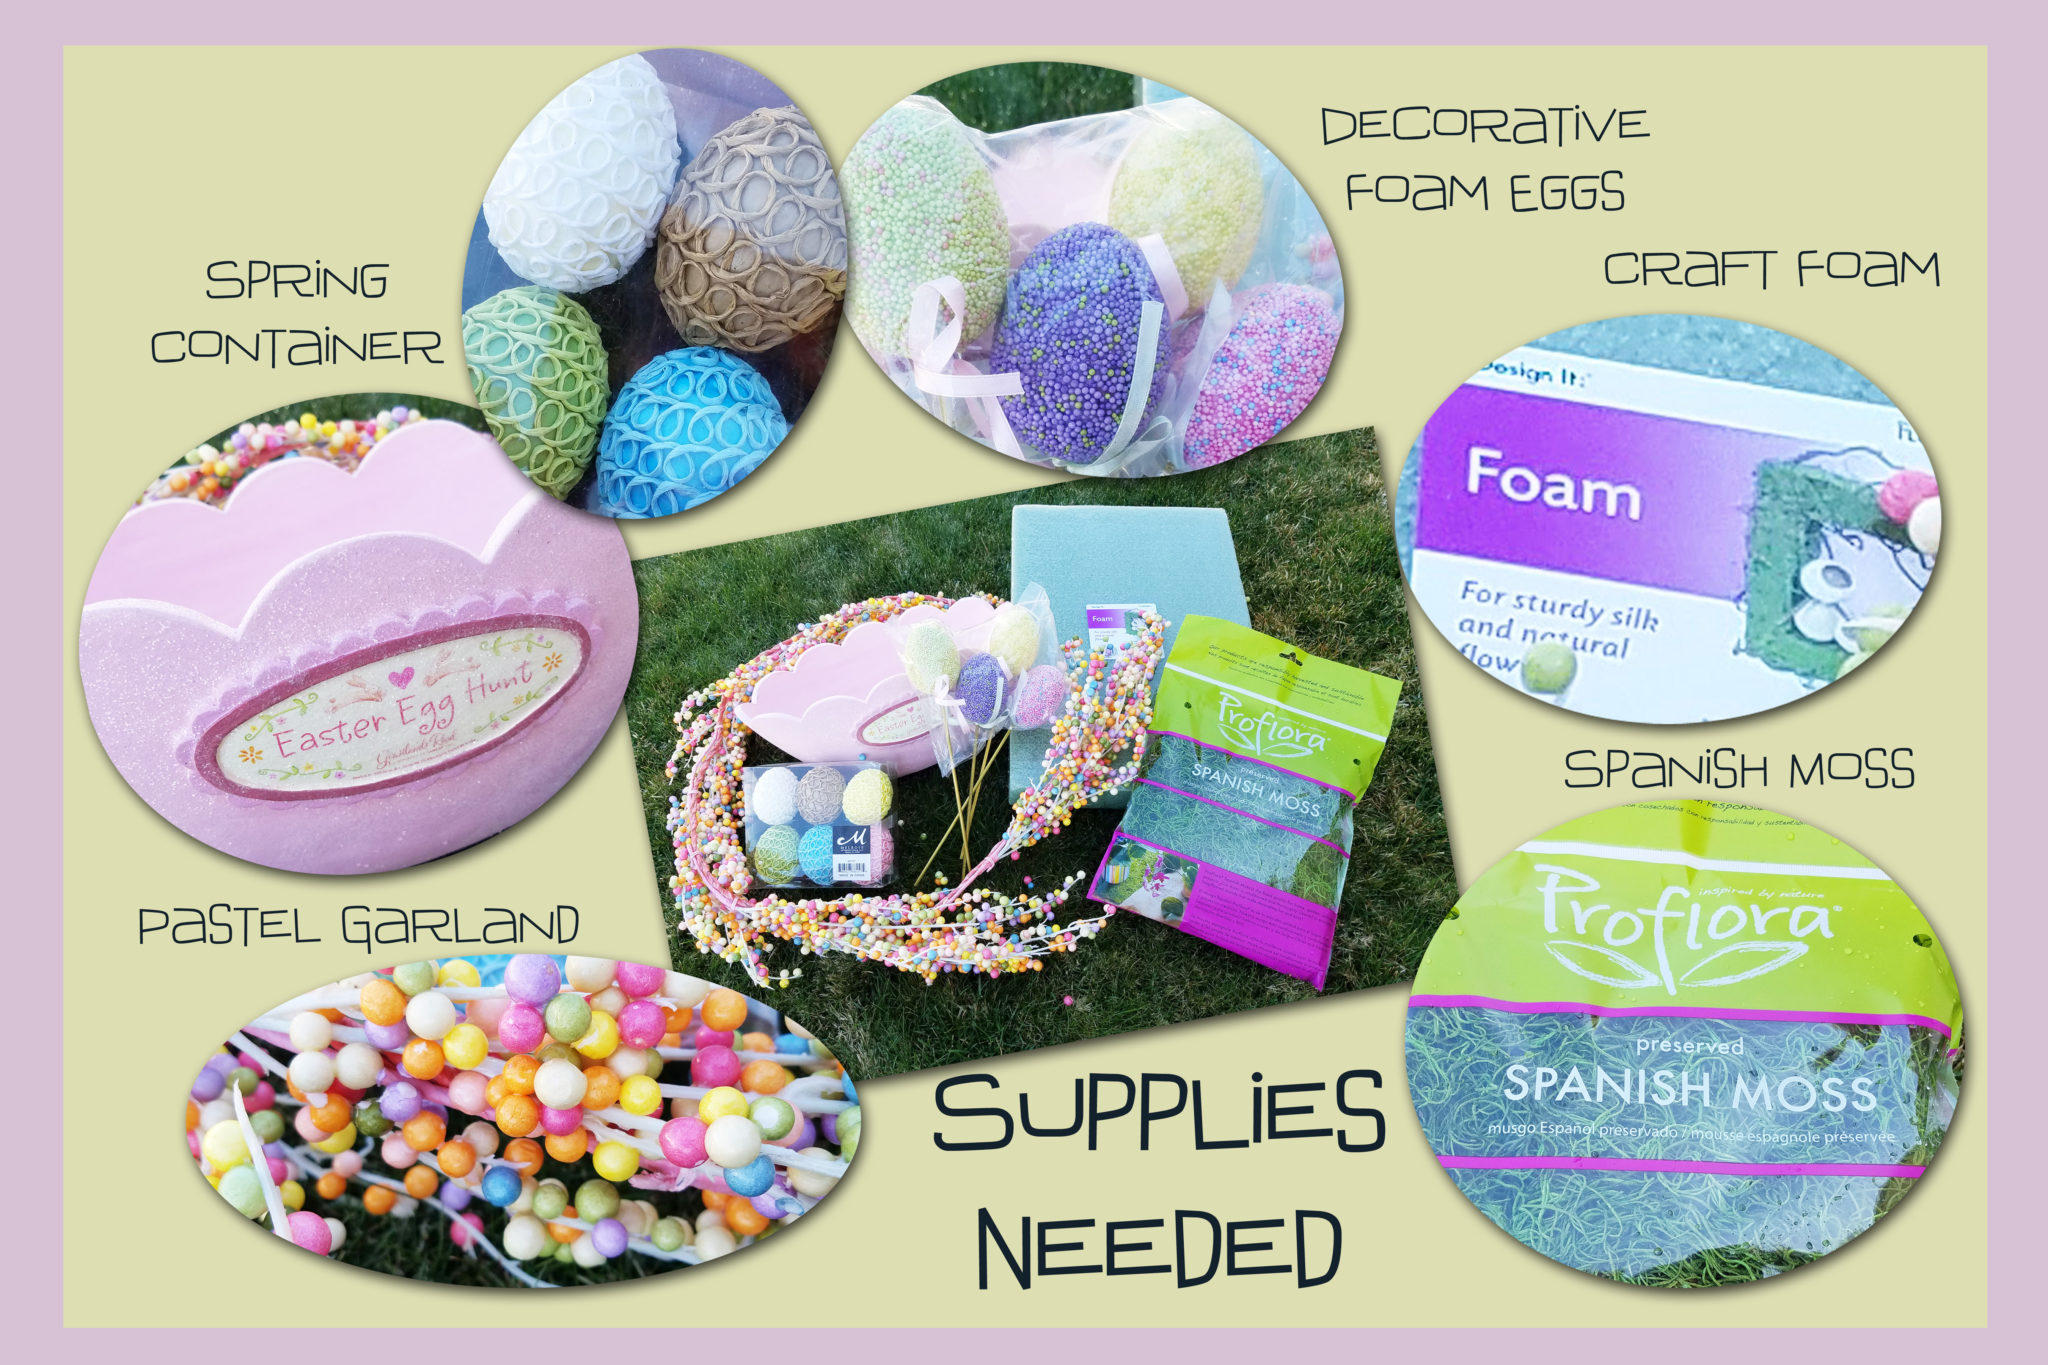
Because most of these supplies came to me through someone else, I can’t tell you where to go to get exactly what I have pictured here. I will, however, posts some links at the end of this post that you can use to get something similar.
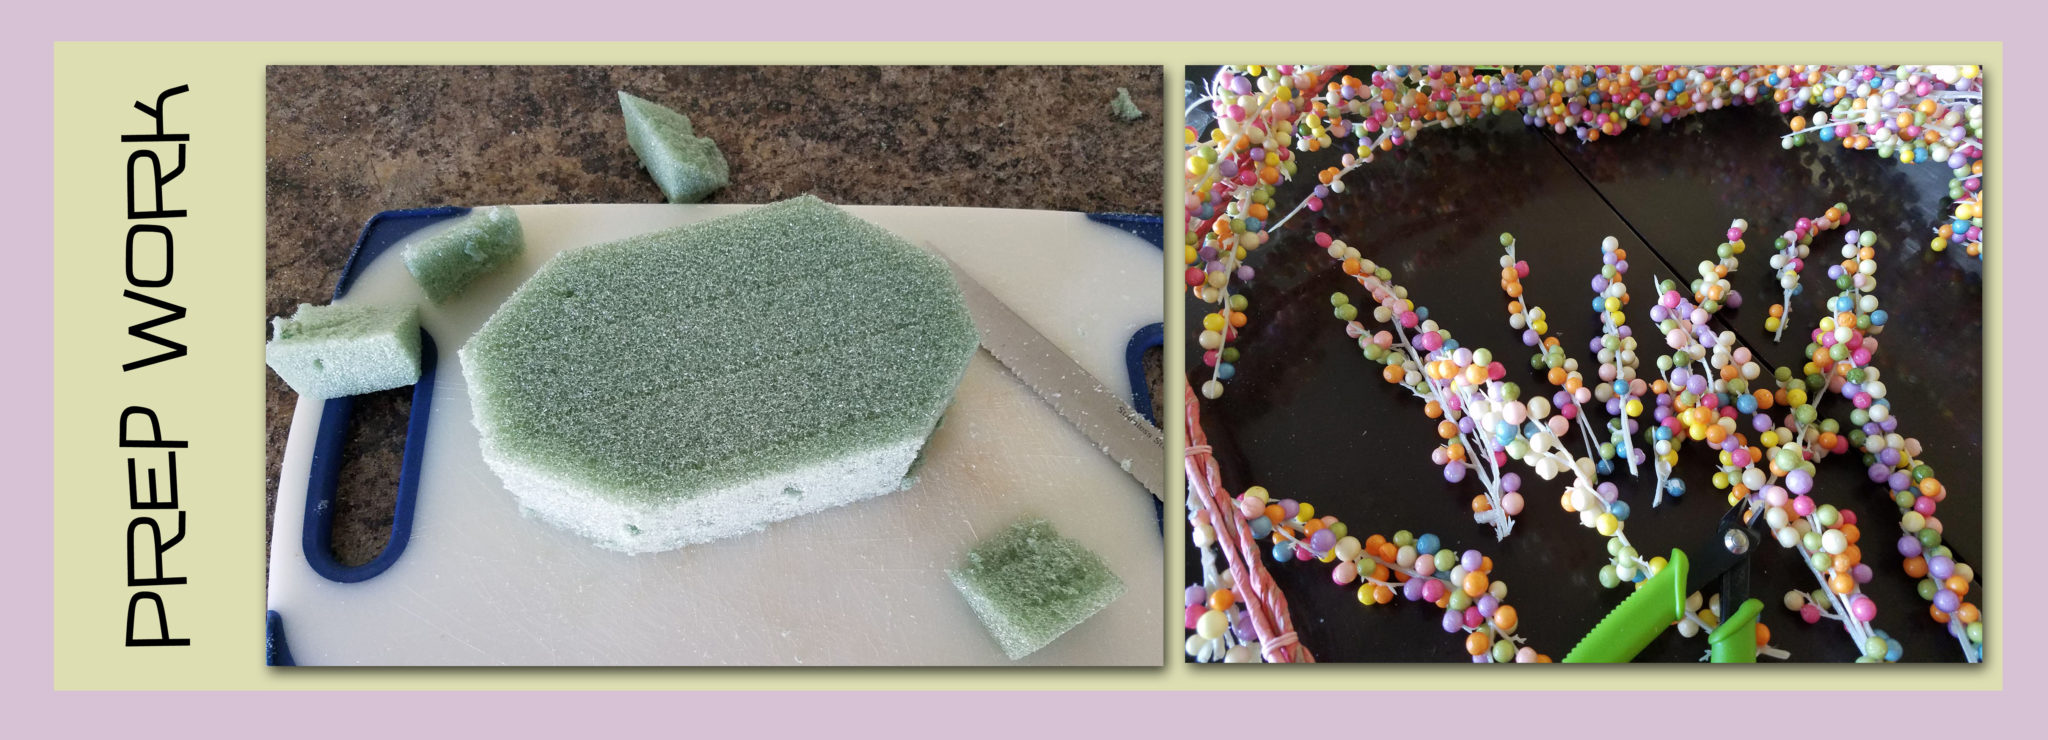
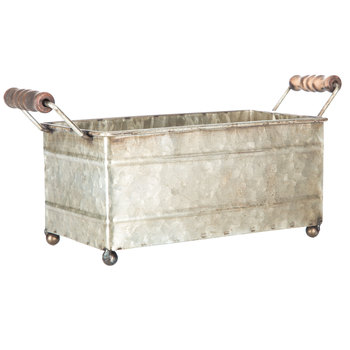
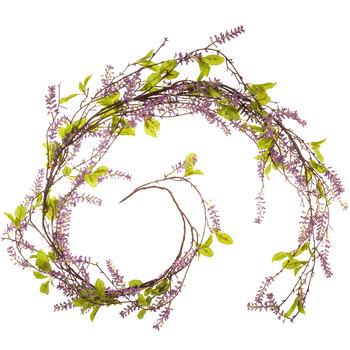
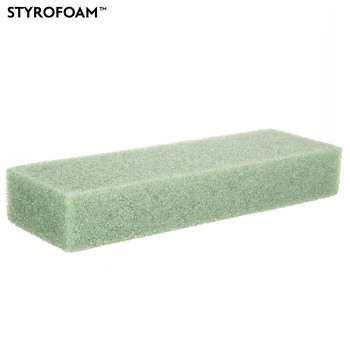
As mentioned above, this really is a pretty simple project. Once you’ve gathered all of your supplies, there are a few preparatory steps before you start putting everything together. First, cut your craft foam so it fills the bottom of whatever container you are using. I used hot glue to keep mine in place. Second, use some wire cutters to cut the individual sprigs of berries, or flowers from the garland you have chosen.
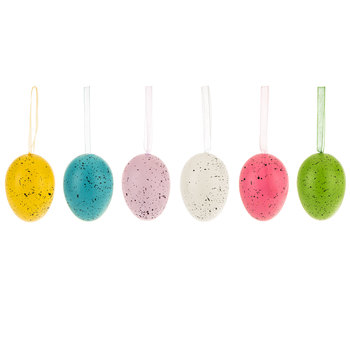
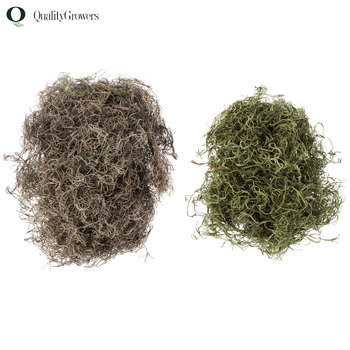
Once all of your supplies are prepped, you’re ready to get to work. The first thing I did with my basket was to cover the craft foam with Spanish moss. This helps fill in any spaces that your berries or flowers don’t cover. With that done, start adding your berries, flowers, and other decorative elements. With the craft foam in place, just push each piece through the Spanish moss, and the foam will hold it in place. I put all my berries in first, then added the eggs.
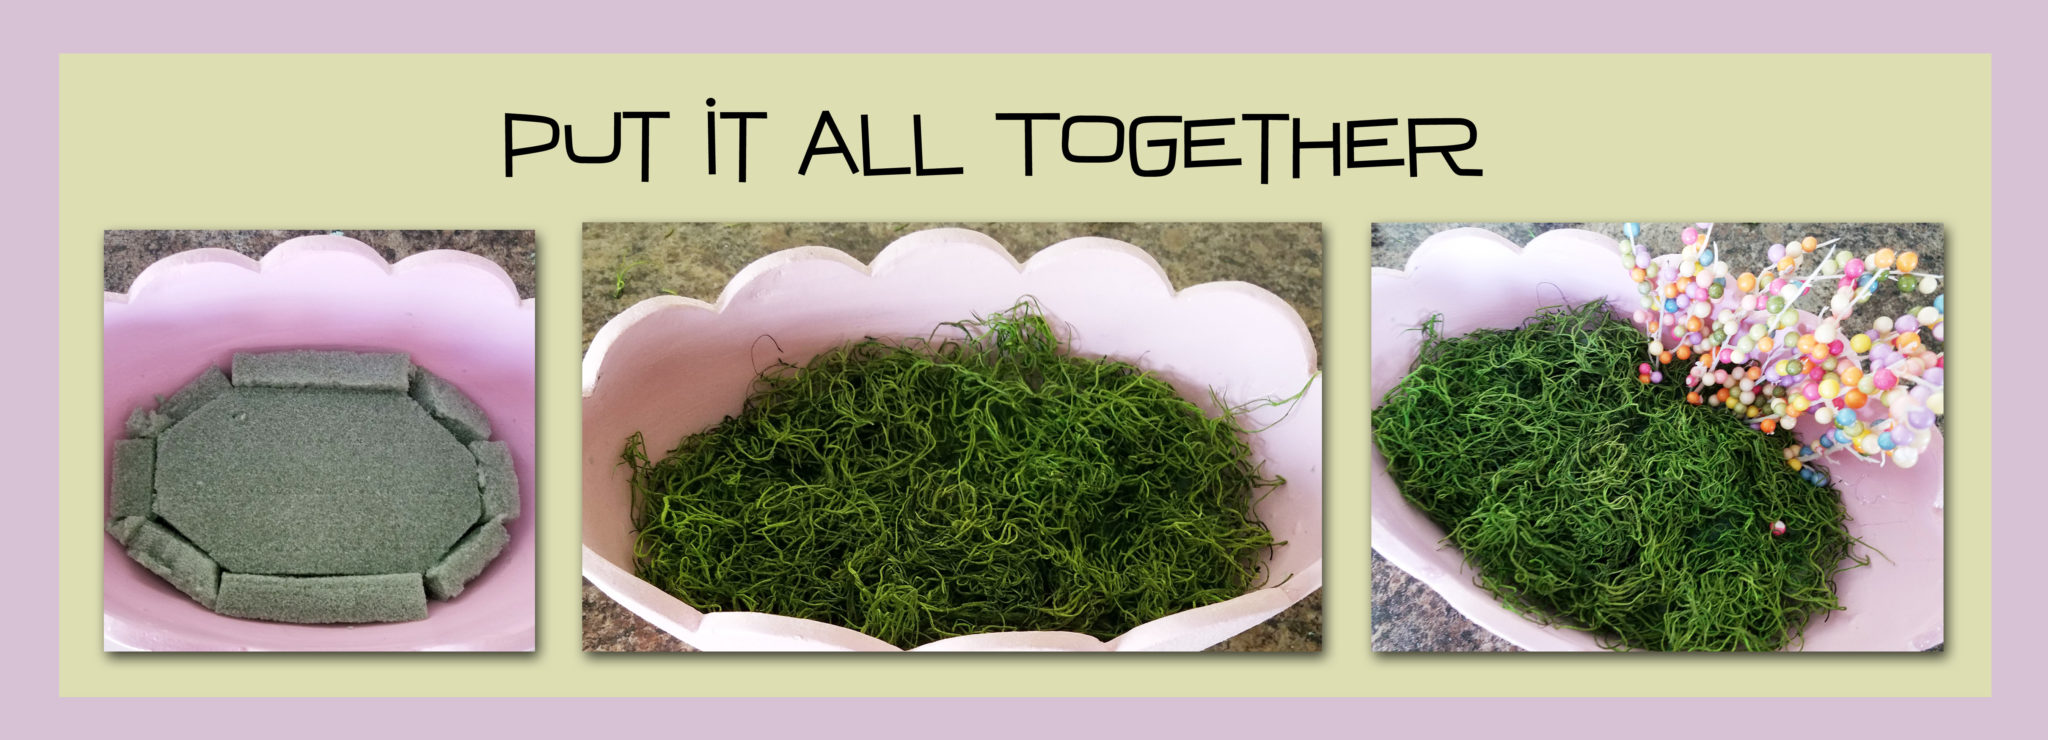
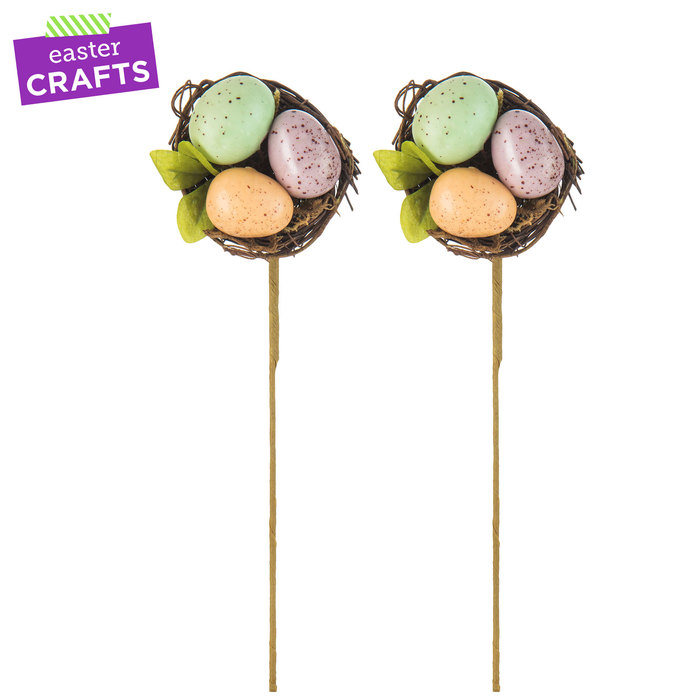
Some of my eggs were attached to skewers, so they stuck right into the craft foam. I did trim a couple of them so I’d have different heights. For the other foam eggs, I used hot glue to make sure they didn’t move around. The berry garland I used had a lot of wire in it, so I was able to shape my “berry sticks” a little bit to add variety to my basket.
That’s pretty much it! Once you get all your supplies added to the basket, you have a fun display for your home!
Need Supplies?
Click on the images below to get a few things ordered!
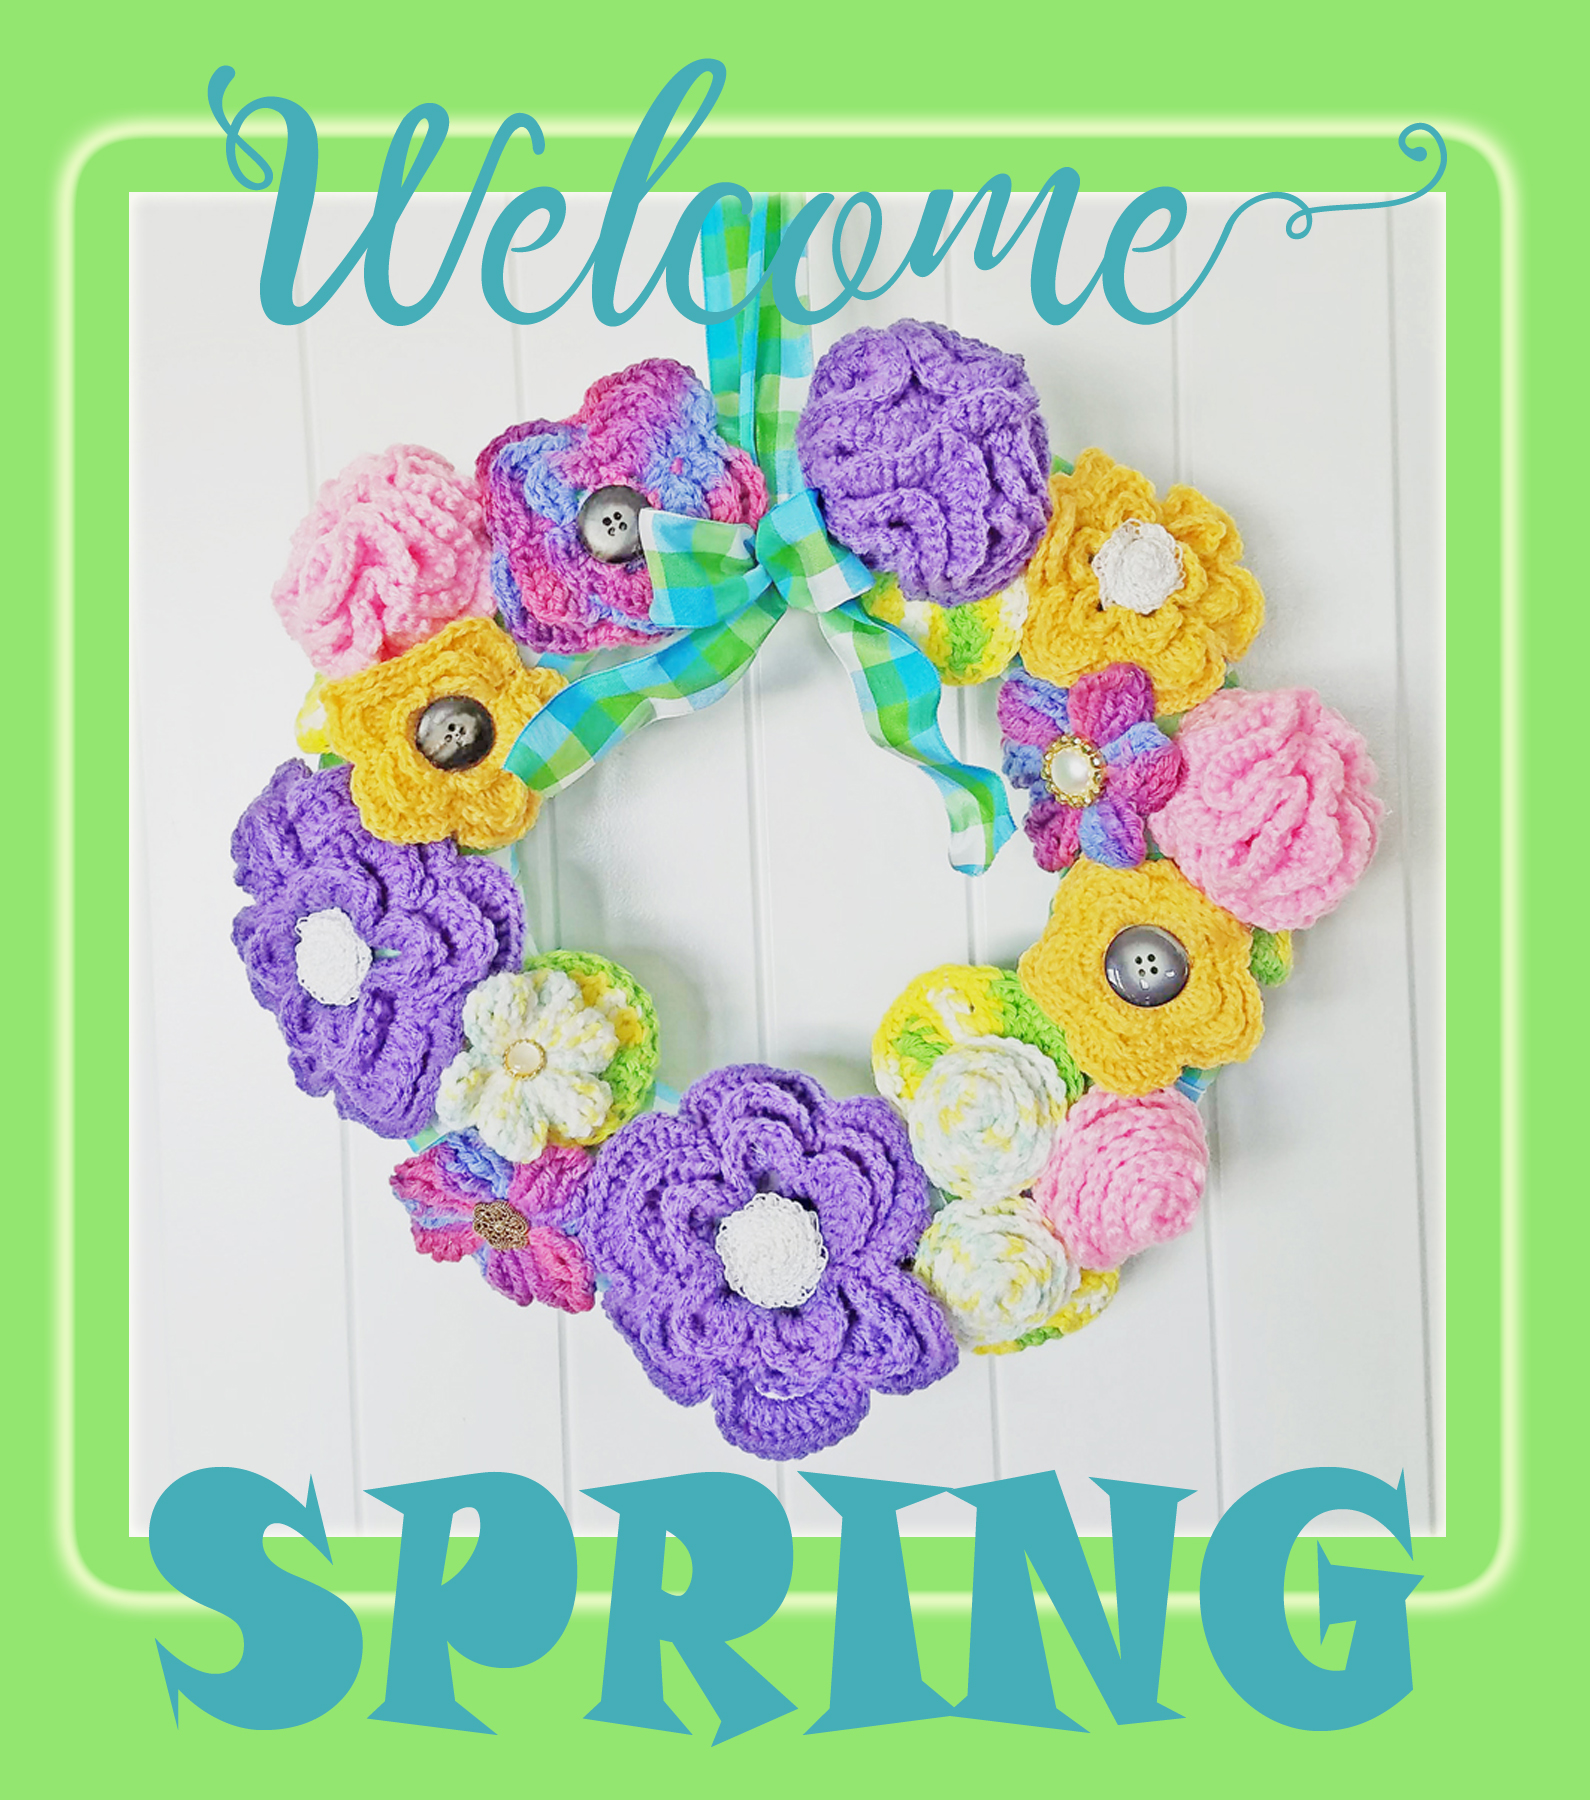
This project was created for April 2019’s “Inspire My Creativity” link party. This month’s theme? Pastels! (the colors) I’m lucky enough to co-host this link party with some pretty amazing ladies – make sure you check out their blogs (links below) for more fun projects!

Shani | Sunshine & Munchkins
Christine | Swordfights & Starry Nights
Meg | See The Happy
Candice | She’s Crafty
Julia | The Quiet Grove
Marie | The Inspiration Vault
Brooke | My Beautiful Mess
Heather | Glitter On A Dime
Rachel | Adventures of a DIY Mom
Jenny | Cookies, Coffee and Crafts
Anna | Practical and Pretty
Keala | Recipe For A Sweet Life
Carmen | Living Letter Home
Cathy | A Boy and His Mom
Sarah | The Strawberry Nest
Adree | The Keele Deal
Aimee | Things Small and Simple You Are Here!
Alexandra | EyeLoveKnots

This Easter Basket is such a cute project! It would make a beautiful centerpiece for any Easter Table!
Thanks so much, my friend!
I never thought to create a display like this, what a good idea!!
Thank you!
This is fun and so cute!!
Thanks so much! It was fun spending time with you at Snap this weekend!
The basket is adorable! Such pretty colors and florals.
What a fun basket! I love the colors. Would make such a darling centerpiece!
What a pretty little basket! I think this would make a really lovely centerpiece.
Thank you!!! I’m so glad you like it!
I really love this little basket you made Aimee! This would make such a cute centerpiece or mantle display.
Thanks, Shani!