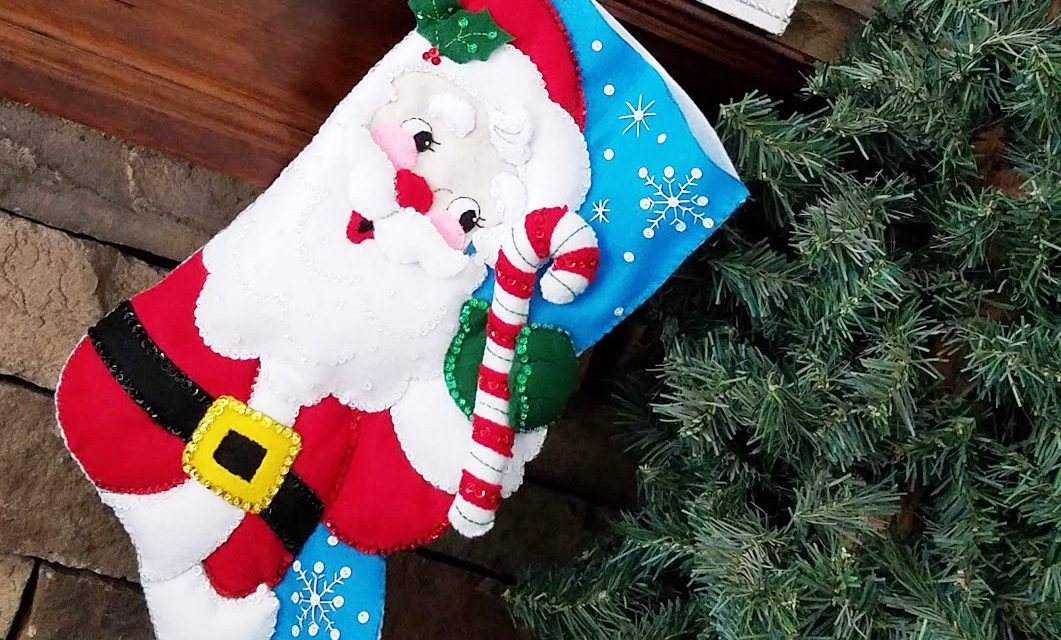
During this time of year, we tend to focus a lot on gift giving. It’s kind of magical, really. The best part, I think, is the fact that we spend a lot of time thinking about other people. More than at any other time of the year. This post is all about a Christmas Stocking you can make with your own two hands, and fill with other surprises for someone you love.
Things Small and Simple is a participant in the Amazon Services LLC Associates Program, an affiliate advertising program designed to provide a means for sites to earn advertising fees by advertising and linking to Amazon.com.
This post contains some affiliate links. This simply means that if you purchase anything, or take other actions after clicking one of my links, I will receive a small commission. This comes at no extra cost to you. Thanks so much for your support!
I love gifts . . . I’m not gonna lie. I love giving them and receiving them. Even so, sometimes the “perfect” gift is hard to come by. I have found that when I make gifts myself, they become extra meaningful. If you’re like me, this Christmas Stocking I made will be right up your alley. Read on to see why I like this project so much!
Christmas Stocking
Suggested Supplies:
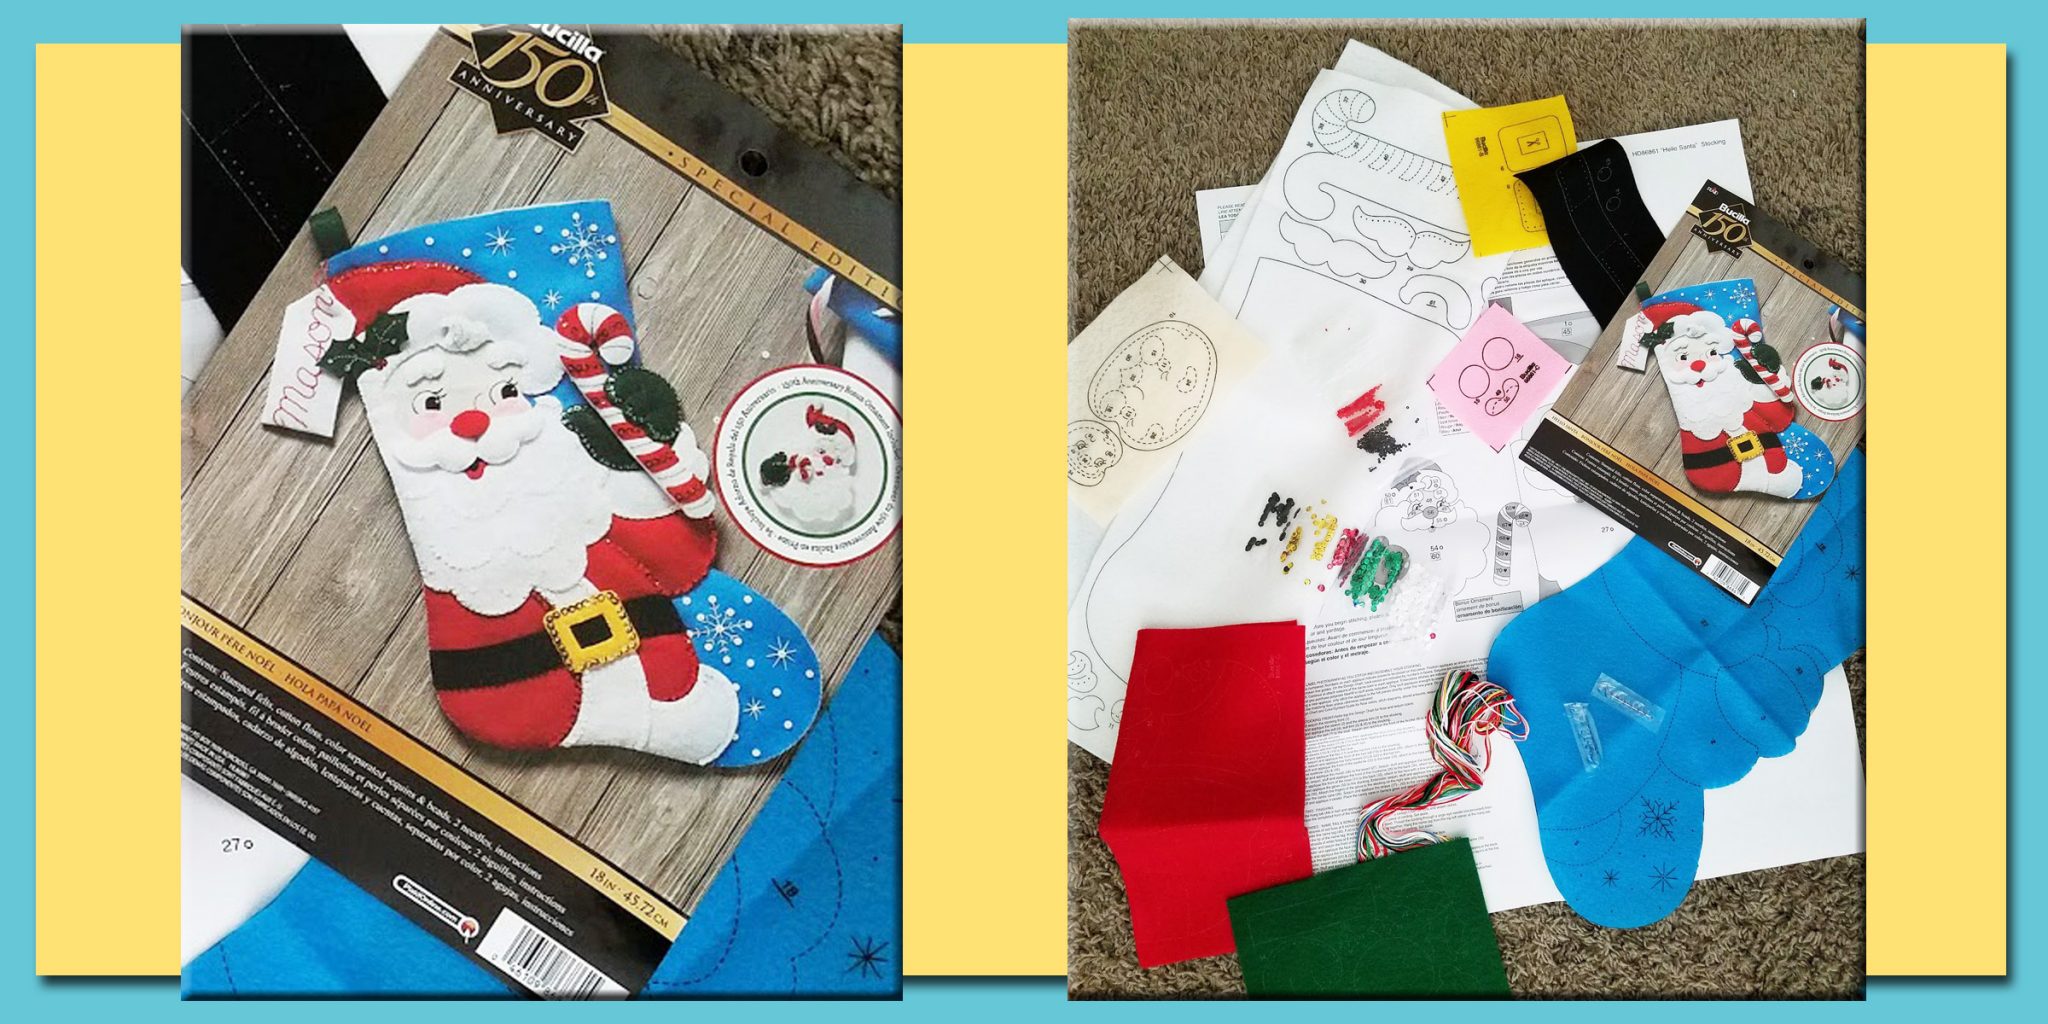
- Bucilla “Hello Santa” Felt Stocking Applique Kit.
- Polyester Fiber Fill (aka Stuffing).
- Good Sewing Scissors – There is a lot of cutting of felt involved with this project. Make sure your scissors are good and sharp!
So, those people at Bucilla really know what they’re doing when they put together a craft kit! The “Hello Santa” kit comes with just about everything you need to create this cute stocking, plus step by step instructions on how to put everything together. So . . . rather than creating a tutorial for this project, I thought I’d highlight a few of the things I found helpful when putting my stocking together.
DIY Christmas Stocking – All the Good Things
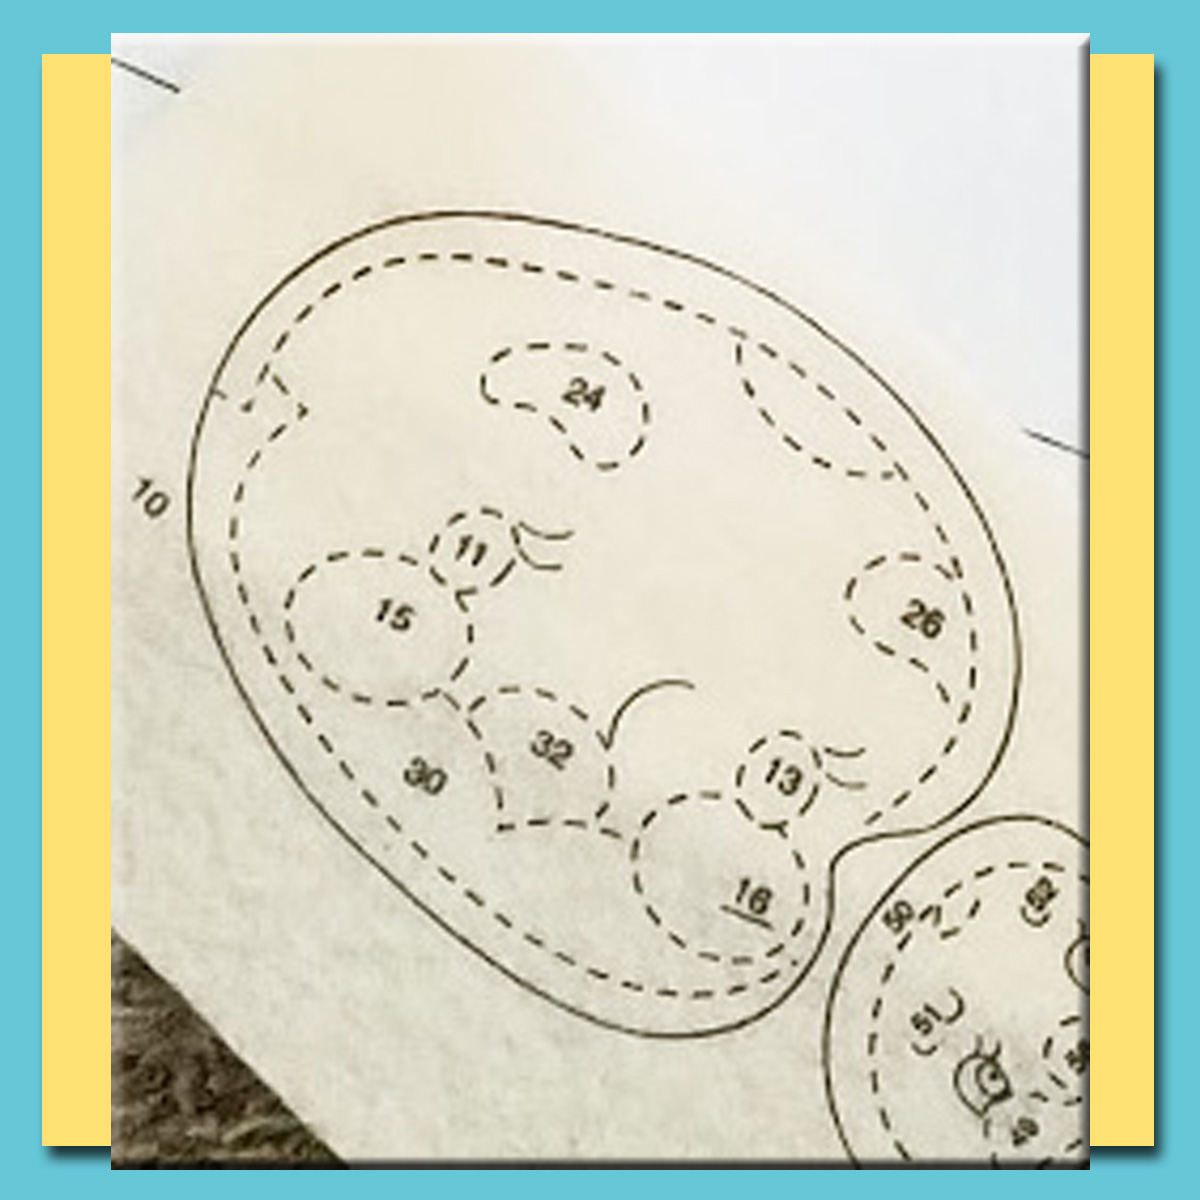
Good Thing #1:
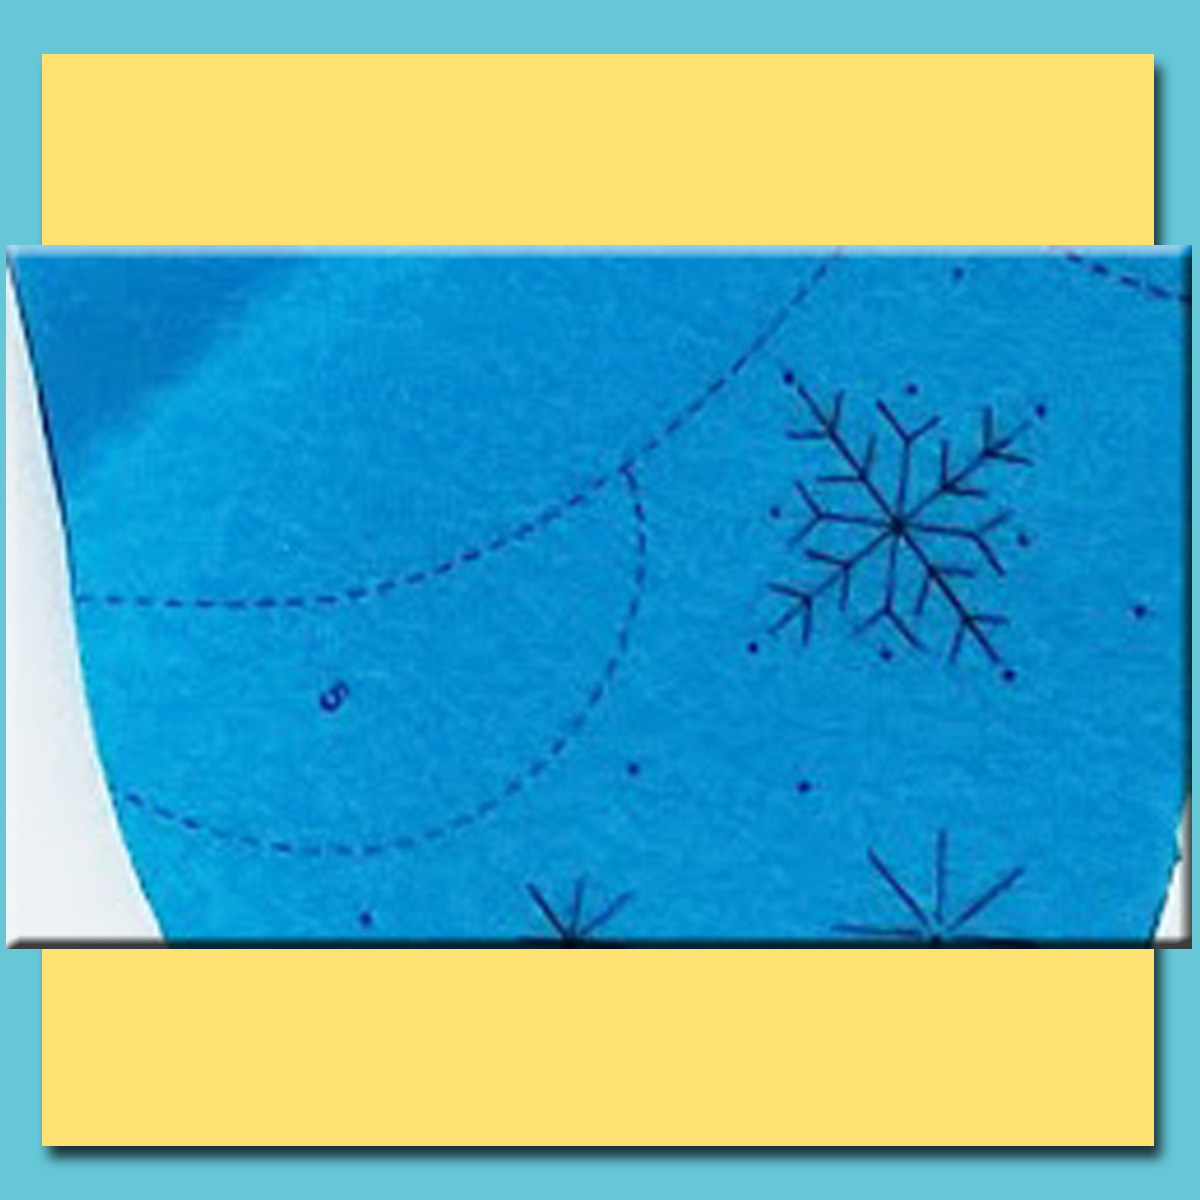
Everything is numbered and labeled! A lot of pieces go into making this stocking, and it would be easy to get lost in them. To help you out, the pattern gives step by step instructions, and tells you which applique number to use during each step. Also, many of the pieces are appliqued on top of each other. You’ll be able to find where each piece goes by matching the number of your specific piece to a numbered space already sewn onto the stocking.
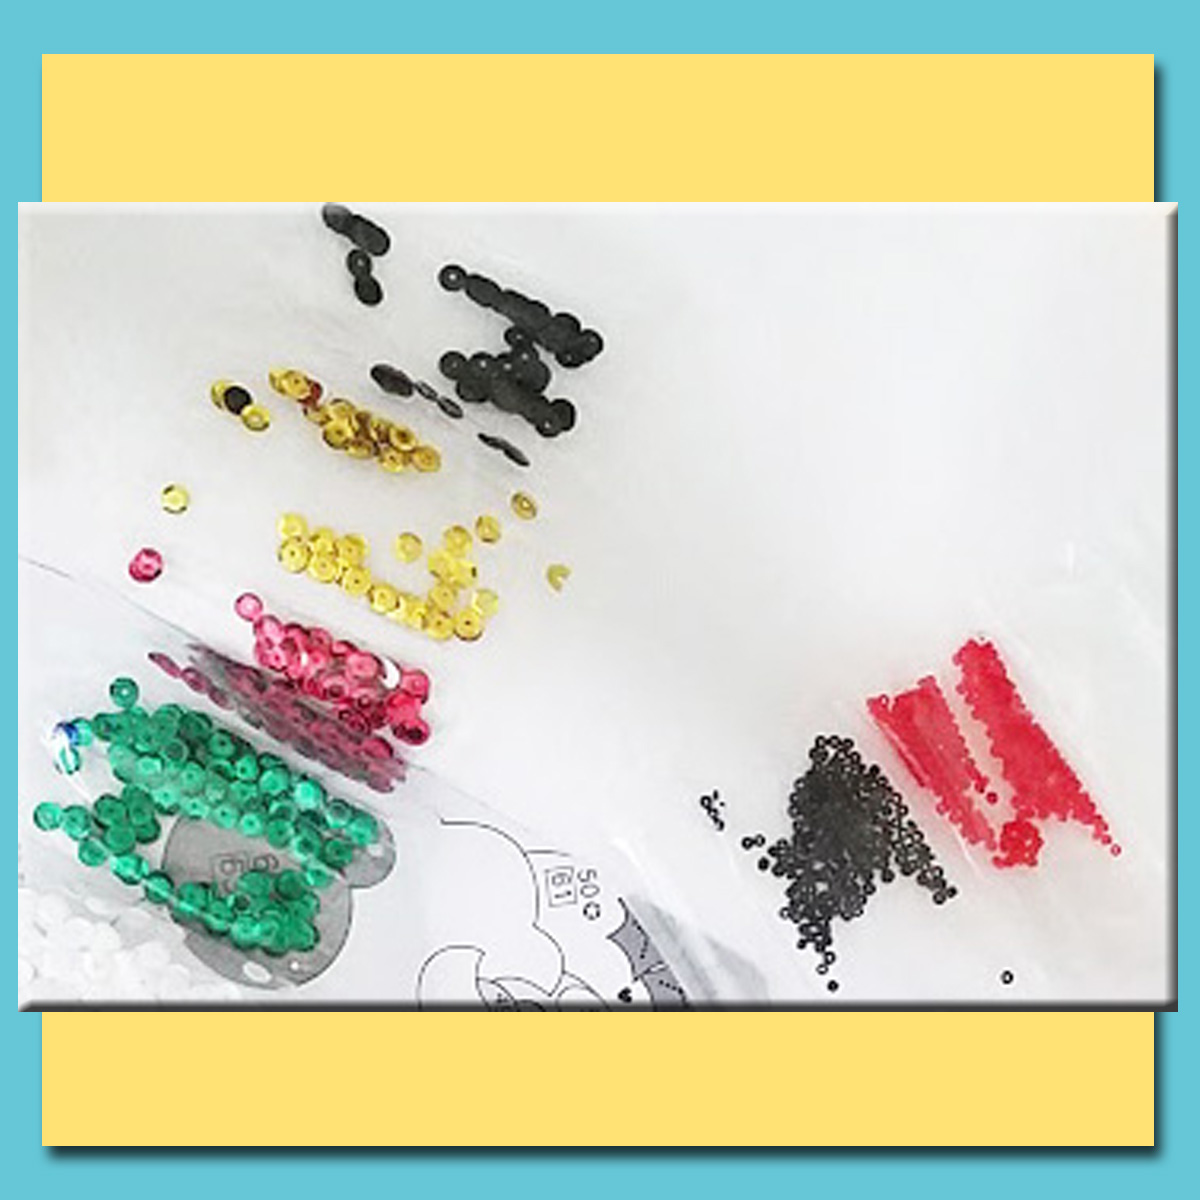
Good Thing #2:
The next thing I love about this stocking is all the sparkle that comes with it. There are sequins all over this project, which you sew into place with some embroidery thread and a little bead to keep everything in place. The kit comes with two different sized needles. When attaching your sequins, make sure to use the smaller needle, because the bigger one won’t fit through the tiny beads.
Good Thing #3:
Each applique piece that comes with this stocking kit is marked with tons of information. I already mentioned all the numbering going on that helps you keep things straight. In addition, pieces that are supposed to have embroidery are stamped with the pattern. Also, sequin placements are each marked with a little dot. There is really almost no guess work involved in this project!

Now, if you’re hoping to get this stocking made in time to give to someone this holiday season, you need to get cracking! There is a definite time commitment here, but it’s totally worth it. So . . . go order your kit, and . . .
Let’s Create!
This project was created for November 2019’s “Inspire My Creativity” link party. This month’s theme? DIY Gifts! I’m lucky enough to co-host this link party with some pretty amazing ladies – make sure you check out their blogs (links below) for more fun projects!
