This post contains affiliate links. This simply means that if you purchase anything after clicking one of my links, I will receive a small commission. This comes at no extra cost to you. Thanks so much for your support!
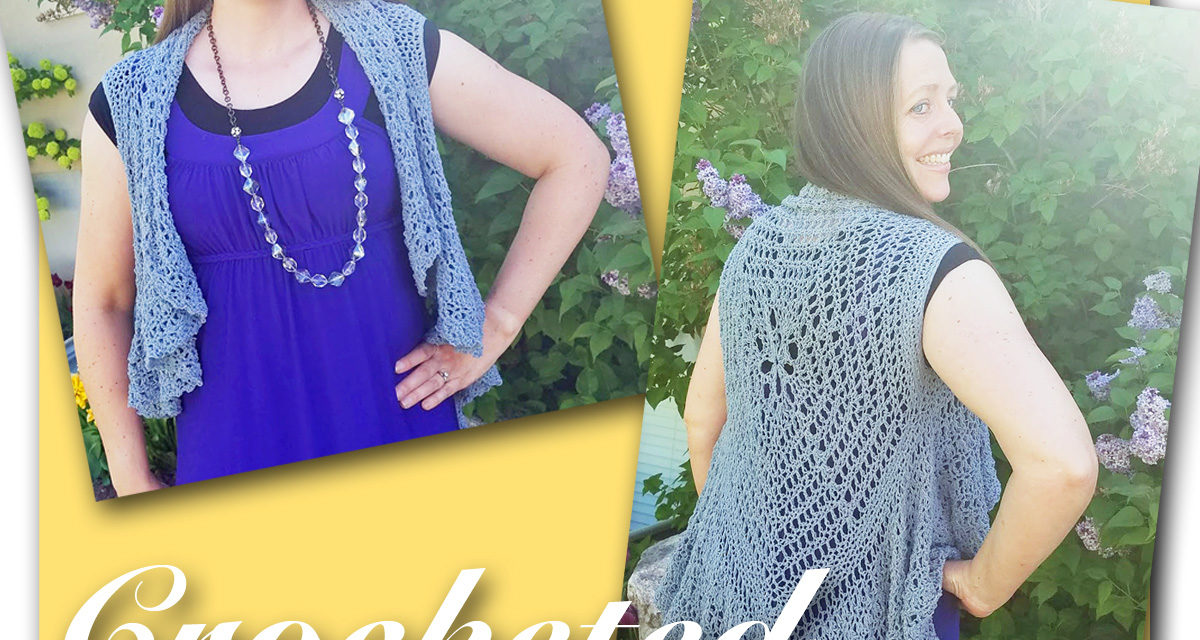
A few weeks ago, I was able to attend SNAP Conference in Salt Lake City, UT. The conference came shortly after our “Inspire My Creativity” theme for May (something to wear) had been chosen. As I wandered around the vendor hall, I noticed this beautiful, crocheted vest hanging up in the Annie’s Publishing booth. As soon as I saw it, I knew I wanted to make one of my own. I’ve done a lot of crochet in my time, but I have never crocheted an article of clothing for myself. I figured now was as good a time as any to try that out. Here’s how it went:
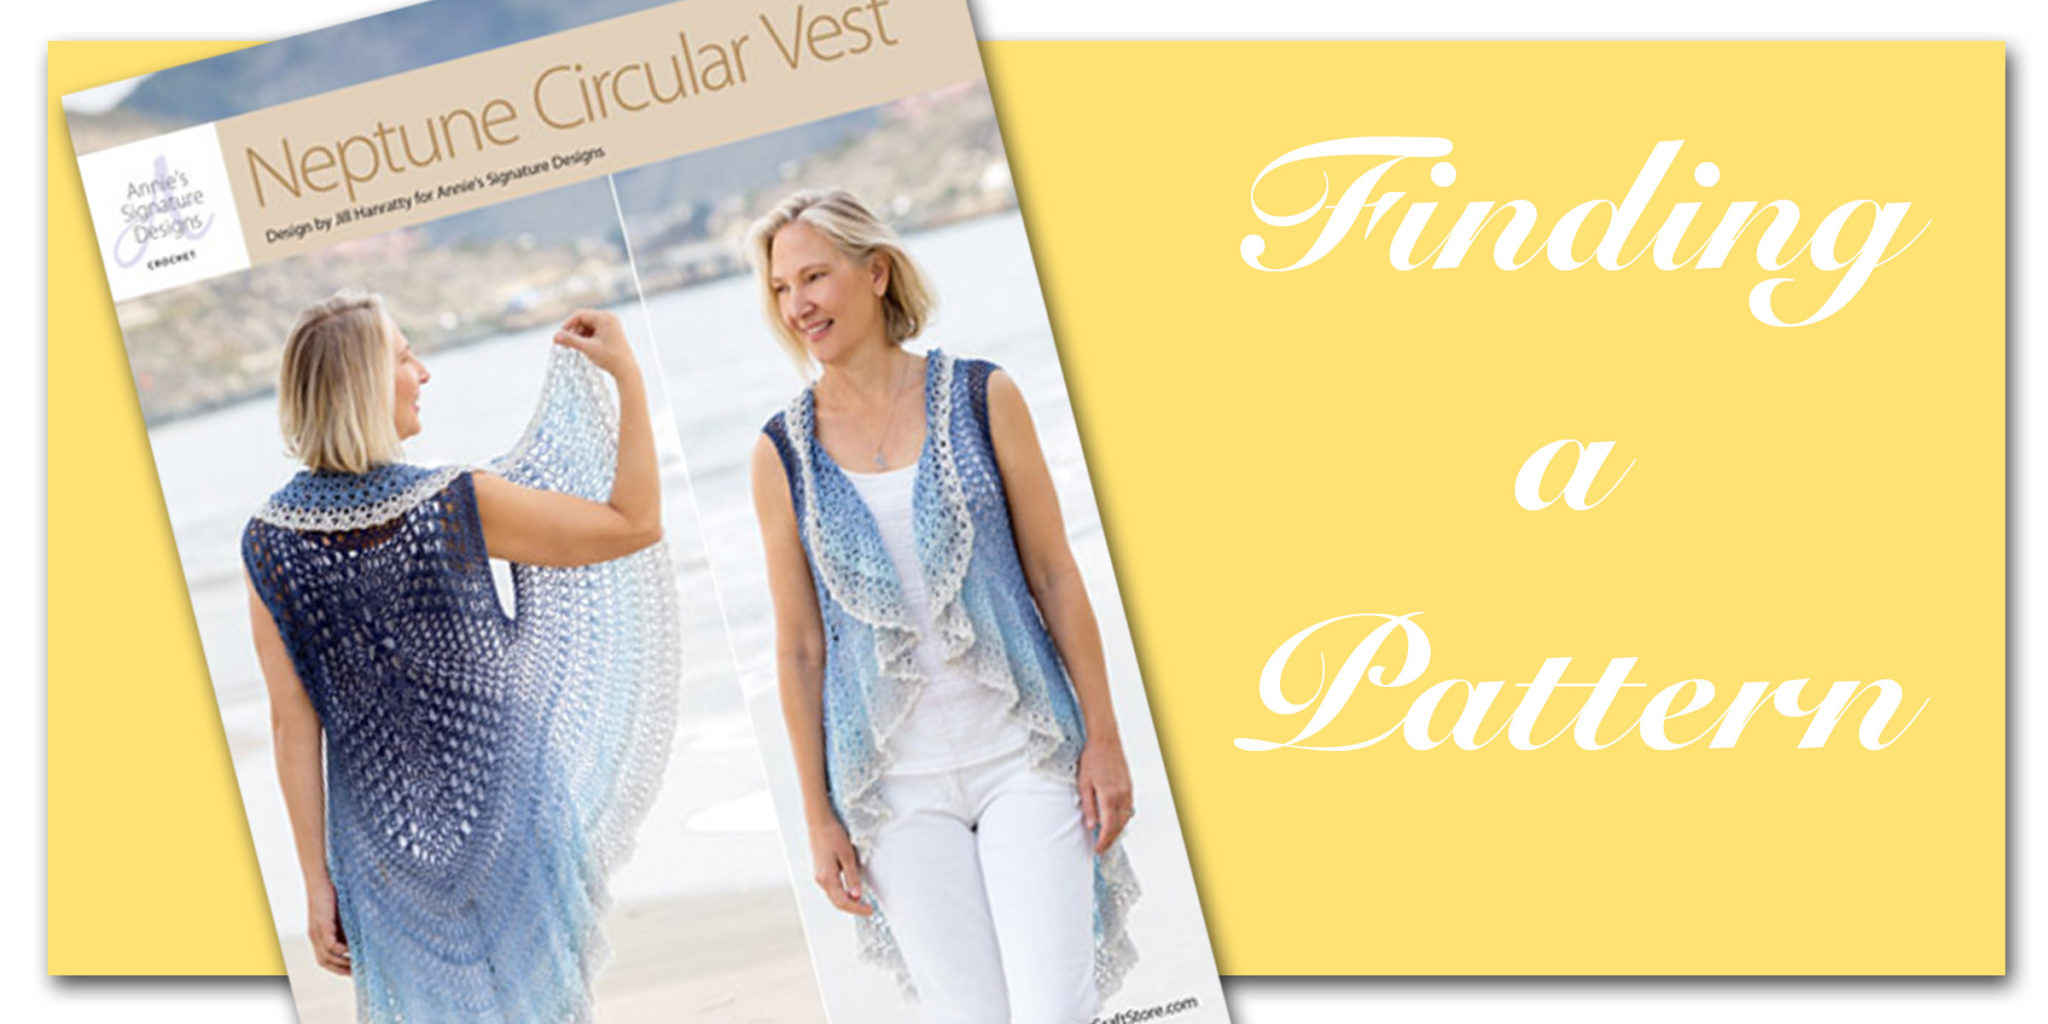
Crochet Vest Materials List:
This is the materials list included with the pattern.
(Size Small and Medium – use one cake)
(Size Large, X-Large, and 2X-Large – use two cakes)
Because I wasn’t in the mood to wait for shipping on the yarn suggested in the pattern, I changed things up a little bit. Instead of a super fine weight yarn, I used a fine weight (#2), so my yarn was a little thicker. Also, I tend to crochet really tightly, so I picked up a bigger crochet hook than the one suggested.
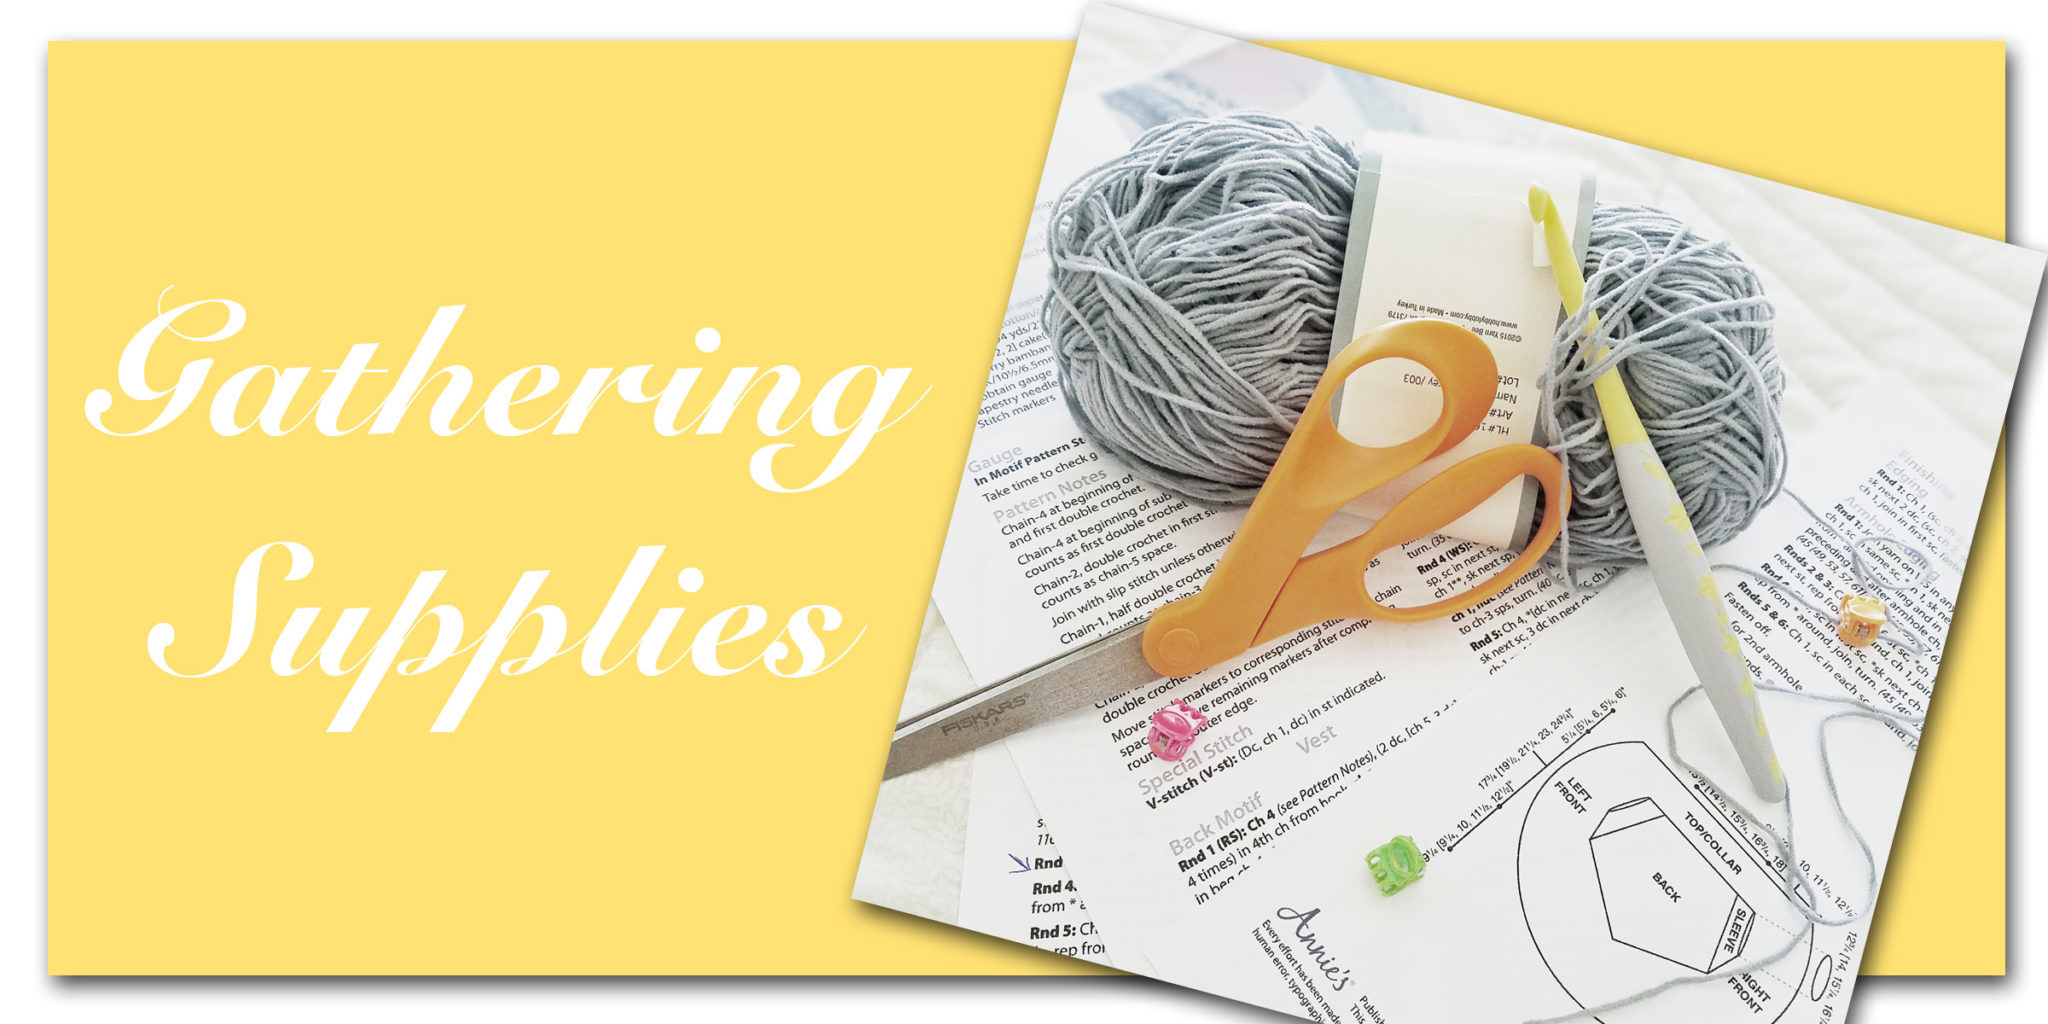
Crochet Supplies I Used:
(Check the yardage on whatever kind of yarn you choose for this project. In the original pattern, one cake is 1094 yards. I ended up buying two skeins of yarn to complete the small size vest)
(This one is slightly larger than the one suggested in the pattern)
Now, I wouldn’t consider myself a crochet master, by any means, but I’ve done my fair share of crochet projects. Even so, the pattern instructions were kind of confusing for me. I ended up starting over five or so times before I finally figured out what was going on. In an effort to help you avoid this same struggle, here are a few tips for you:
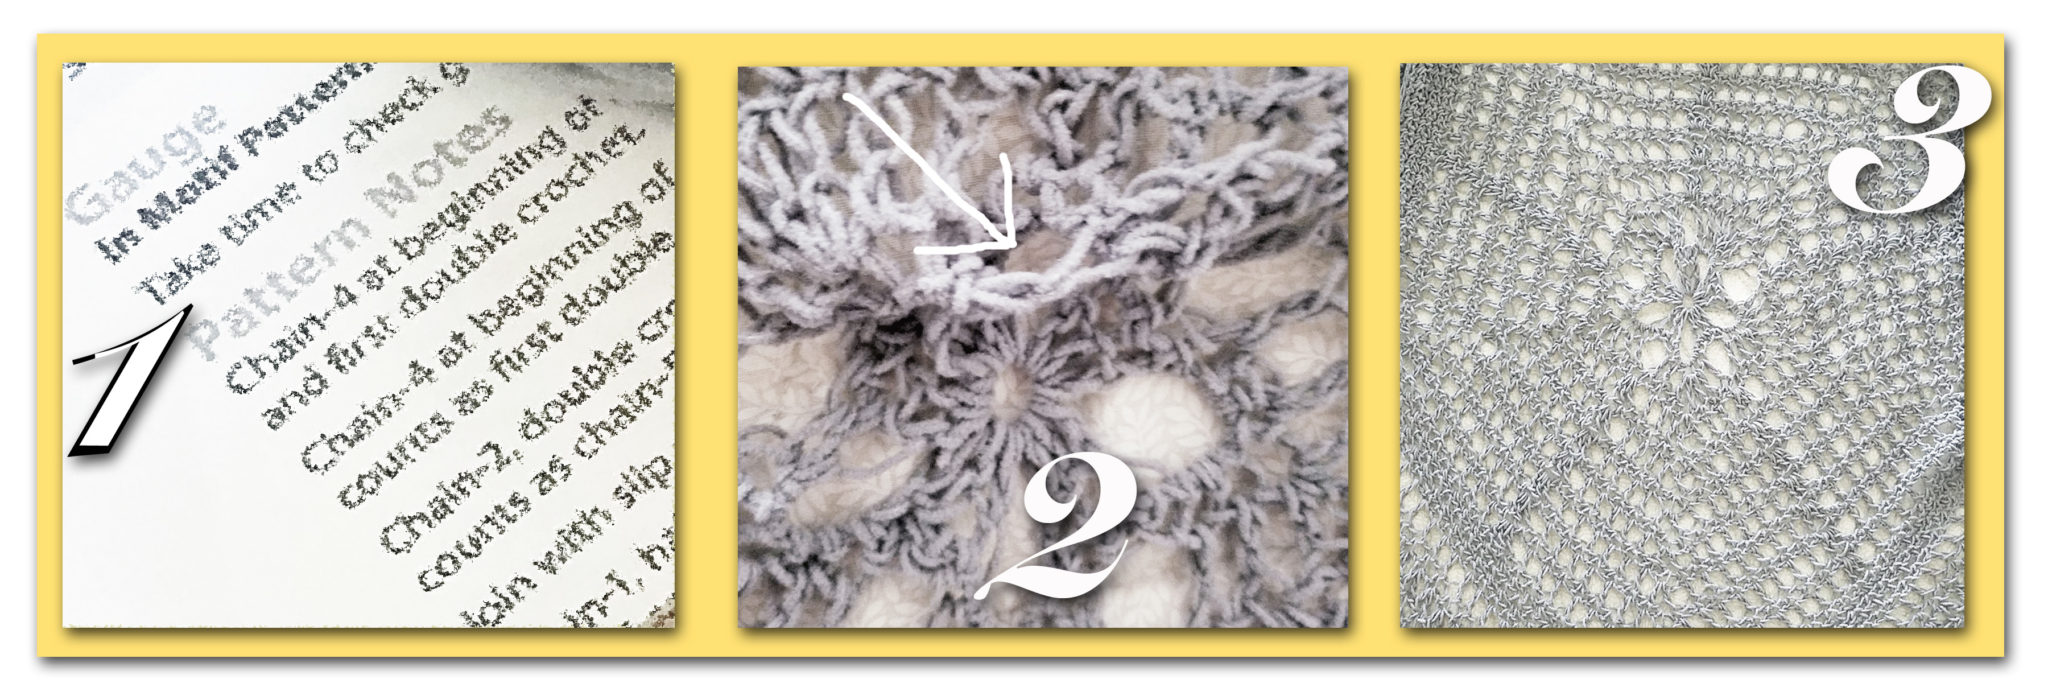
Crochet Tip 1:
The pattern is just that, a pattern. Meaning, each row is a set of stitches that repeats over and over again. Rather than trying to read and create each individual stitch, try to look for the pattern the instructions are trying to get you to create.
Crochet Tip 2:
According to the pattern notes, the stitches you use to end round 1 of the back motif constitute a chain 5 space. Round 2 begins in the NEXT chain 5 space. You have to skip over some of your double crochet stitches to make this happen, which gives you a little loopy thing that ends up on the inside of the vest when you are finished. It feels weird, but you need to do it this way in order to be set up for the next round!
Crochet Tip 3:
You begin making the vest with the middle of the back motif. At the beginning of the pattern, it gives a little bit of information about sizing your rows if you want to make a vest larger than the small size. These adjustments do not begin until after rows 8-18 of the back motif! The picture above is what your back motif should look like.

So, this really was a super fun project! If you’re looking for something to keep your hands busy over the course of the next few weeks, gather your supplies and:
Let’s Create!
This project was created for May 2019’s “Inspire My Creativity” link party. This month’s theme? Something to wear! I’m lucky enough to co-host this link party with some pretty amazing ladies – make sure you check out their blogs (links below) for more fun projects!

Shani | Sunshine & Munchkins
Christine | Swordfights & Starry Nights
Meg | See The Happy
Candice | She’s Crafty
Julia | The Quiet Grove
Marie | The Inspiration Vault
Brooke | My Beautiful Mess
Heather | Glitter On A Dime
Rachel | Adventures of a DIY Mom
Jenny | Cookies, Coffee and Crafts
Anna | Practical and Pretty
Cathy | A Boy and His Mom
Sarah | The Strawberry Nest
Adree | The Keele Deal
Aimee | Things Small and Simple You are Here!
Alexandra | EyeLoveKnots
Wow! That is really pretty. I love that you shared tips. I often start over a bunch of times on crochet projects until I finally realize what the pattern meant.
Same! But it usually all comes together in the end!
LOVE! I bought this pattern a couple weeks ago, and the yarn to go with it, but I haven’t been able to find the time to work one up.
Wow! This is an amazing shawl! My crochet skills end at making pot holders but this makes me want to learn more.