
We’ve all heard about the benefits that come with having an attitude of gratitude. When we’re grateful, we are happier and more content with our lives. We’re more hopeful for the future. Help maintain an attitude of gratitude this coming year with this quick DIY Gratitude Journal.
Things Small and Simple is a participant in the Amazon Services LLC Associates Program, an affiliate advertising program designed to provide a means for sites to earn advertising fees by advertising and linking to Amazon.com.
This post contains some affiliate links. This simply means that if you purchase anything, or take other actions after clicking one of my links, I will receive a small commission. This comes at no extra cost to you. Thanks so much for your support!
These Gratitude Journals are an update of some I made for my family last Christmas. My sister and I were in charge of our annual Christmas Eve party, and we decided to focus on the many things we have to be grateful for. We sent everyone home with a gratitude journal to use throughout the year. I’ve loved mine, and decided I’d share the idea with all of you lovely people! Keep reading for all the details!


DIY Dollar Tree Gratitude Journal Suggested Supplies:
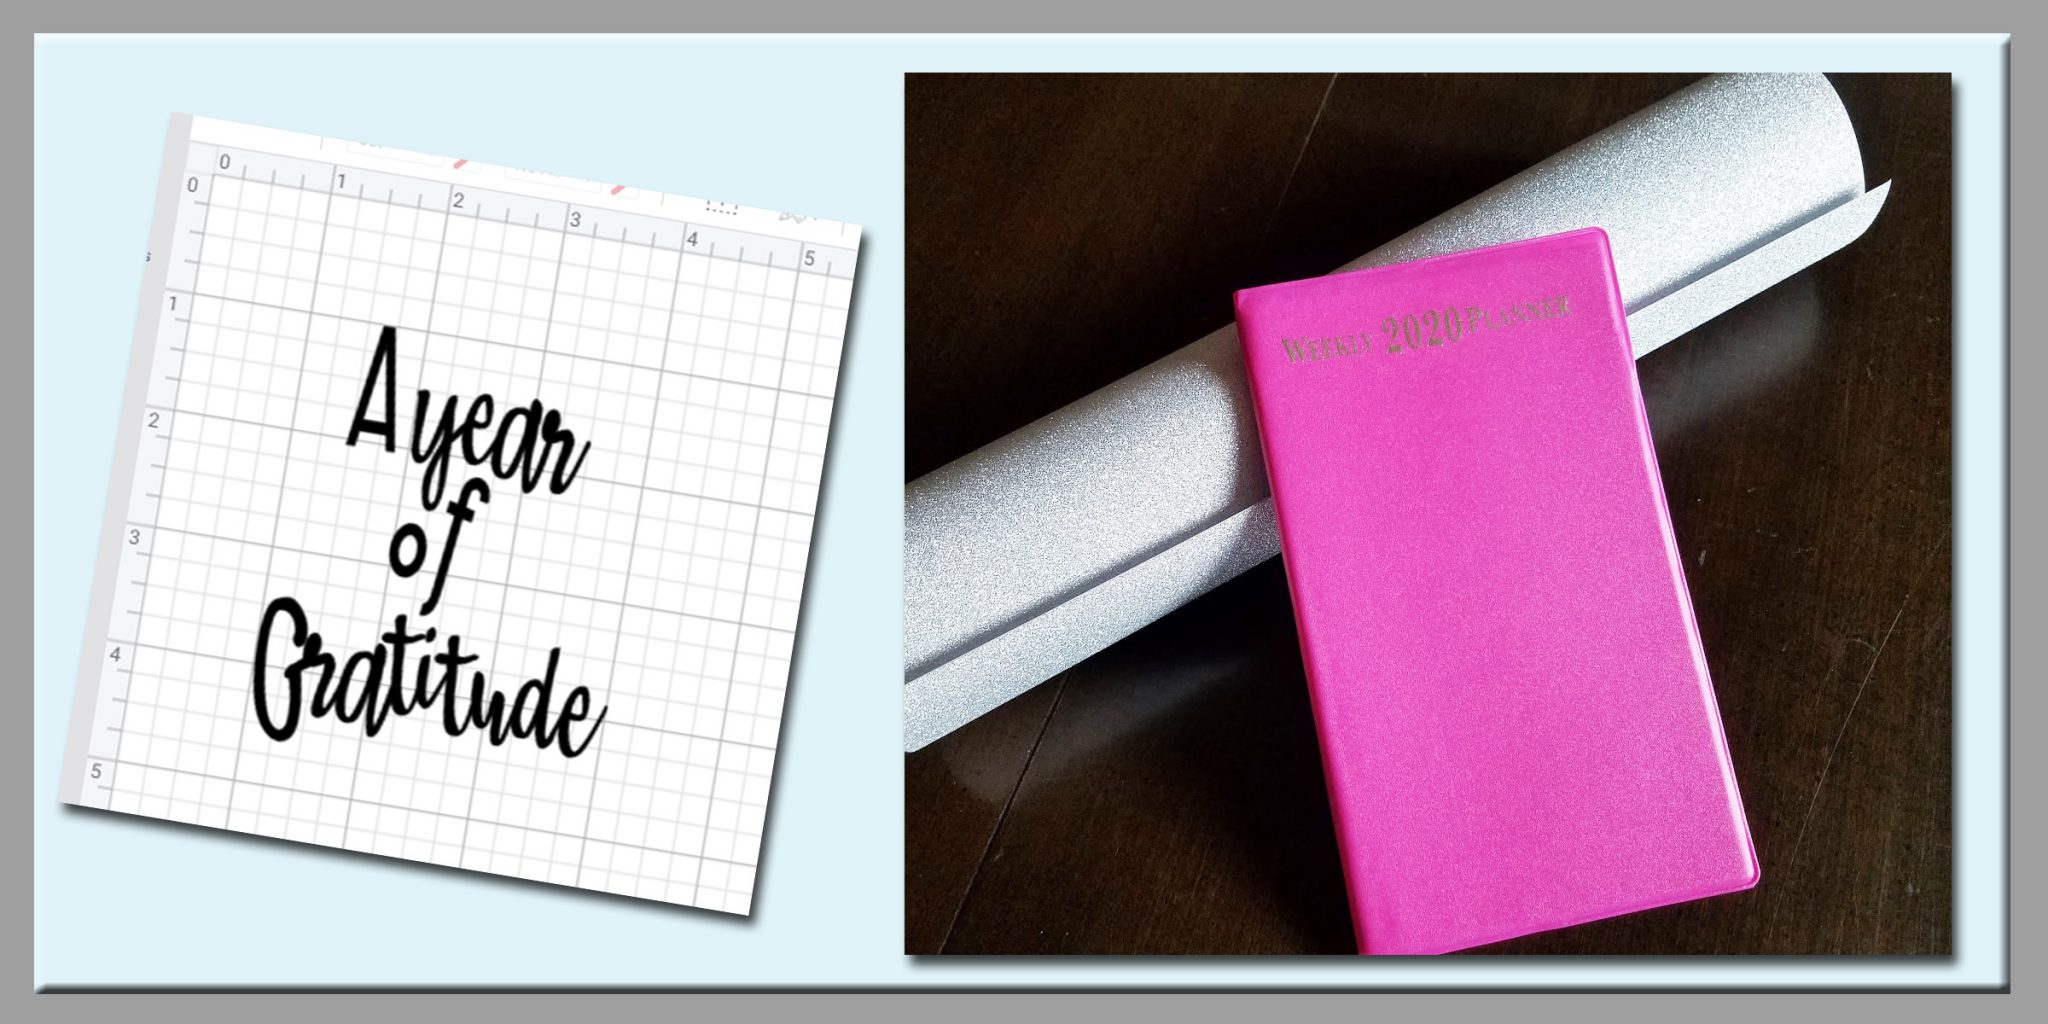
* Small Weekly Planner – I picked mine up at the Dollar Tree.
* Vinyl – I love how this Glitter Vinyl looks!
* You can access my Design Space file here, or get creative and make one of your own!
Creating Your Own Gratitude Journal
Step #1:
The first thing you need to do, before you do anything else, is choose a notebook / planner you can look forward to writing in. I really like this weekly planner from Dollar Tree because it’s fairly small and durable. Plus, the price can’t be beat!
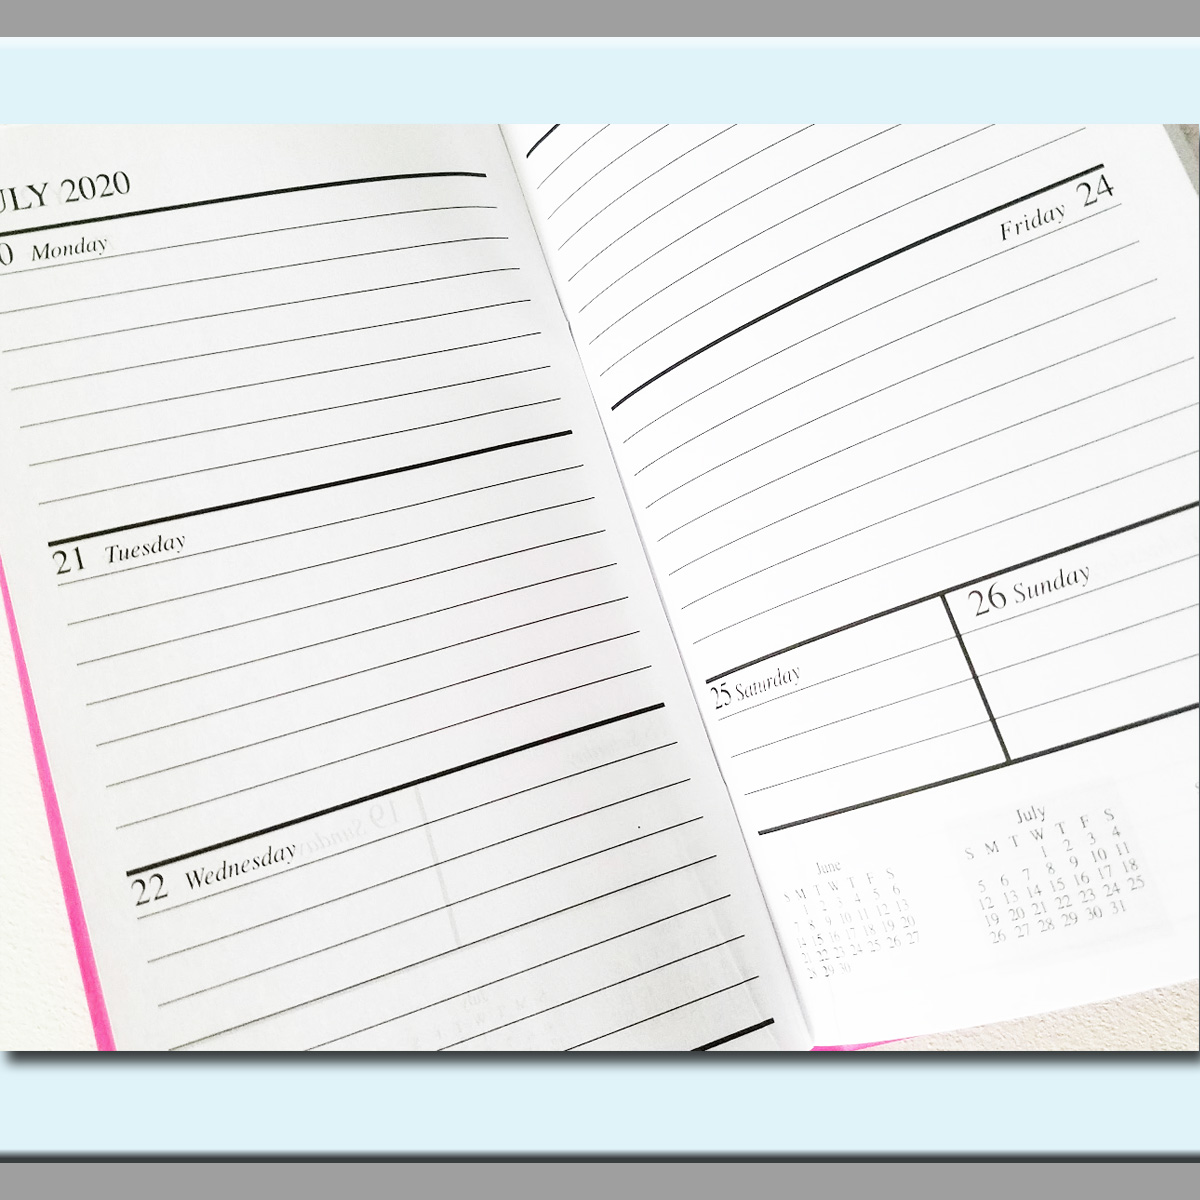
I chose to use a planner rather than a journal, because I like the way they are set up. Having a dedicated space for every day of the year makes me happy. This doesn’t mean I write every day – sometimes it’s hit and miss. I set a goal, though, to write at least twice a week, and having my journal organized by the week helps me keep track of that.
Step #2:
Once you are happy with your notebook / planner, head on over to Design Space and get to work. You can either design your own cut file, or use mine.
Step #3:
Now that you have a design ready, it’s time to put your Cricut to work. Click on “Make It” in Design Space, and follow the directions on your screen to cut. With the cutting done, you’re ready to weed and transfer. For more details on weeding and transfering, check out this post.

That didn’t take too long, did it? This really is a pretty simple craft, but if you will write in it regularly, it just might change your life. Are you ready?

