This post contains affiliate links. This simply means that if you purchase anything after clicking one of my links, I will receive a small commission. This comes at no extra cost to you. Thanks so much for your support!
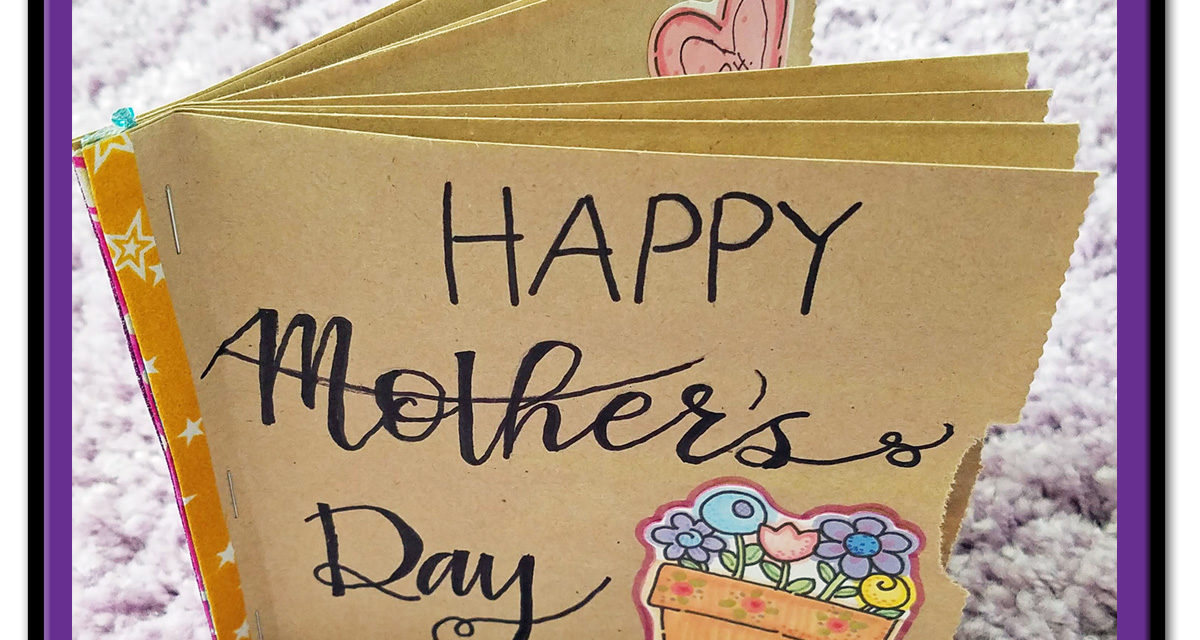
Mother’s Day is right around the corner! I love that we get to celebrate mothers in May – the time of year when everything seems to be coming back to life. I don’t know about you, but I’ve been lucky enough to have quite a few amazing women “mother” me. They may not each have given me life, but they’ve all taught me what it means to live. I’m so grateful for the influence of good women in this world! To celebrate, this year, my kids and I took a few brown paper lunch sacks and turned them into custom Mother’s Day cards. Read on to see how we did it!

Mother’s Day Card Suggested Supplies:
- Brown Paper Lunch Sacks
- White Cardstock
- Washi Tape
- Scrapbook Paper
- Mother’s Day Stickers
- Markers
- Other Mother’s Day Embellishments

As you can see in the image above, the brown paper sacks you have gathered will turn into the “envelopes” for your Mother’s Day cards. You can decorate them to your heart’s content! Here’s a step by step rundown for the process I used to make this card:
Step 1:
Trim the bottom of the paper bag off to the size you want your card to be. I chose to cut mine off six inches from the top. This gave me an almost square “envelope”. Feel free, though, to experiment with size.
Step 2:
As long as you’re trimming and measuring, cut your white cardstock to fit inside the piece of brown paper bag you just cut. I cut my cardstock into a square, five inches on each side.
Step 3:
To make sure your Mother’s Day card doesn’t slip out the back, you’ll want to close it up. I used washi tape to close mine.
Step 4:
Make sure your cardstock piece fits inside the bag envelope. As soon as everything looks good, you’re ready to add your own messages and decorations. If you make more than one, you can staple them together to make a little book.

That’s all there is to it! Now it’s your turn, so gather your supplies and . . .

