** This post is sponsored by The Genius of Play **
I live in an area with LOTS of young families. Pros? Lots of friends for my littles, and other moms that I can connect with. Cons? Overcrowding in our schools. Our Elementary School is so overcrowded, our school district has put us on a year-round schedule. Save for three weeks in July, school is always in session. Our student body has been divided into four different tracks, each of which takes turns attending school and taking vacations. We don’t have a traditional summer break. Instead, that time is spread out over the course of the school year. This means that 25% of the student body is on vacation at all times, we just rotate through the tracks. Every three weeks, another group gets a quick vacation. My kiddos spent most of the month of May at home, which means we got a head start on trying out some summer boredom busters.
Let’s face it, we all know that excessive “screen time” isn’t the best way for our kids to spend their time. They NEED to play, to experience the world around them, and to use their imaginations. With summer right around the corner (for the rest of you . . .), it’s the perfect time to give your kids the freedom to explore and play. One afternoon, while my kids were off track, we broke out the food coloring, some water, and a few other things. I love that everything we used came from our cupboards – no special supplies necessary! We had tons of fun, and maybe learned a few things, too. Here’s how our afternoon went. Maybe some of these can save you from a day of “I’m Bored!” this summer!
Colorful Flowers Experiment
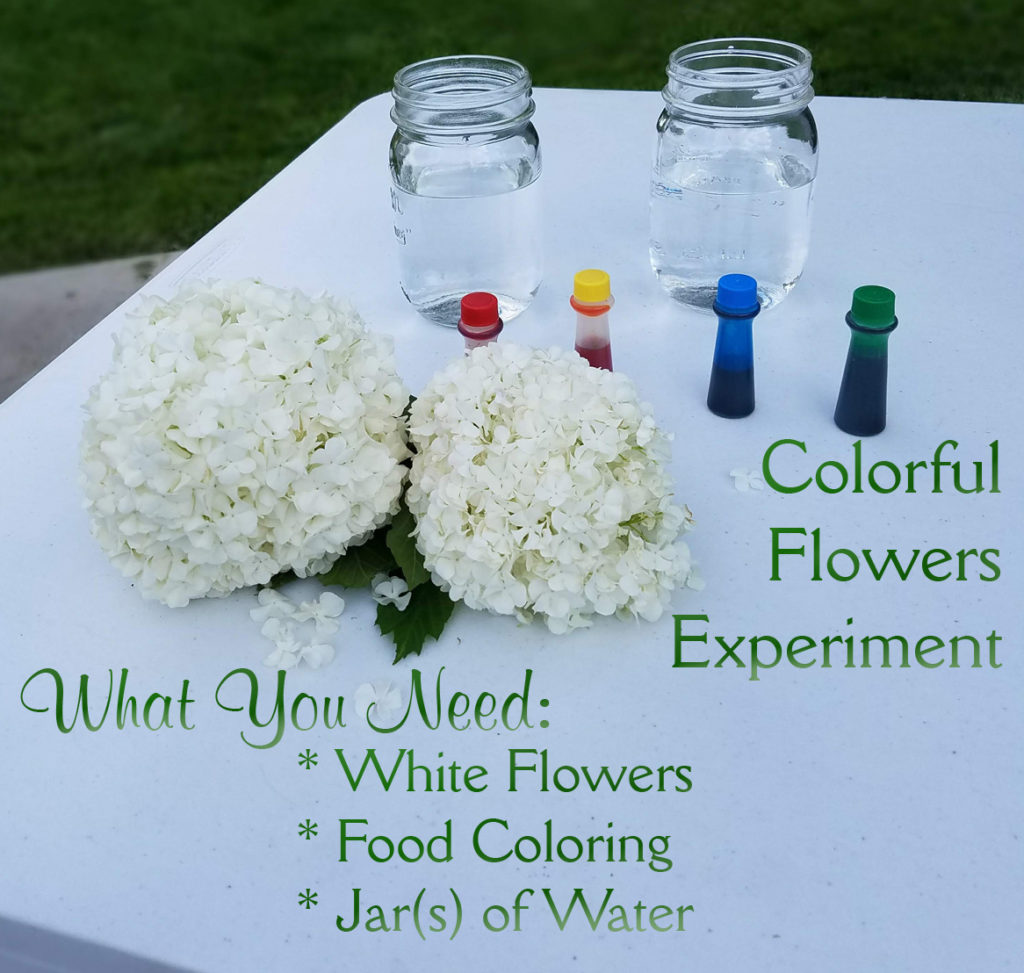
This activity is pretty simple. Just add some food coloring to a jar or vase of water, add a white flower (I used blooms from my snowball bush), and wait. Our “After” pictures are from the next day. As you can see, our blue water worked much more quickly than the green. I wonder how red would do? Maybe give it a try . . .

Before

After – Green

After – Blue
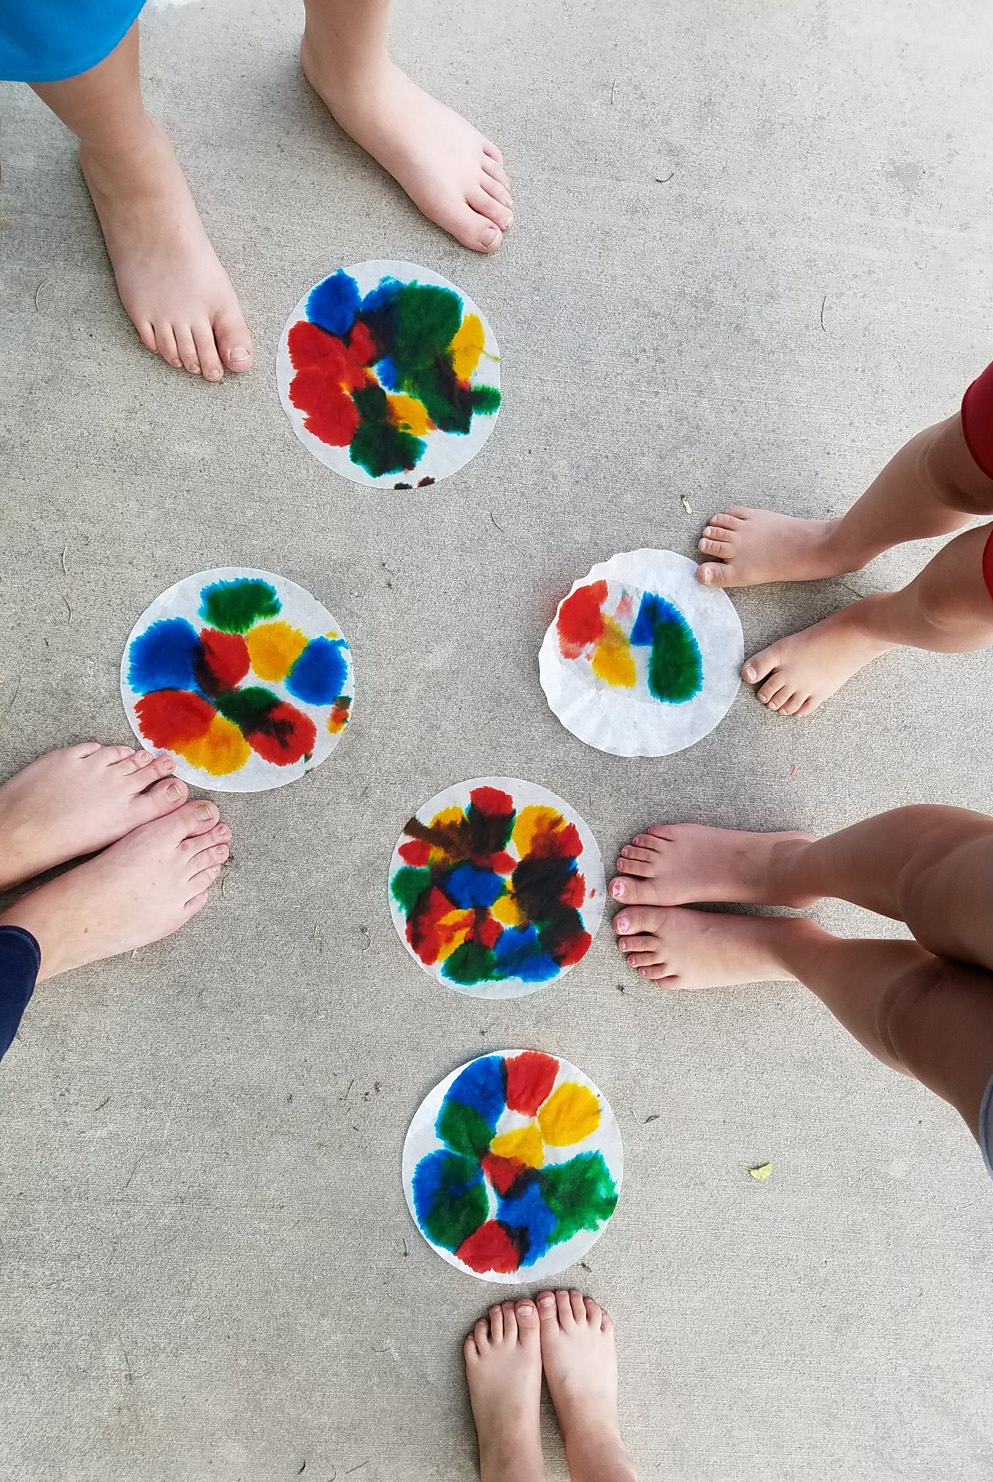
Chromatography

We did this activity with food coloring, but it can also be done with water based markers. It’s especially fun with black markers, because black is made up of lots of different colors, and it’s interesting to see which ones each company uses. We put a drop or two of food coloring in the center of each coffee filter circle. This done, we created a wick, by cutting a small strip from the outside to the middle of the circle – connecting to the food coloring. Make sure your wick reaches the water in your jar. It will soak up the water, which will help separate the different hues that make up each of the colors used. Here’s a glimpse of how our experiment played out. Side note – we only did three, but the kids were absolutely fascinated, and could have kept going for hours with this one – especially with a bucket of markers to try.

Rain Paintings

This activity is awesome for those rainy days with nothing to do. In the absence of rain, however, a spray bottle becomes an adequate substitute. A couple of tips . . . I have done this activity on regular printer paper, and the paintings turn out fine. However, the coffee filters absorb the color better, and there isn’t as much “running” of the colors to deal with. Also, food coloring is pretty potent, and no matter what kind of paper you use, it will soak through. So, make sure you have something under your paper to protect anything you don’t want permanently painted. I recommend cleaning up between paintings so each person has a clean slate to start from. Without further adieu, here’s how to make a rain painting!

Add a Few Drops of Color

Get it Wet!
Bask in the Beauty!
Food Coloring Fireworks

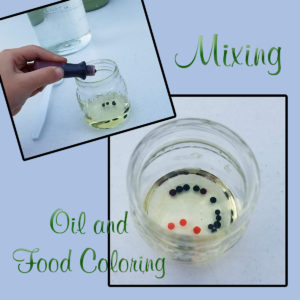 This was a new one for me. We all know that oil and water don’t mix. Did you know that most food coloring is water based? That means, when you add it to oil, it keeps it’s shape, and doesn’t spread. The oil kind of creates a bubble with the food coloring inside. When you add this to warm water, the oil protects the food coloring from incorporating into the water immediately. Little by little, each bubble pops, filling your water with an explosion of color. It’s pretty amazing to watch! We actually did this activity on two different days. The first day, we used every color we had. We stirred things up, maybe a little too vigorously. Before we added the oil to the water, we were left with lots of super tiny bubbles of color, which all exploded very quickly. Since we used so many colors, the results were somewhat difficult to see. It was spectacular, but nearly the experience we had the second time we tried it. Day 2 – we limited our colors to red and yellow, since we knew they would still look good when mixed together. Also, we didn’t stir the colors much. When we dumped the oil into the water, all the color bubbles settled on top, and it took a minute for things to get going. It was pretty amazing when they did, though!
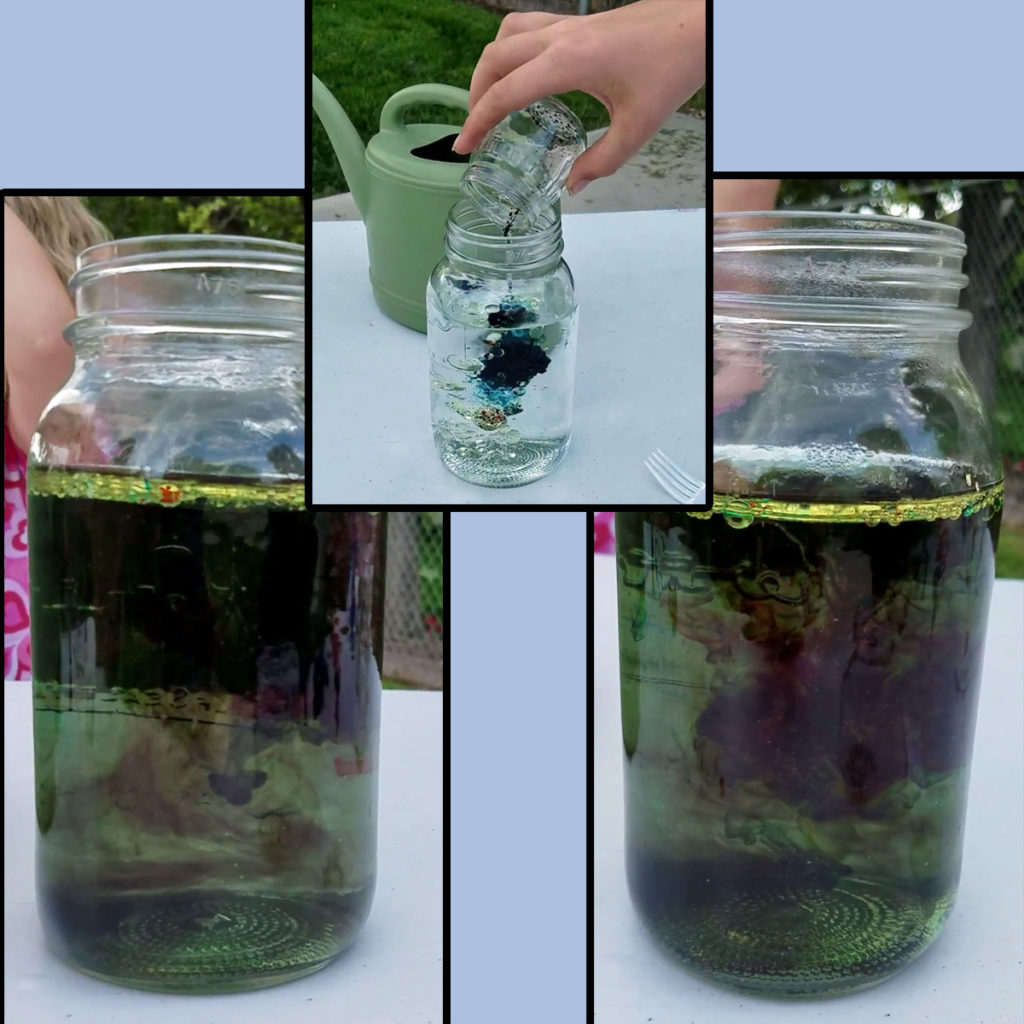
Day 1
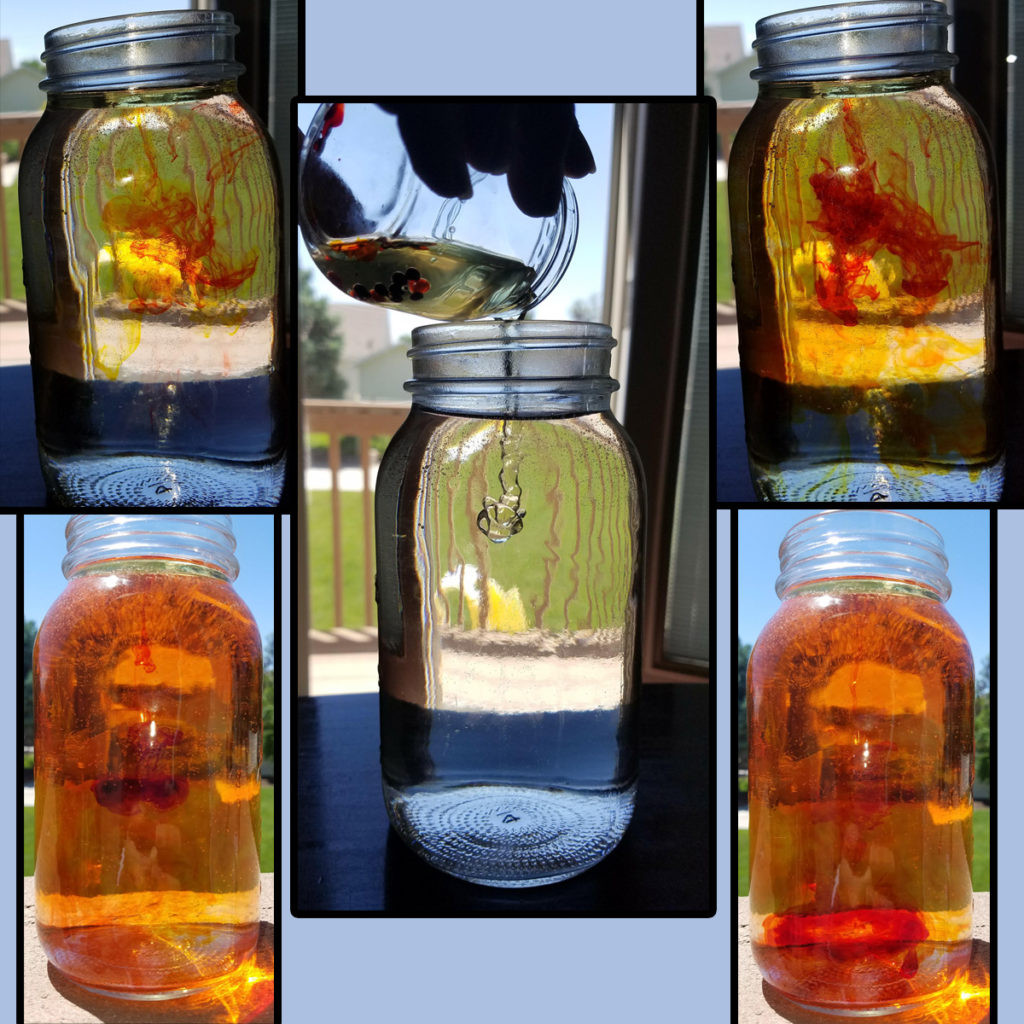
Day 2
So . . . there’s a re-cap of our fun food-coloring day. I hope it gives you some ideas of things to do with your kids! We had a ton of fun, and will be repeating these activities. They are all so easy to set up, don’t require any special equipment, and create hours of fun. Go color your life happy!
