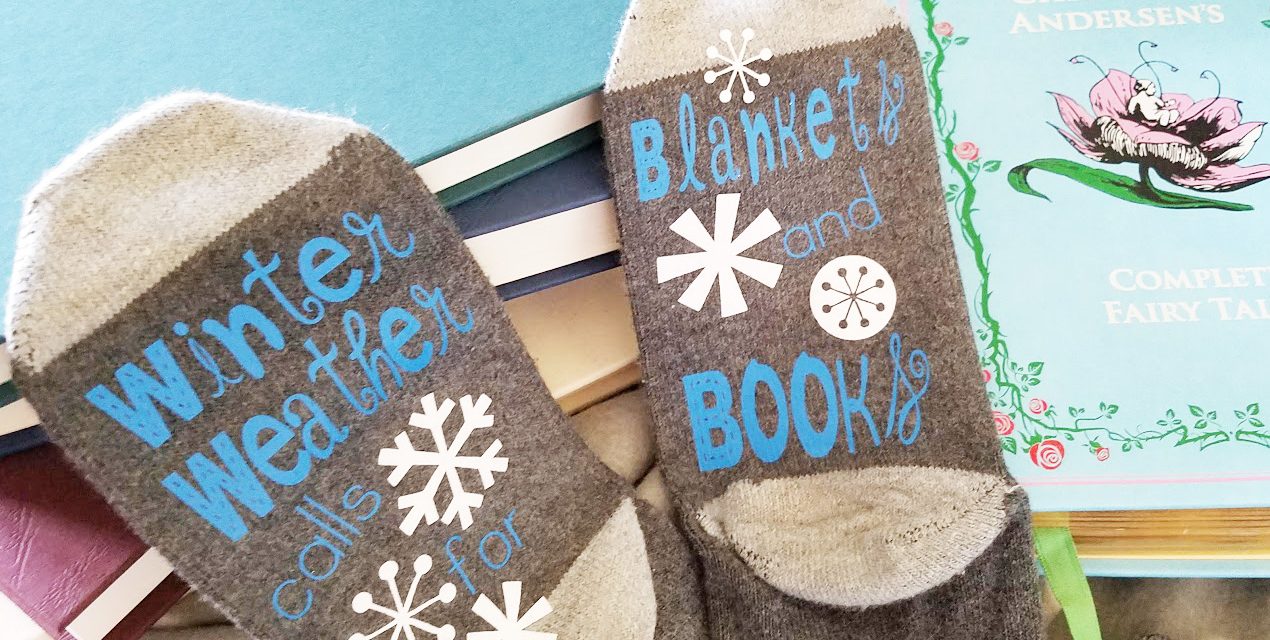
Thanks to a little Heat Transfer Vinyl, and my Cricut Explore Air 2, these cozy socks are ready for an afternoon of reading and relaxing!
Things Small and Simple is a participant in the Amazon Services LLC Associates Program, an affiliate advertising program designed to provide a means for sites to earn advertising fees by advertising and linking to Amazon.com.
This post contains some affiliate links. This simply means that if you purchase anything, or take other actions after clicking one of my links, I will receive a small commission. This comes at no extra cost to you. Thanks so much for your support!
It seems that as the weather gets colder, my need to rest and relax grows. It’s almost like I feel a need to hibernate! While that’s not an option, I do love a quiet afternoon with a blanket and a book. Now, my toes will get to be cozy, too, with these fun socks I customized with my Cricut.
Cricut Made Winter Weather Socks
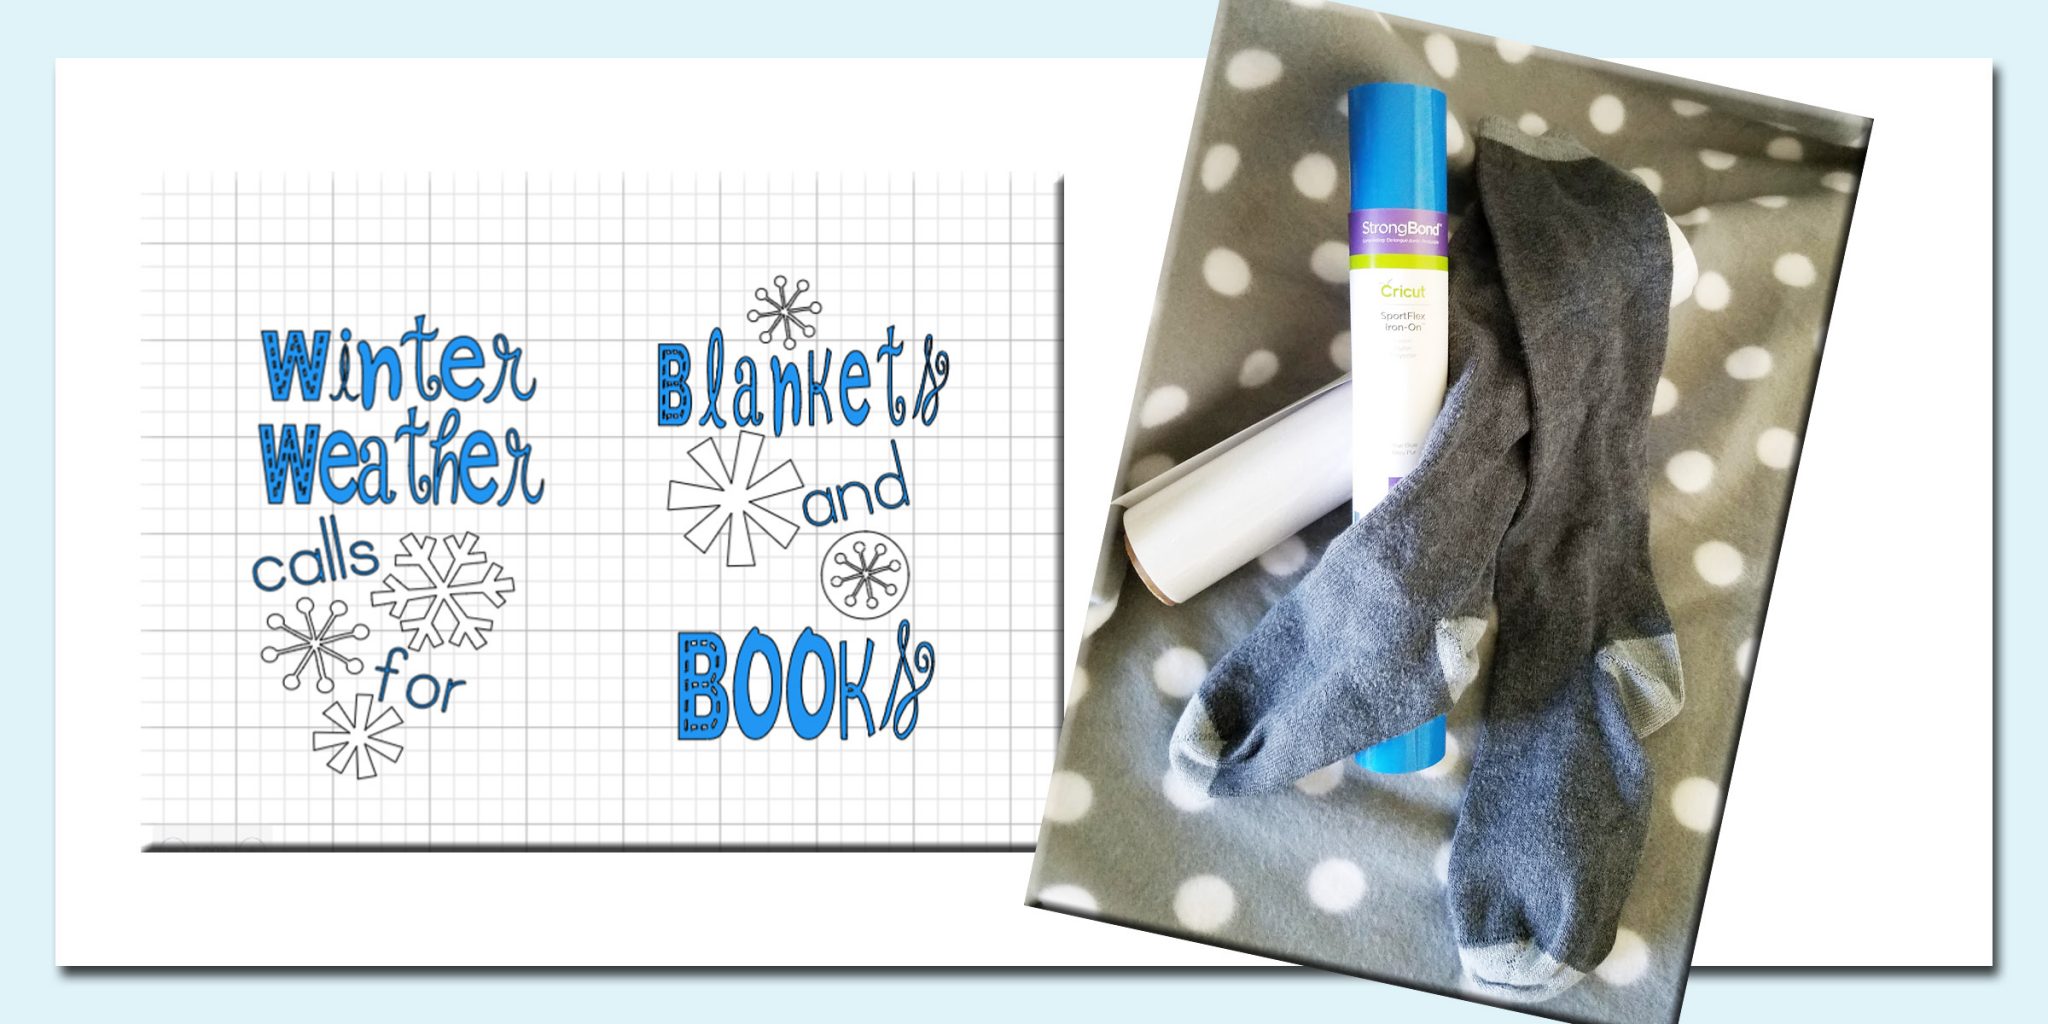
Suggested Supplies:
- A pair of soft, warm, cozy socks . . . like these.
- Heat Transfer Vinyl in Blue – I like Cricut’s Sportsflex vinyl for this project, because it’s super stretch.
- Heat Transfer Vinyl in White (for the snowflakes) – I love Cricut’s Iron On Glitter Vinyl!
- Cutting Machine – I love my Cricut Explore Air 2.
- Heat Press – The Easy Press from Cricut is my favorite.
Let the Cricut Customizing Begin!
Step 1:
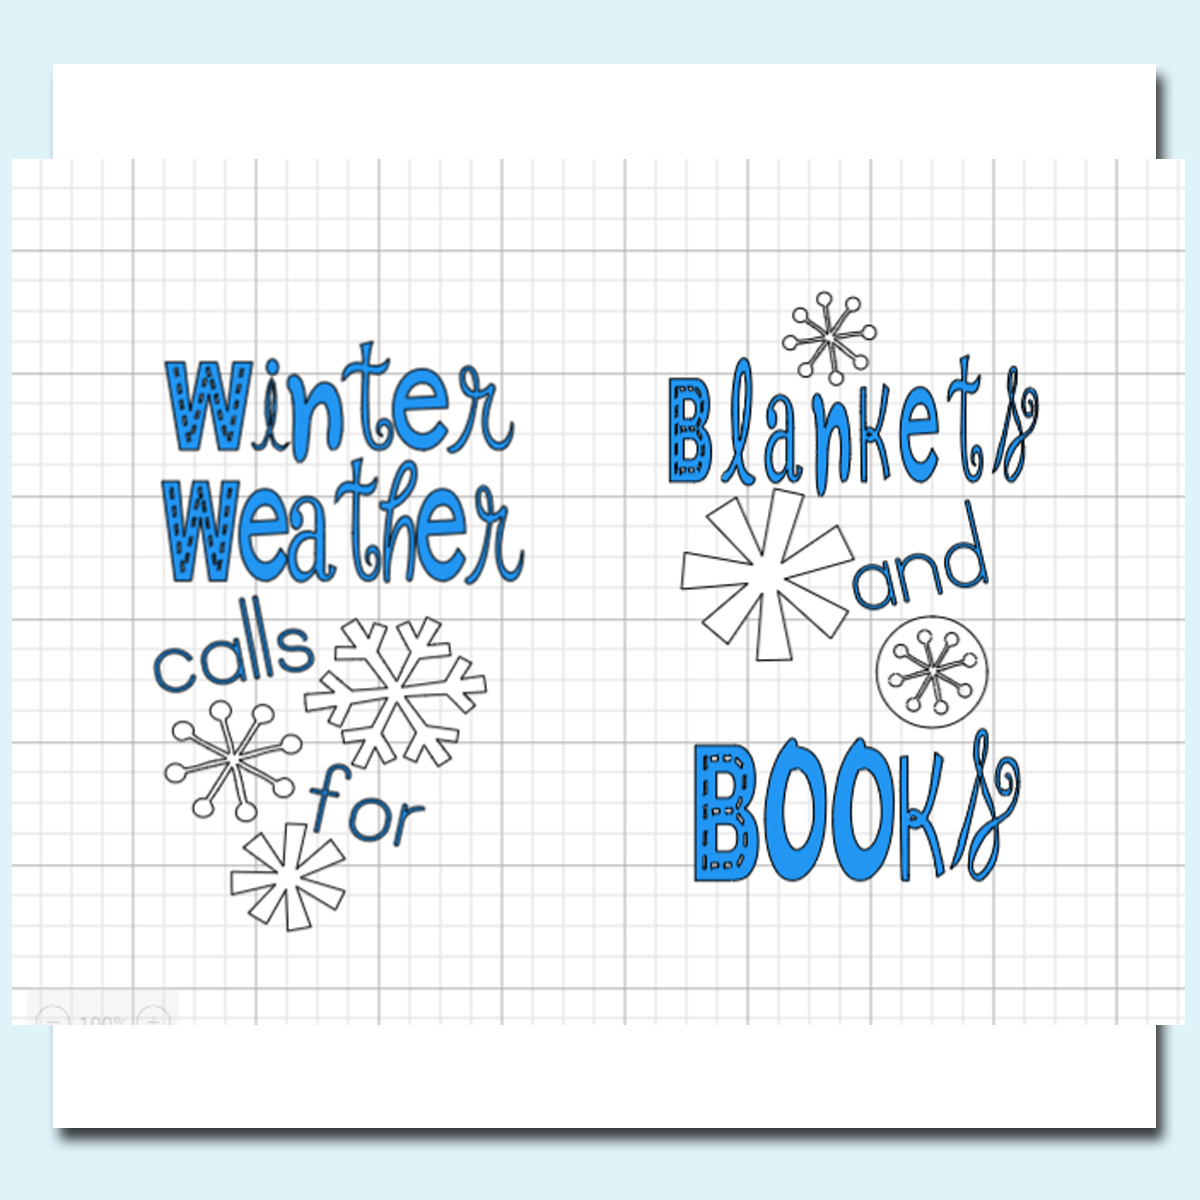
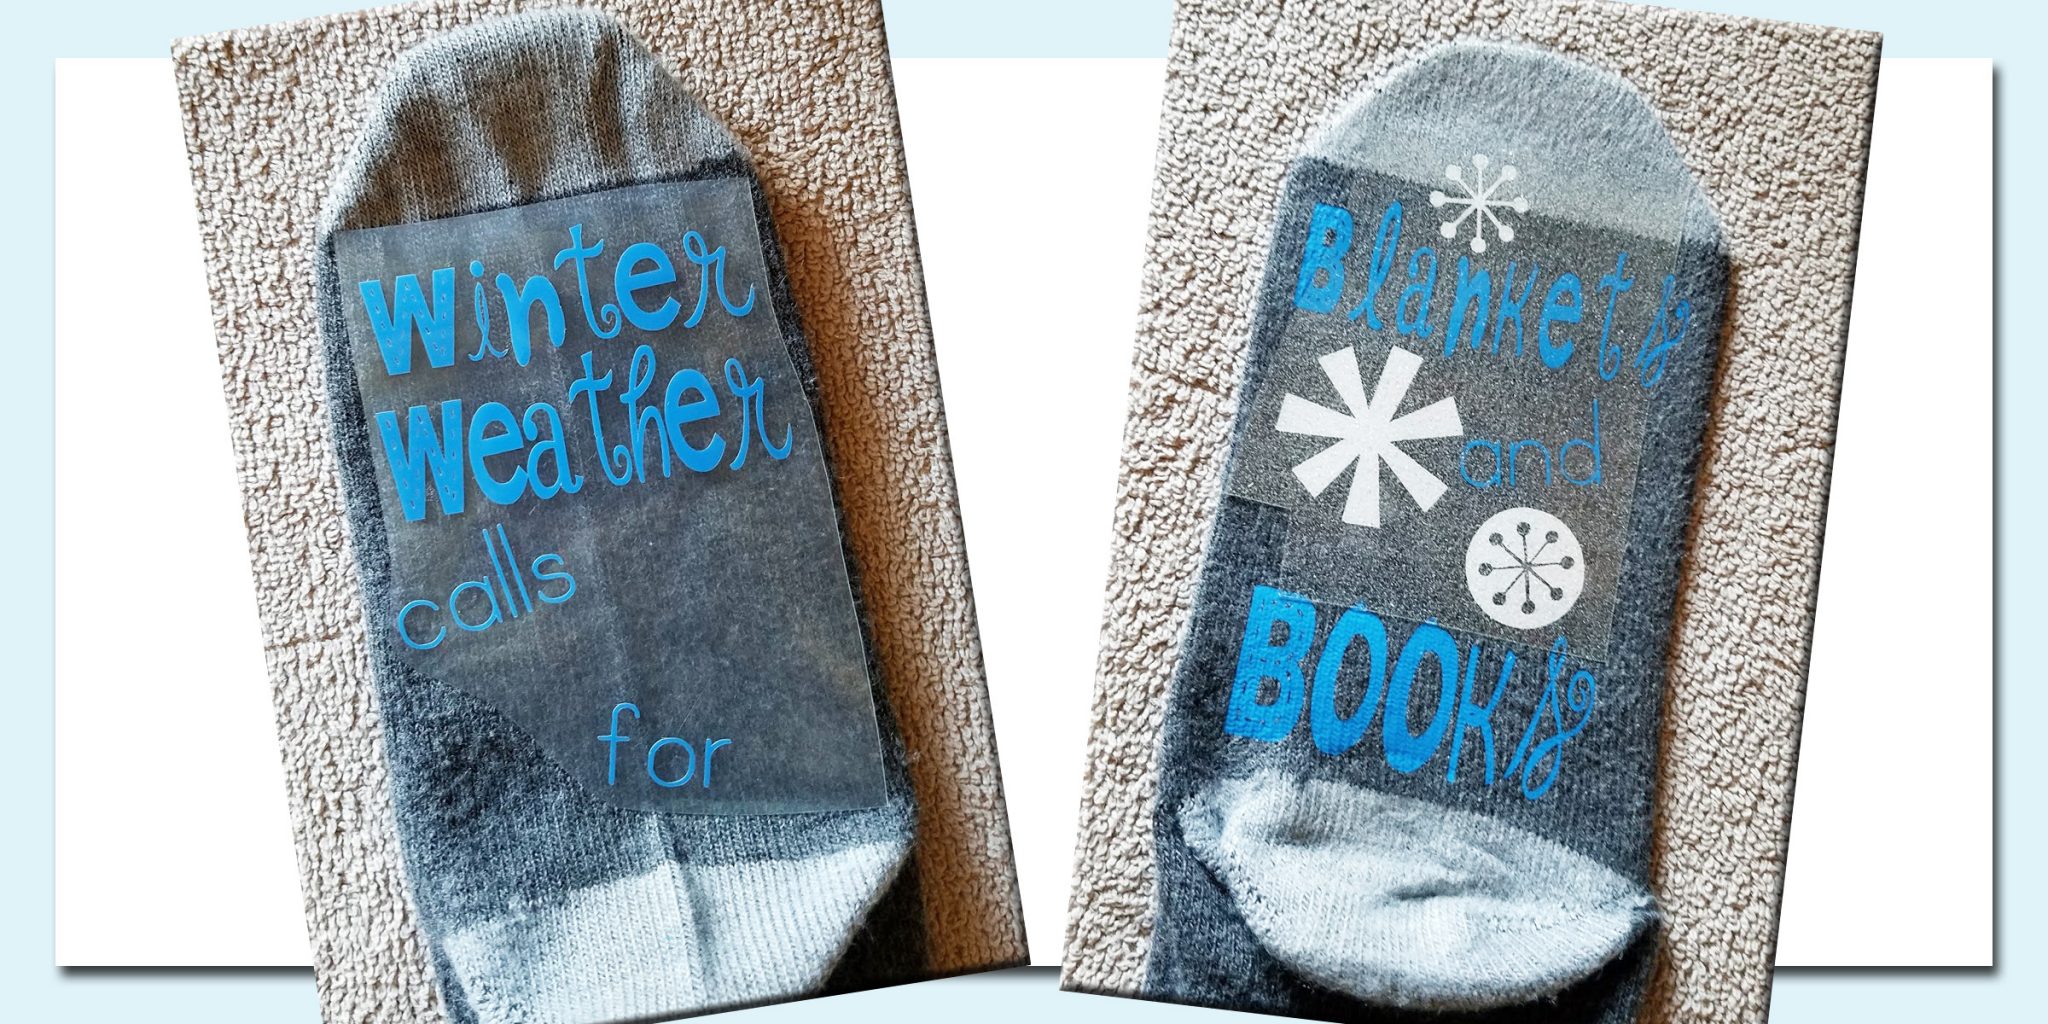
Before you can start cutting and ironing, you need to create a design for your socks. Do you like mine? I do! Now, you are welcome to start from scratch and create your own, OR, you can just use my design, and you’re ready to rock and roll.
Step 2:
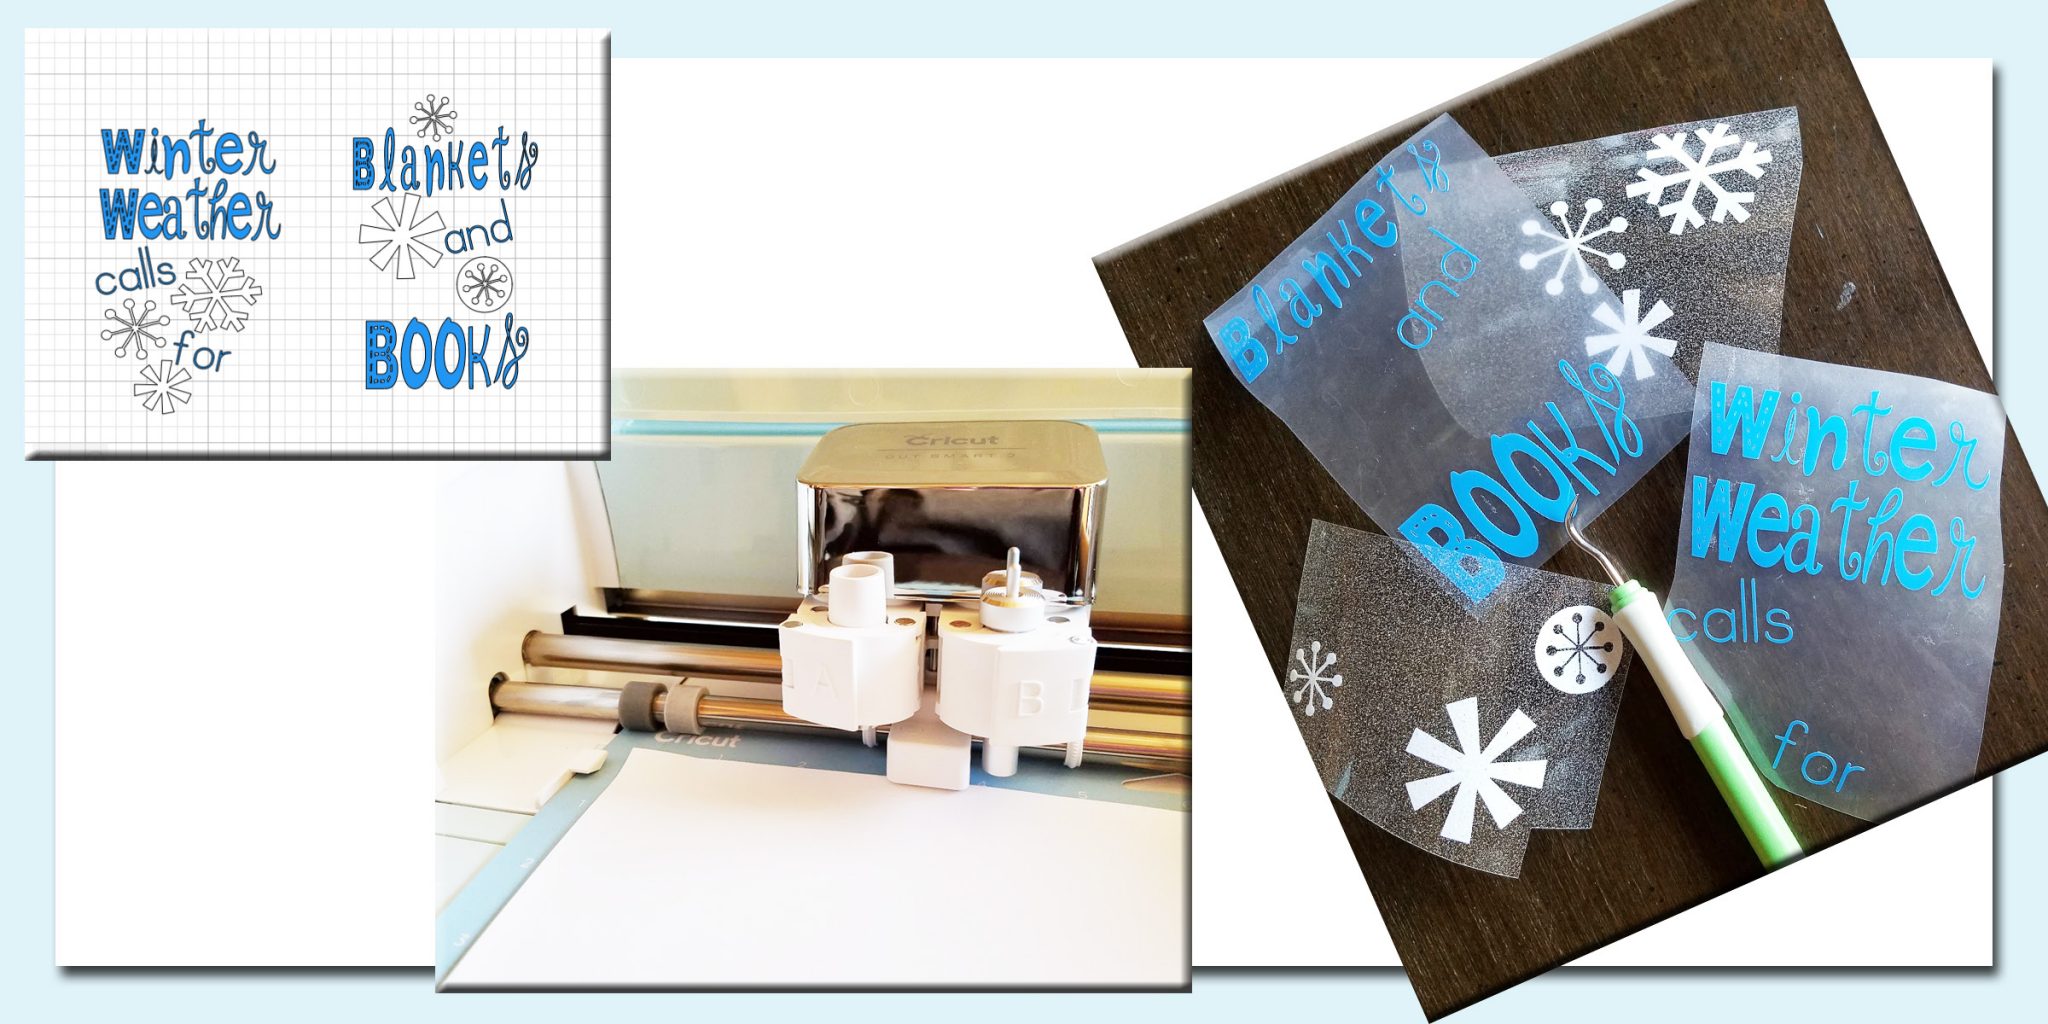
As soon as you are satisfied with your design, you are ready to start cutting. REMEMBER, before you tell your Cricut to cut, you need to make sure you mirror your images. If you don’t, you’ll only be able to read the message on your socks if you hold them up to a mirror. Nobody wants that! When the cutting is done, weed out the extra vinyl and you’re ready to heat up that Easy Press.
Step 3:
Now, it’s time for the best part . . . getting that vinyl to stick to your socks! Because we used two different kinds of vinyl, you will need to iron on each color in layers. Start with your words – get them centered where you want them and let the heat press work it’s magic.
With the words in place, you are ready to add the snowflakes. Remember, that we used a different kind of vinyl for the snowflakes, so make sure you check your heat settings before getting started with this second layer. Also, make sure you use a towel or something to cover the vinyl you’ve already ironed on. You don’t want those beautiful words sticking to your Easy Press!

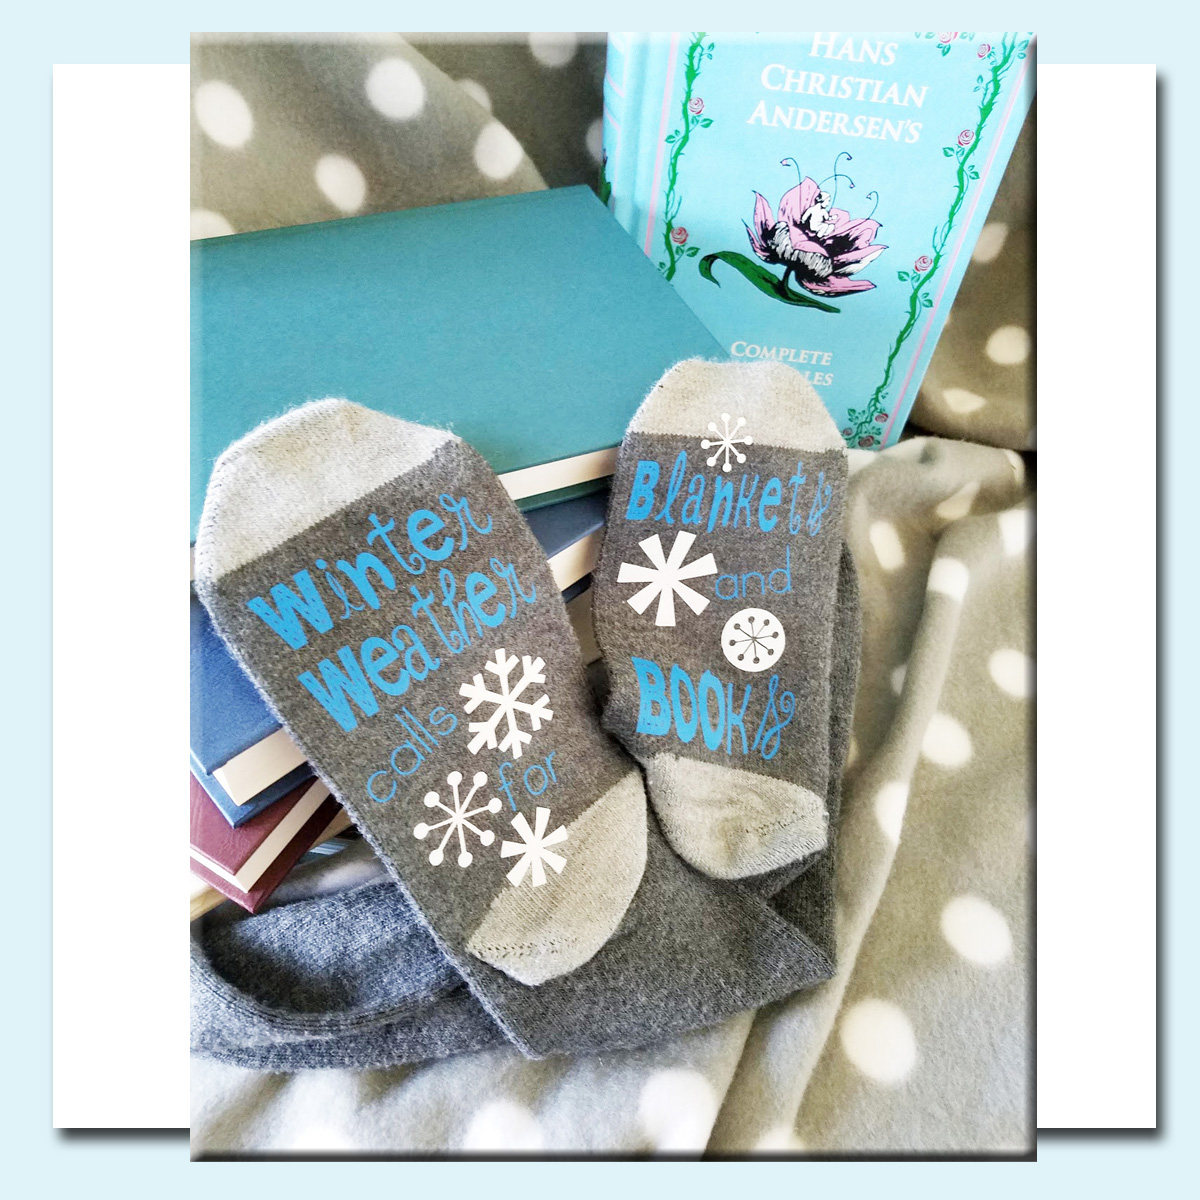
With your Winter Weather socks finished, you’re all ready to rest, relax and read in style. Are you ready to get started?

