Things Small and Simple is a participant in the Amazon Services LLC Associates Program, an affiliate advertising program designed to provide a means for sites to earn advertising fees by advertising and linking to Amazon.com.
This post contains some affiliate links. This simply means that if you purchase anything, or take other actions after clicking one of my links, I will receive a small commission. This comes at no extra cost to you. Thanks so much for your support!
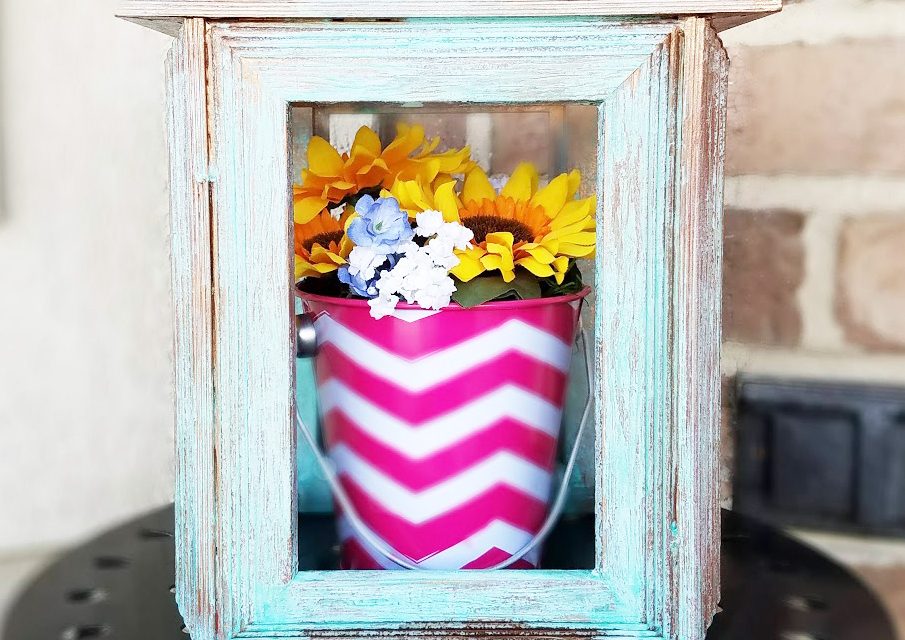
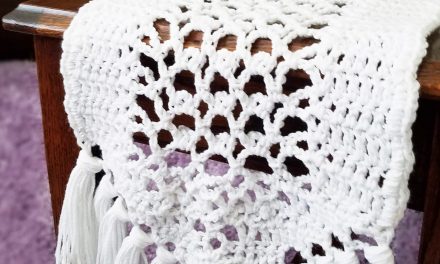
At a conference a few months ago, I was introduced to Modern Masters Metal Effects kits. With the paint included in the kits, you can transform anything paint will stick to into a “metallic” project. Keep reading to see how I used the Patina Oxidizing Finishing Kit on this DIY Terrarium made from a few picture frames.
DIY Terrarium
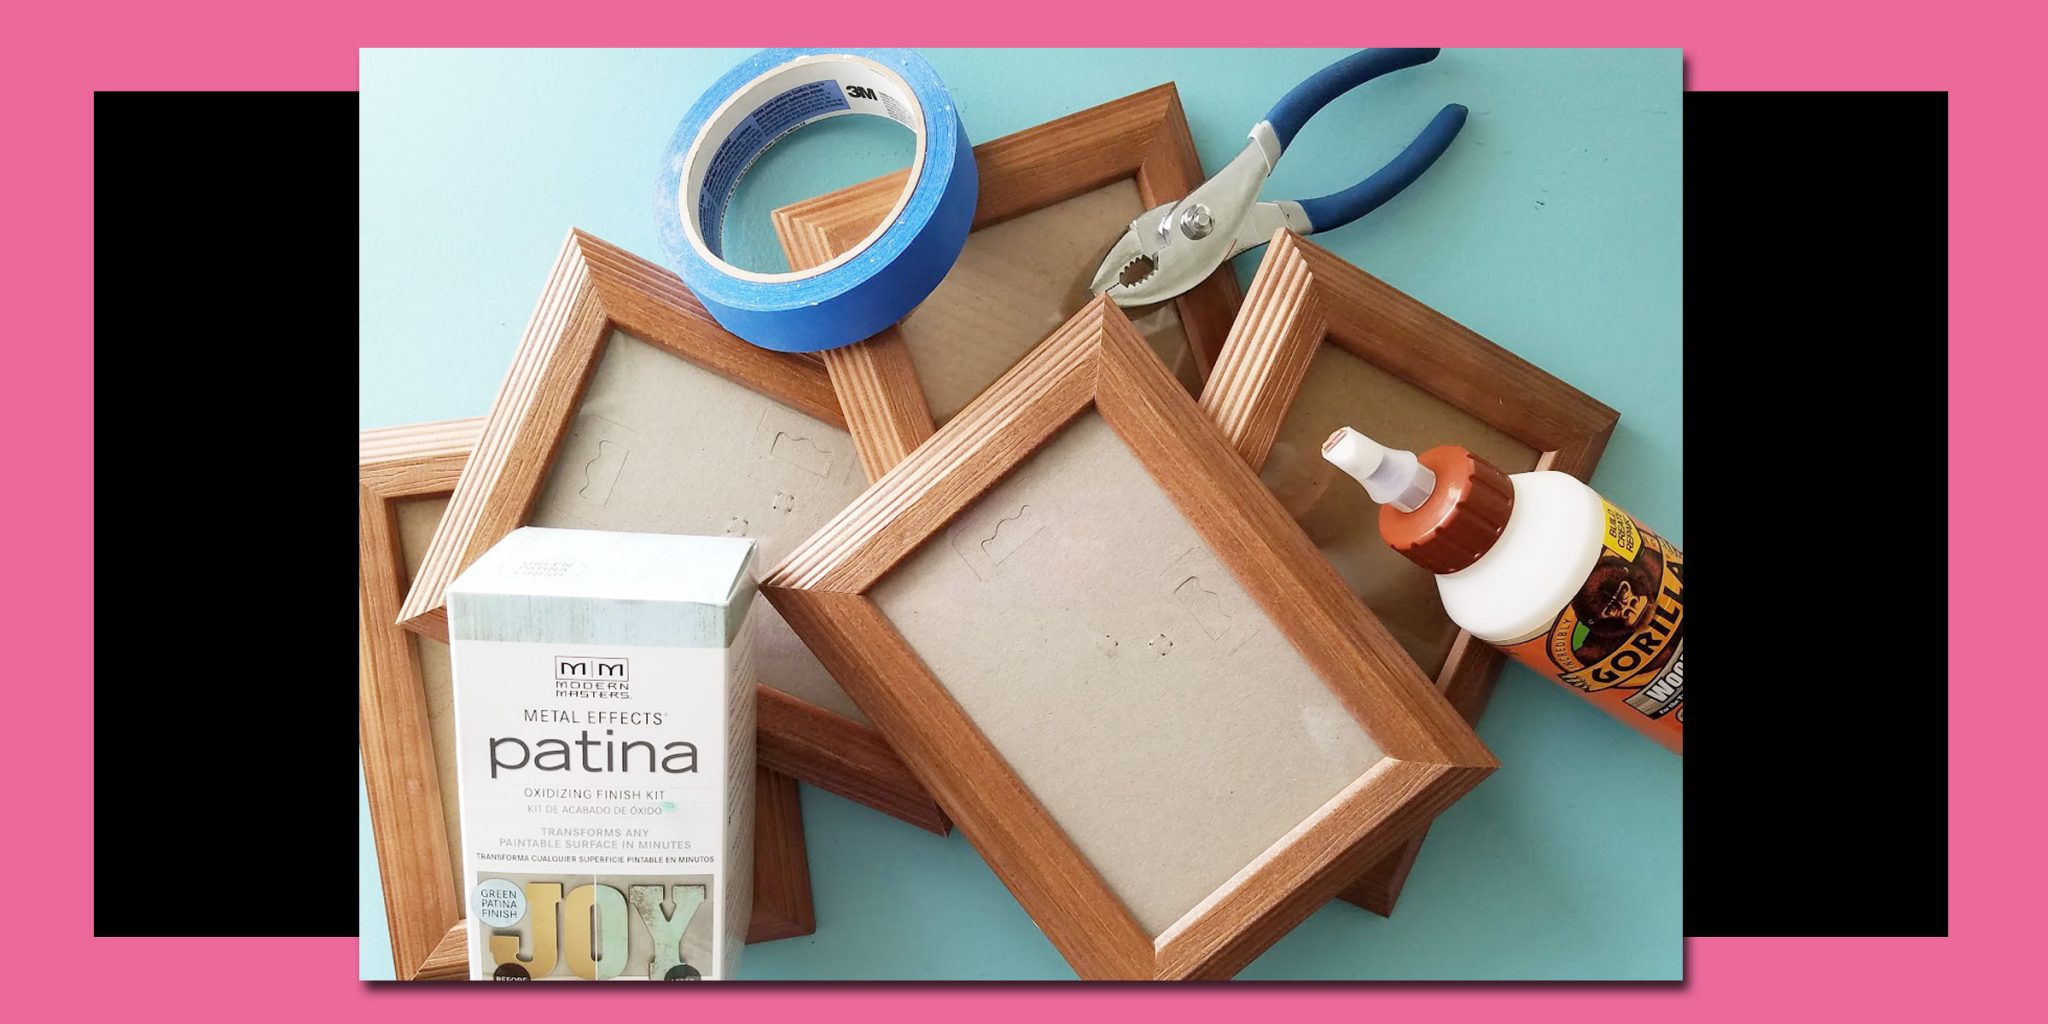
Suggested Supplies:
- Modern Masters 2 oz. Metal Effects Patina Oxidizing Finish Kit, Green
- Wooden Picture Frames – You will need 5 of them.
- Wood Glue – I love this Gorilla Wood Glue
- Painter’s Tape
- Pliers to help prep the picture frames for painting (optional).
How to Build a DIY Terrarium
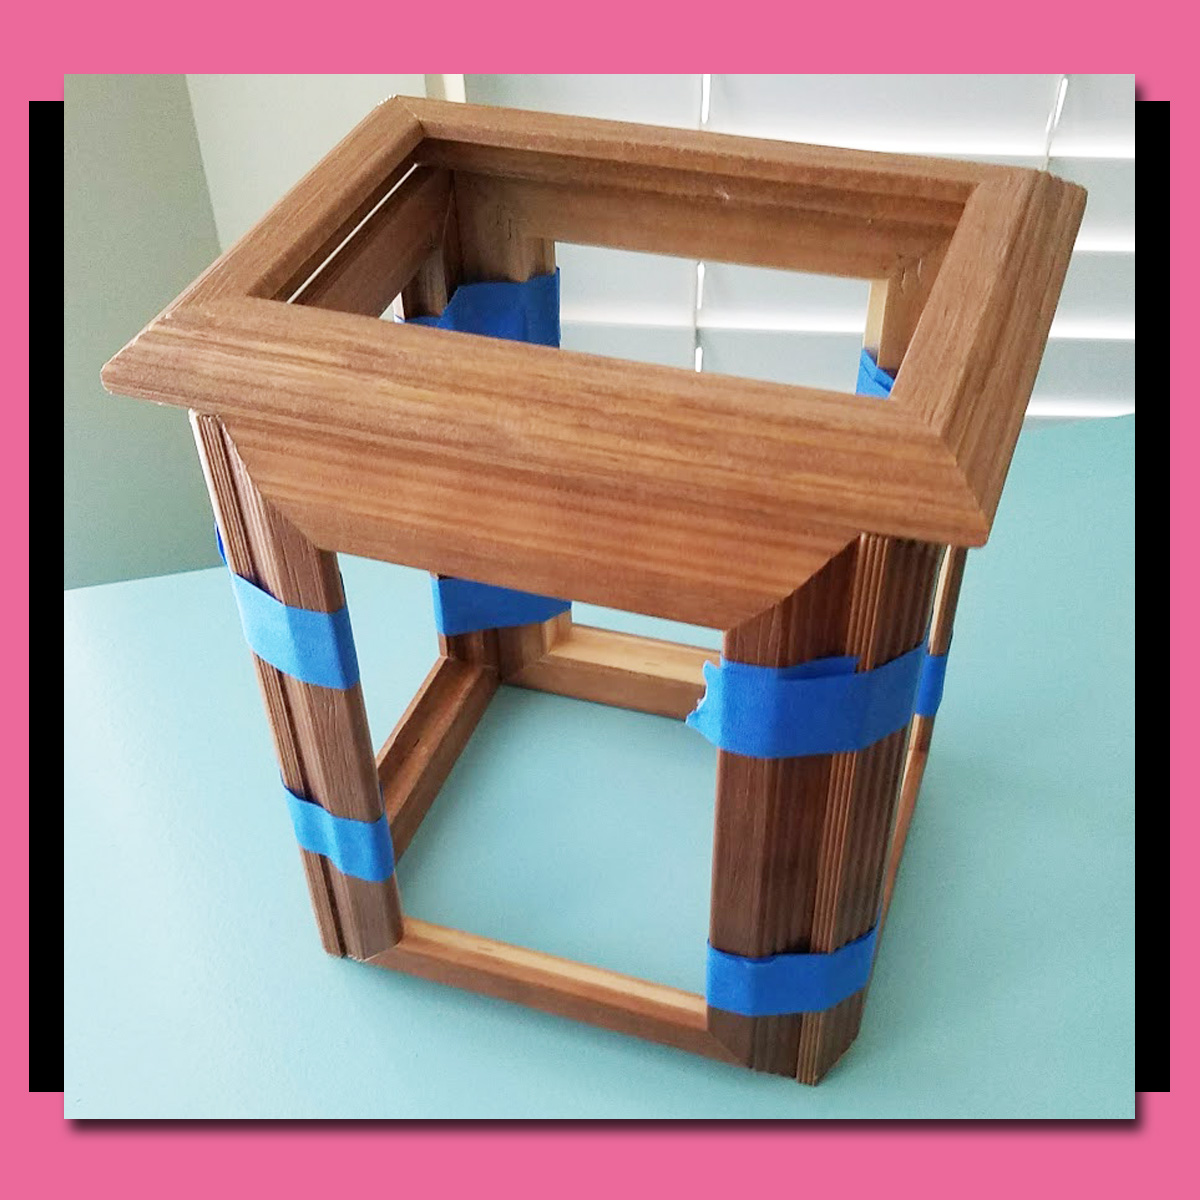
Step 1:
The idea for this project came from the Summer 2019 issue of Country Sampler Farmhouse Style Magazine. You can get more detailed instructions on putting your terrarium together on page 87 of the magazine. Follow the directions through step 5, but don’t whitewash. We’re going to add a metallic finish instead.
Adding a Green Patina Finish to Your DIY Terrarium
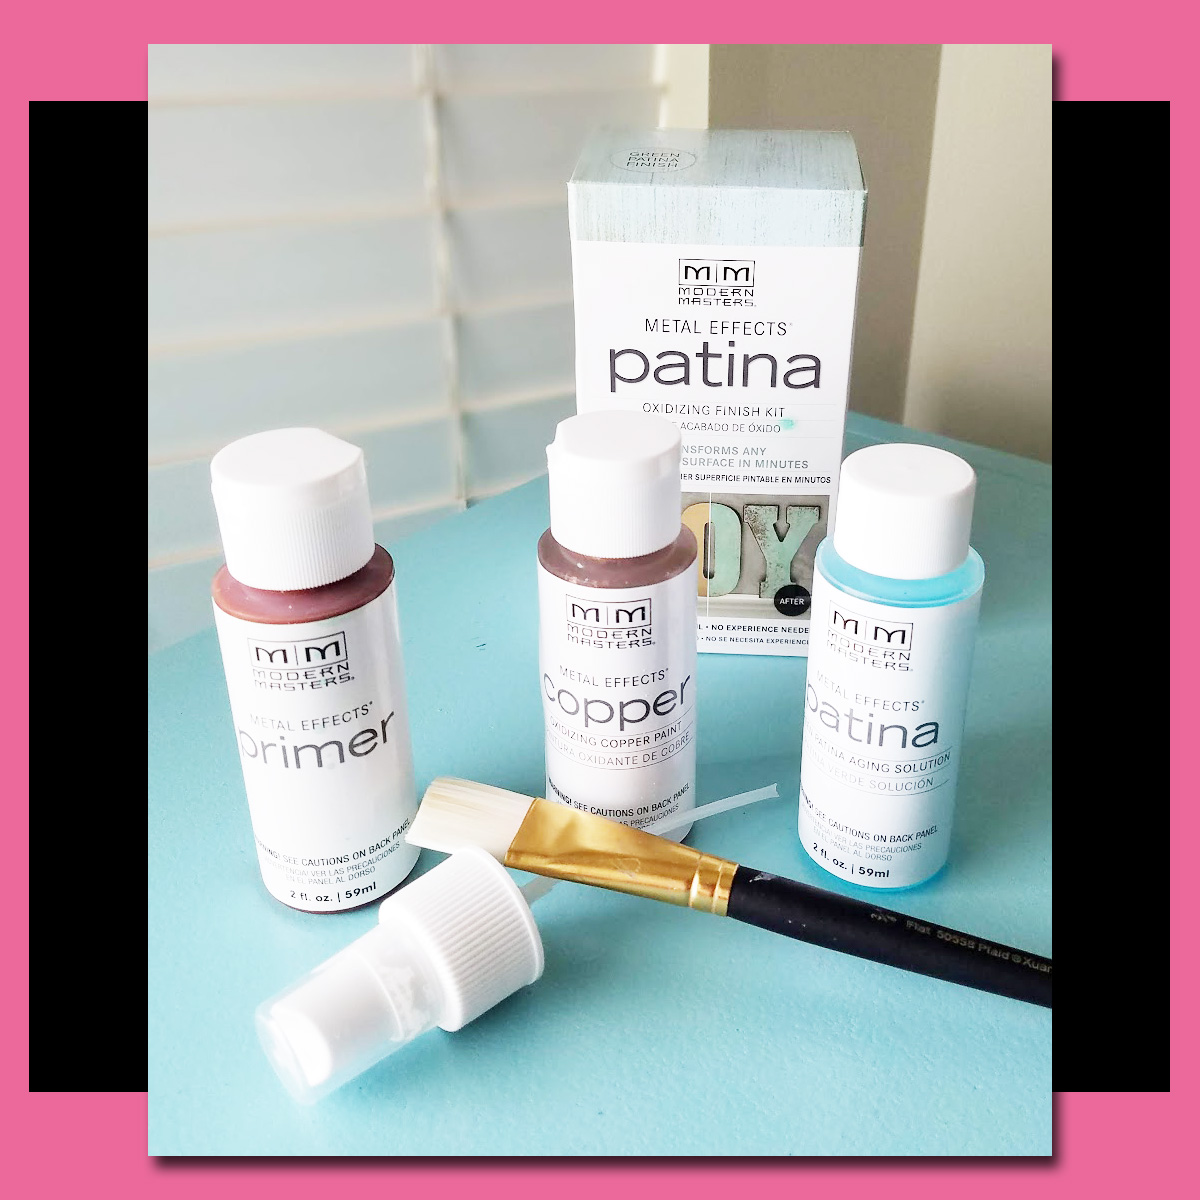
The Metal Effects Oxidizing Finish Kit contains everything you will need to transform your wooden terrarium into an oxidized copper project. This part is so fun! Grab a paintbrush and let’s get going!
Step 2:
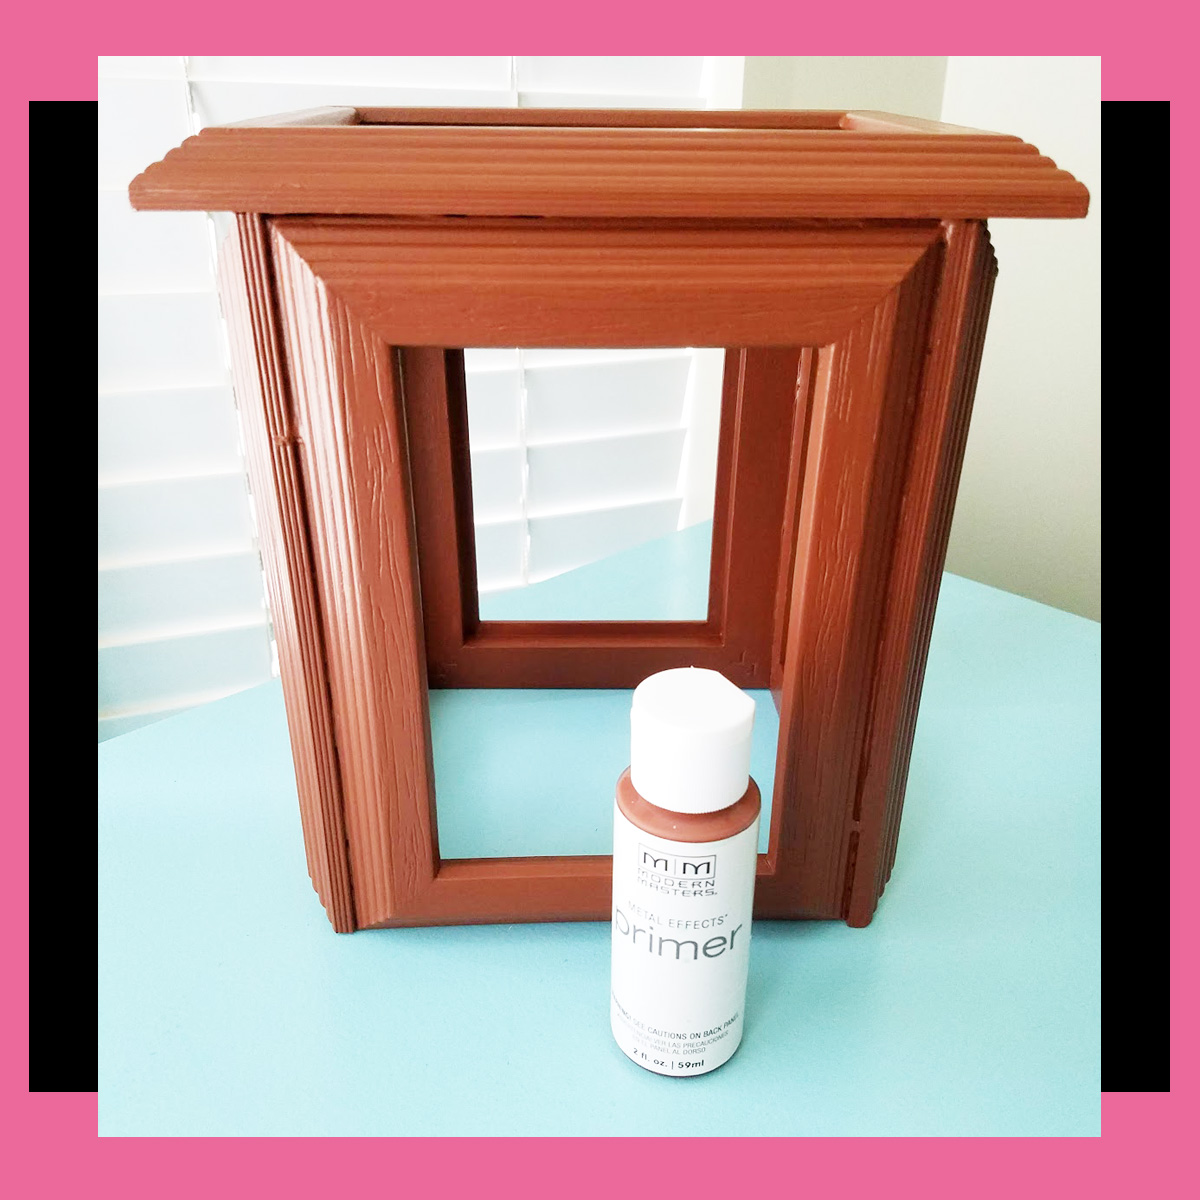
Now that your terrarium has been put together, you’re ready to add a metallic finish. The first step in adding your finish involves primer. Make sure to completely cover every part of your project. I found it easier to paint the inside of the terrarium first. Paint two layers of primer and let them dry before moving on.
Step 3:
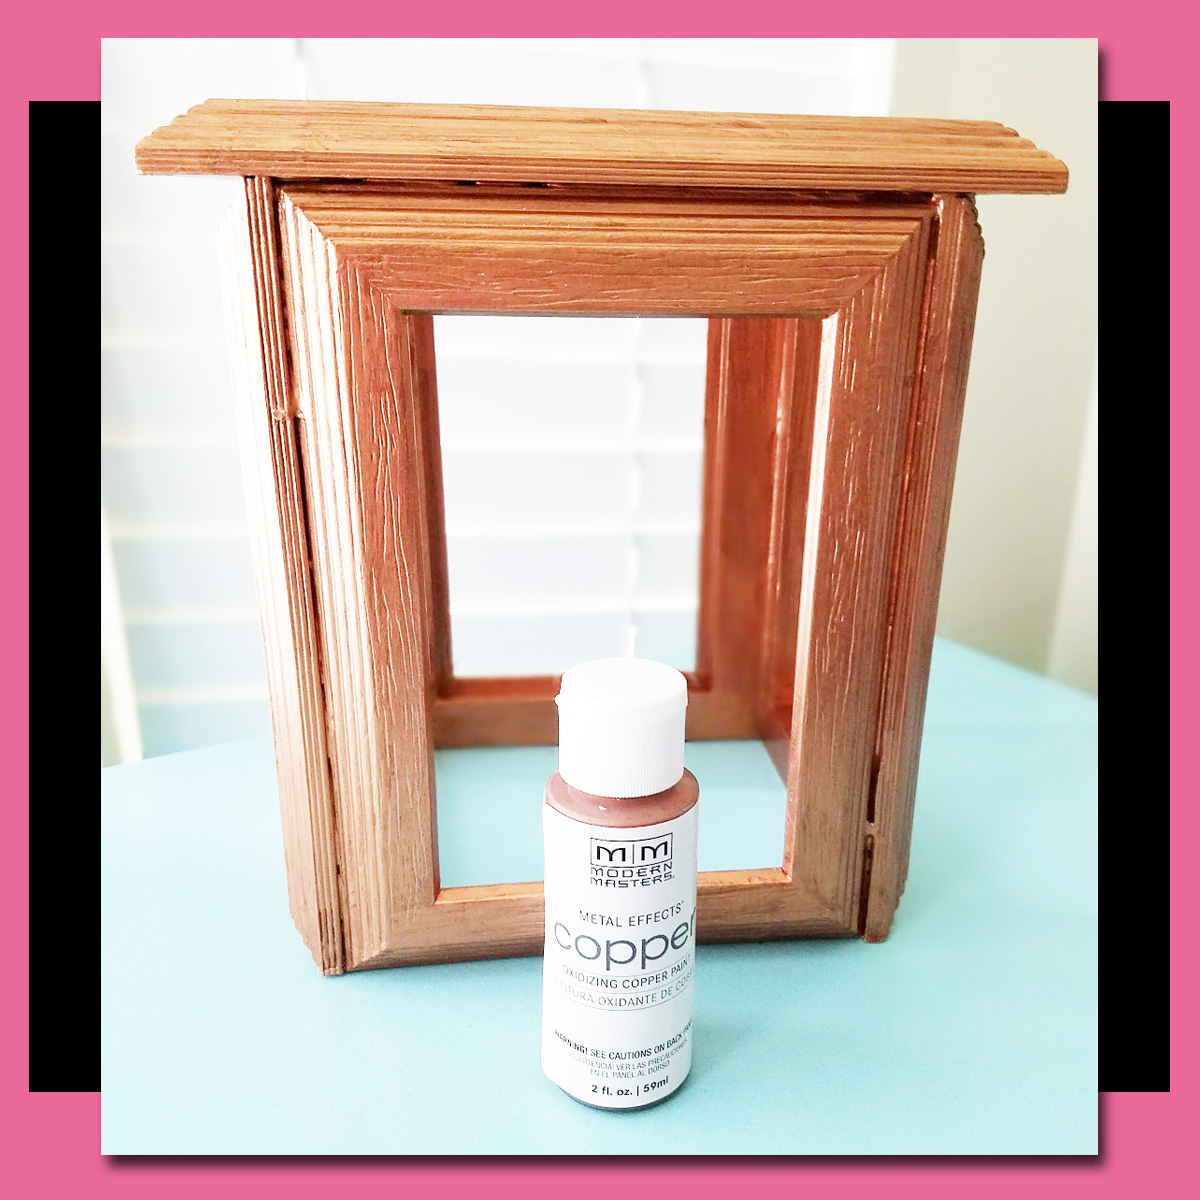
Once the primer is dry (give it a couple hours), you get to start working with the copper paint. This stuff is so pretty! Maybe I just like sparkly things, but I loved how my terrarium looked with a shiny coat of copper. Let your first coat dry, then add a second. BEFORE it dries, move on to the next step!
Step 4:
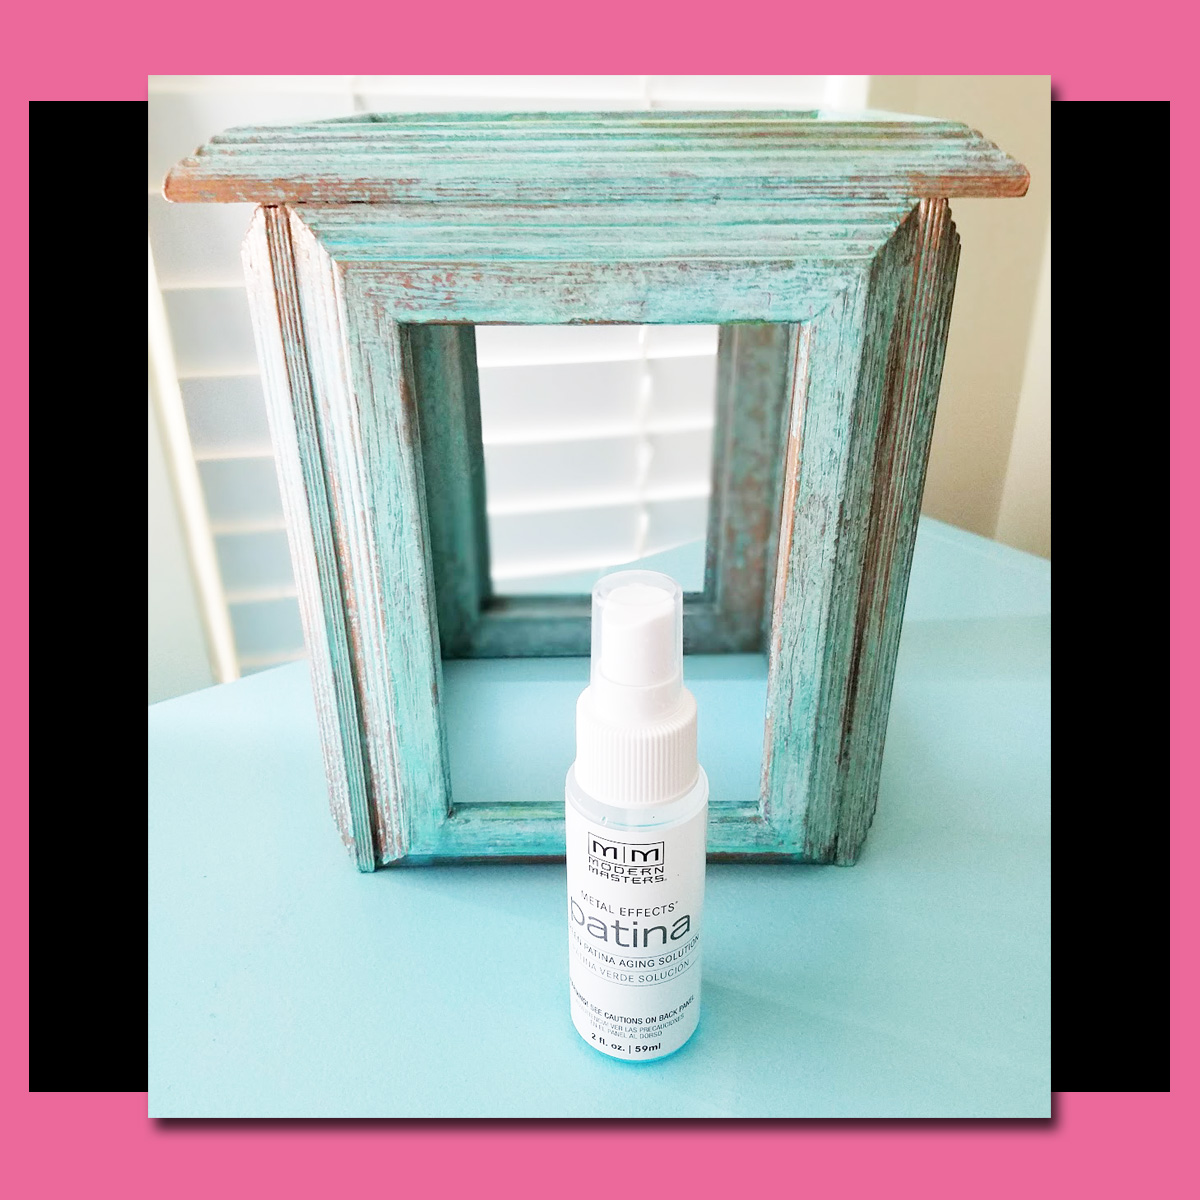
While your second layer of copper paint is still wet, pull out the green patina aging solution and start spraying. When the solution comes into contact with the wet paint, magic happens! As your terrarium dries, the aging solution will continue doing its work. You totally get to watch it transform. So fun!
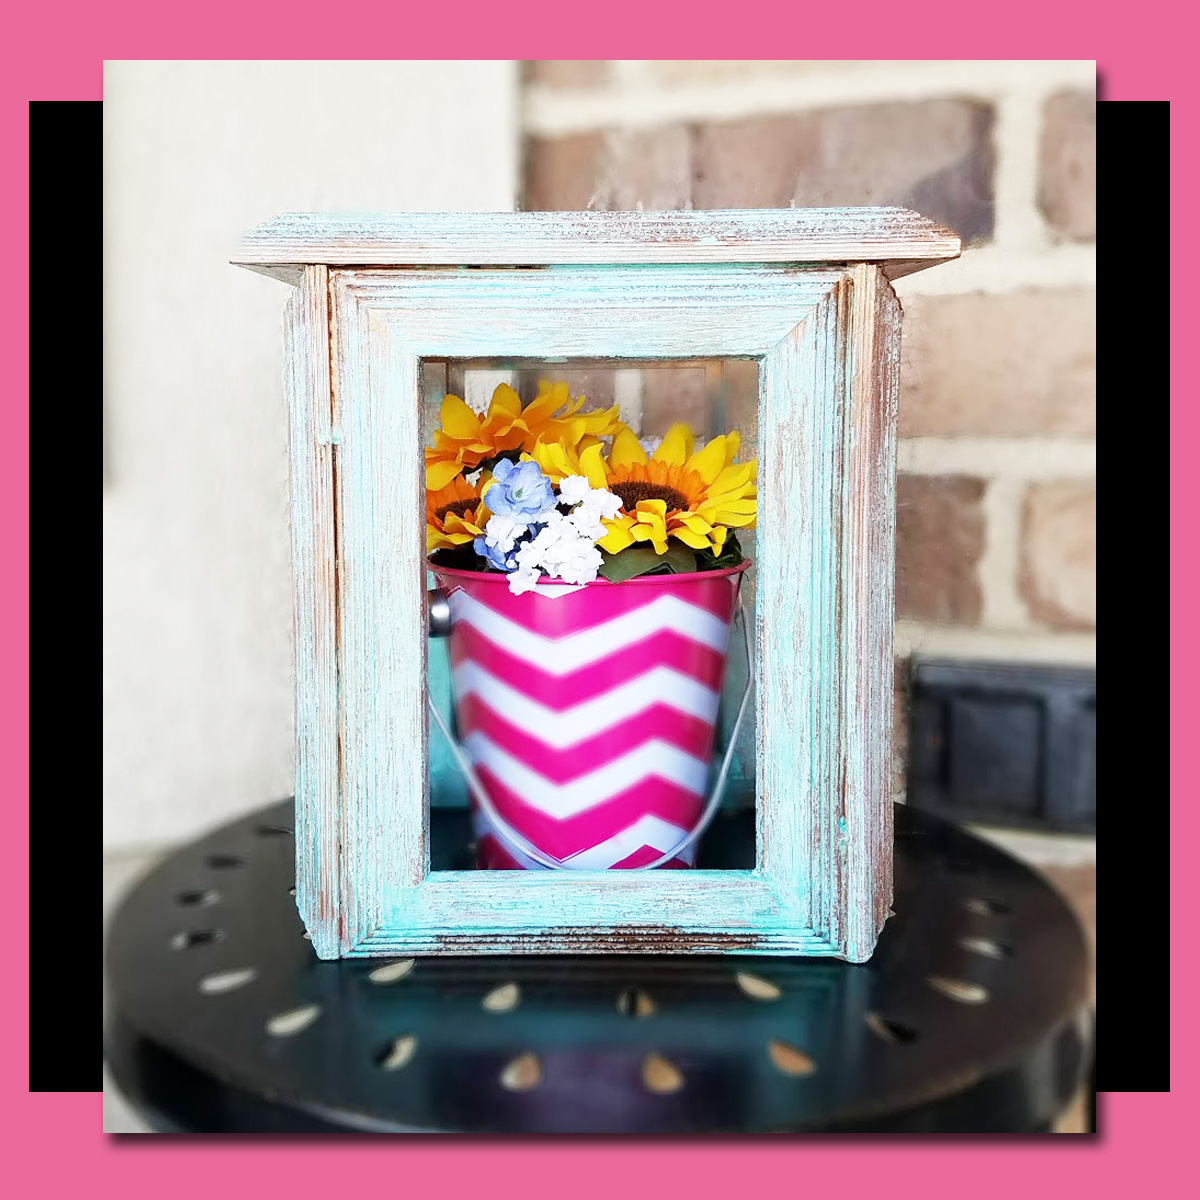
That’s all there is to it! Just gather a few simple supplies and . . .

